Toolkit – Basic Furniture
Table of Contents
Description
In this exercise we take a look at using the IMVU Studio Toolkit to make a simple, static, furniture item. First, a furniture project is created to load in the basic reference object and necessary skeleton node. Next, a new mesh object can then be added and shaped before material assignment and UV unwrapping and mapping – how this is done will differ depending on the item being made but all objects should have a material and texture assignment, and be UV unwrapped and UV mapped. Once the object is made its then moved into place and ‘prepped’ for export, then exported using the Toolkit’s exporter. Finally, with the FBX available it can be imported into IMVU Studio for assembly and upload.
Duration: total c. 25 mins (00:25:00).
Info: 1080p.
Suitability: Beginner+.
Source: KatsBits – Toolkit Furniture Simple (200 KB, *.blend, *.fbx, *.png). Requires installation of the toolkit for Blender. Open in Blender 2.93 LTS (preferred) or above.
Product ID: Toolkit Furniture Box (PID 62051272).
Design note: additional considerations to keep in mind when making furniture items for IMVU using the Toolkit;
Project Organisation
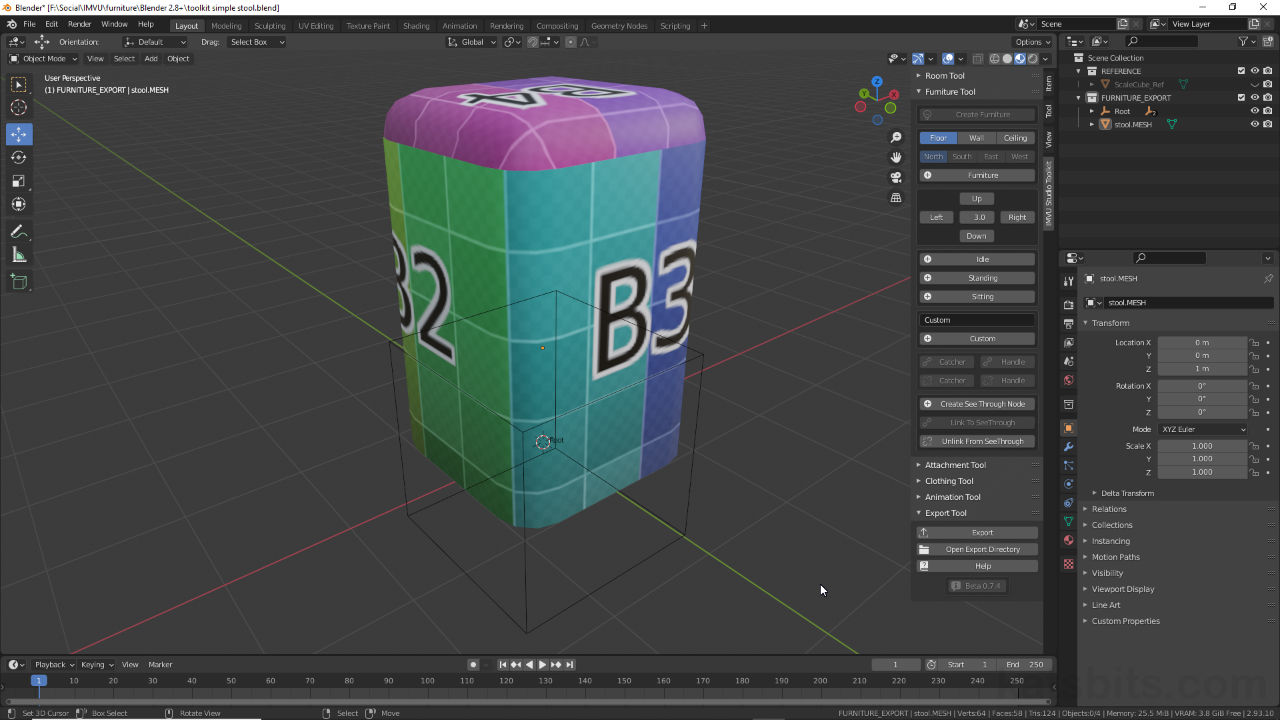
the Furniture Tool initially loads two components into the scene, a reference mesh object, ScaleCube_Ref, and the furniture’s root node, Root. Generally speaking the reference object is not included at export so is located in the REFERENCE [1], non-exportable, collection. If the reference object is to be included ScaleCube_Ref should be moved into the FURNITURE_EXPORT collection [2].
Important: when prepping items for export nothing needs to be done except ensuring the items to be include in the resulting FBX are in the FURNITURE_EXPORT collection (Outliner).
Basic components of a furniture project includes a non-exportable reference object [1] and the exportable root node [2] used to latch on to furniture nodes in rooms.Save Generated Images
When generated images in Blender make sure to save them prior to importing the FBX into IMVU Studio as this may cause issues – Studio won’t be able to find the images linked to the project and will stall. Depending on how many images need to be saved use the UV Editor [3] to access the Image menu and select Save As [4] – Image » Save As. This essentially ‘bakes’ the Blender generated image data to file, creating an bitmap that can then be called upon during Studio import.
Studio may have problems importing FBX files that reference generated image data so they need to be saved before import, which converts then into accessible bitmaps.


Timestamps
Time are approximate;
– 00:00 : Start/Setup.
– 01:30 : Meshing.
– 05:00 : Materials & UVs
– 15:00 : Prep & FBX Export.
– 20:00 : Studio Assembly.
