Introduction to Blender for IMVU Creators
Table of Contents
Description
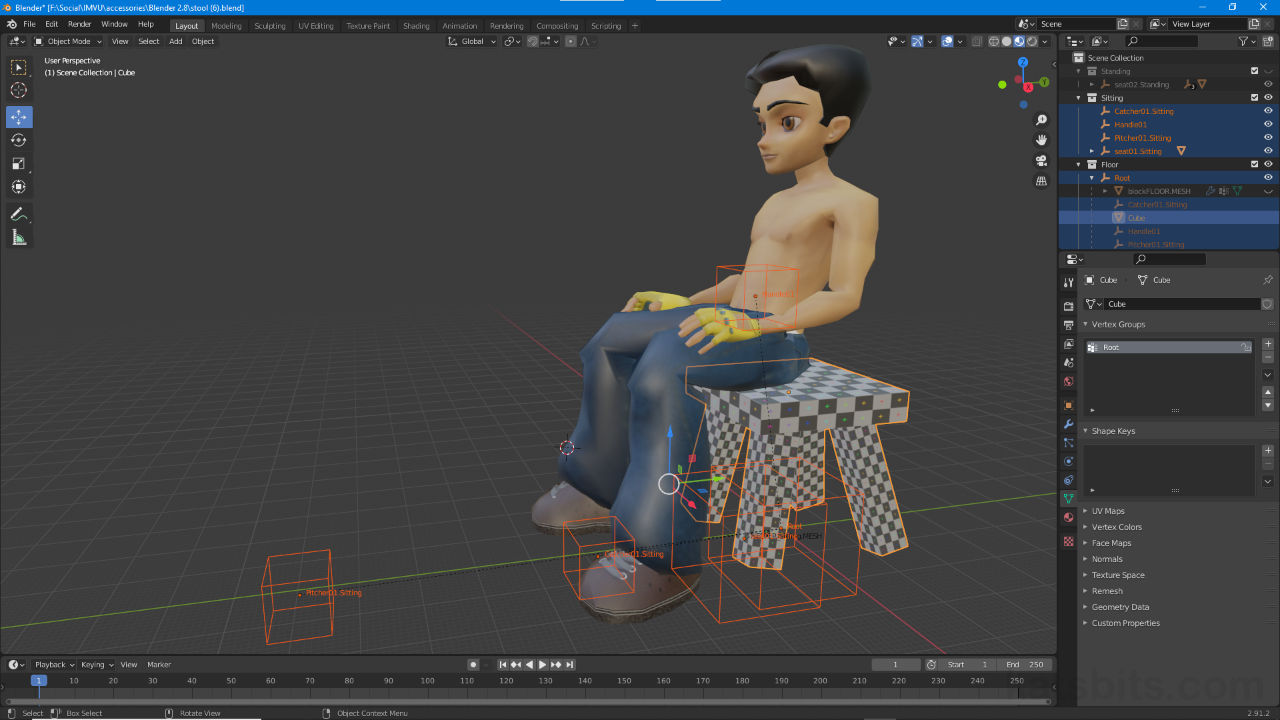
In this tutorial the “Introduction to Blender for IMVU Creators” is updated to cover Blender 2.8+ and newer versions (Blender 2.9+ shown). First we go over the basics of Blenders interface for creating purposes; setting up Left or Right mouse-click; the main 3D View and navigation widgets – Rotate, Zoom and Pan; and the general selection tools – Move, Rotate and Scale, before using some basic object manipulation on the default scene Cube to make a simple four-legged stool with texture. The project is then saved and imported into the Furniture Starter File using Append for IMVU preparation that includes adding an avatar sitting spot. Once this is done the project is exported as an FBX file then imported and assembled in IMVU Studio.
Duration c. 35 mins (35:00).
Info: 1080p | c. 180 MB.
Source: KatsBits – Stool (zip c. 6 MB – *.fbx, *.blend, *.png, *.tga).
Product ID: Stool Tute (updated) – PID 53111397.
Design note: starting Blender for the first time a ‘set up’ overlay is presented where mouse selection preference can be set (Select With), by default Left, but Right can also be used for those familiar the the right-click tradition.
Blender now includes a number of navigation and selection widgets and tools to aid in manipulating the scene itself and objects within. Most editors or areas have these tools (or corresponding functions where absent).Blender now includes a set of Navigation widgets top-right as an alternative to using middle-mouse for scene manipulation. And a set of object selection tools to the left side for manipulating and moving selections in the 3D View.
Blender now includes a number of navigation and selection widgets and tools to aid in manipulating the scene itself and objects within. Most editors or areas have these tools (or corresponding functions where absent).The default Cube has an initial but rudimentary Material assignment and is UV Unwrapped and mapped to an image ‘blank’, a grid representing the image UVs are mapped to – in UV Editing Workspace the UV Map appears in the UV Editor (left-hand side shown above) if it has one, otherwise the editor will be blank (when surfaces are selected in the 3D View as shown above).
All mesh primitives, objects like the default Cube, have an initial but basic material assignment and are UV Unwrapped. Both can be edited as needed, often necessary after modifying the mesh.


Time Stamps
Times are approximate.
Video I : Make, Export & Assemble – c. 35 mins (35:00).
– 00:00 : Blender Overview.
– 05:00 : Meshing.
– 09:00 : Materials.
– 12:00 : UV Editing.
– 20:00 : Append & IMVU Prep.
– 30:00 : FBX Export & Studio Assembly.
