Material Basics (nodes)
Table of Contents
In line with general updates to newer versions of Blender 2.8+/2.9+ real-time and off-line rendering systems, Blender Render or Blender Internal style materials, those otherwise available in Blender 2.79 or below, are obsolete and superseded by Nodes.
Important: For newer versions of Blender post Blender 2.8+, Blender Render and Blender Game engine materials are obsolete. As a consequence all such non-node based materials will need to be rebuilt, converted or re-established to work correctly (some node-based material settings may also require modification).
Blender Render and Blender Game style materials (image top) are obsolete in newer versions of Blender so models and meshes will typically appear as ‘white-clay’ (or Diffuse coloured only, bottom image) in the 3D View, requiring they be re-established or converted to use Nodes (see below).


Summary
TL:DR summary of basic (Blender Render style) material set up in Blender 2.8;
(1) Create new Material instance (Material Properties).
(2) Activate Use Nodes.
(3) In Shader workspace (Shader Editor) delete Principled BSDF.
(4) Add an Image Texture node and link to Material Output.
(5) Select/create/open image (jpg, tga etc.).
Blender Render vs Nodes
For basic materials, those that might be assigned to a low-poly game model for example, whilst the obsolescence of Blender Render materials means having to use a different system to create, edit and manage materials, the principle involved is still the same; three slots or stages, Material, Texture and Image. The way the overall material is put together however, differs; instead of a collection of Properties, Material Properties, Texture Properties and to a lesser degree Image Properties, each stage is represented by an Node, a discrete datablock, within the Shader Editor (formally Node Editor) that allows for more flexible and complex connections to be made between Nodes and the effects they accommodate.

In Blender 2.79 materials are made from three stages or slots, Material, Texture and Image Properties, that generally render ‘flat’ to screen regardless of other components (normal maps, specular etc.), and render immediately on the mesh (subject to UV).

For newer versions of Blender post 2.8+ materials are created using Nodes and (currently) display only once assigned to a UV mapped mesh (without a UV the mapped texture won’t typically display).
Basic Material Node Tree
To create a simple node-based material that approximates Blender Render materials a Material instance first needs to be created, a container of sorts for the node collection or tree. Right-click select an Object (mesh or otherwise) then in Material Properties [1] click the + New button below the material list aperture if a Material does not exist, or if one does, where its blank. This populates the panel with various options and settings [2]. Next, in the Surface subsection now available ensure Use Nodes is active (highlights blue when clicked). This creates a basic container for subsequent Node data.
Design note: blank materials are typically empty of any settings and options except as described above. They can be assigned but won’t display anything; colour, image or effect, i.e. transparency.

Although materials [1] import in Blender 2.8 incomplete from old projects [2], the basic properties, Diffuse colour in particular, will load as they are used to establish the basic number of instances there should be of a given material (where and how many are assigned).
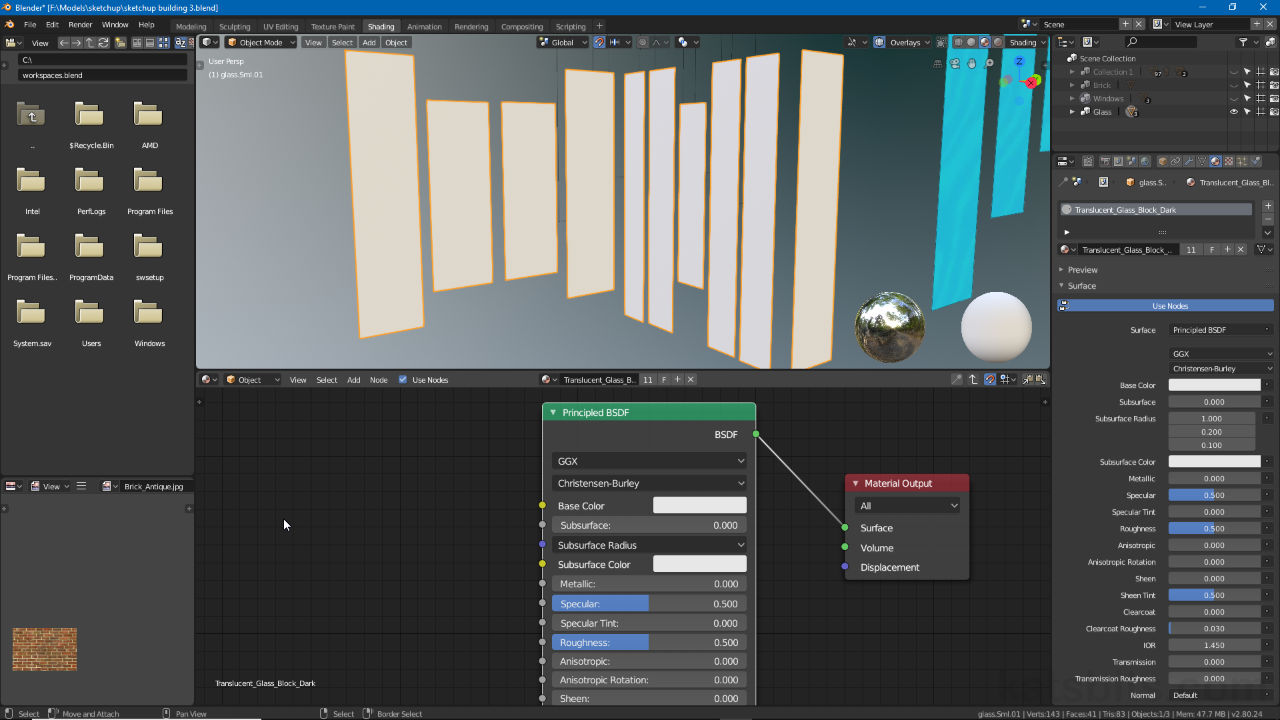
With a Material instance available (left) click the Shading workspace tab [1], or swap the 3D View for the Shader Editor. The node workspace will be displayed, a grid containing two nodes; Principled BSDF and Material Output, the two default nodes presented per new material [3].
Design note: using a workspace will reorganise the entire interface to suit that task at hand whereas switching the 3D View changes only that area. Note also, the Editor Type selector sits top-right corner of the 3D View.

Using the Shading workspace [1], the Material [2] created contains two nodes by default; Principled BSDF and Material Output [3], only the latter is needed for simple Blender Render style materials.
Blender Render Style Material
For simple Blender Render style materials only the Material Output node is needed so right-click select the Principled BSDF node and press Delete (or X) to remove it. Next from the Add menu [4] of the Shader Editor (bottom-center area shown above) click Texture » Image Texture [5] to place an Image Texture node [6] in the work area (left-click to set it in place). These two nodes correspond to Blender Render’s Material and Texture Properties.
Design note: the Image Texture node can be added after removing Principled BSDF or vice versa – the order does not matter so long as the Principled BSDF node is removed and an Image Texture node included – for very simple materials it may not be necessary to remove Principle BSDF as basic UV assigned images will display without the Node.
Very simple materials still work with Principle BSDF in place so long as the correct connections are made – Image Texture (Colour output) to Principled BSDF (Base Color input), then Principle BSDF (BSDF output) to Material Output (Surface input).


Remove the Principled BSDF node then from the Shader Editors Add menu [4] place an Image Texture node [6] – Add » Texture » Image Texture [5].
With the Image Texture node in place; to use a Generated image click the + New button and in the New Image pop-up set the name, dimensions and image type; click Open, browse to, select and load a suitable image into the node; click the Browse Image to be linked button [7] and select an image that might already be available [8], for example one previously imported but not assigned.

Using the Browse Image to be linked option [7] to assign an image previously imported [8] to the Image Texture node (alternatively click + New to create a Generated image, or Open to browse and load one in).
The final step once an image is associated with the node is to connect it to Material Output. To do that, to the right of Color in the Image Texture node, left-click-drag the yellow output connector [9] over to Material Output node and the green input connector to the left of Surface [10]. Release to confirm. This action links the two nodes together and, subject to UV availability, will display the image on the mesh in the 3D View (shown below upper-center area).
Design note: materials may appear reset on surfaces that have not been UV unwrapped prior to assignment making the result heavily tiled (repeated) or otherwise distorted across affected surfaces.

Once the Image texture node is set up it can be connected to Material Output by left-click dragging the yellow output connector from one [9], to the green input connector of the other [10]. When done the image will appear on the mesh (subject to UV map).

Subject to UV map availability, once the Material is set up the image associated with it will appear on the mesh (relative to UV mapping placement).
Creating a basic Material in Blender that approximates Blender Render materials (Blender 2.79 or below) using nodes and the Shader Editor workspace (UV mapping objects beforehand is optional and not shown but done to display resulting material and mapped image reasonably after creation).
