3D Printing with Blender on MacOS – Dice
Table of Contents
Description
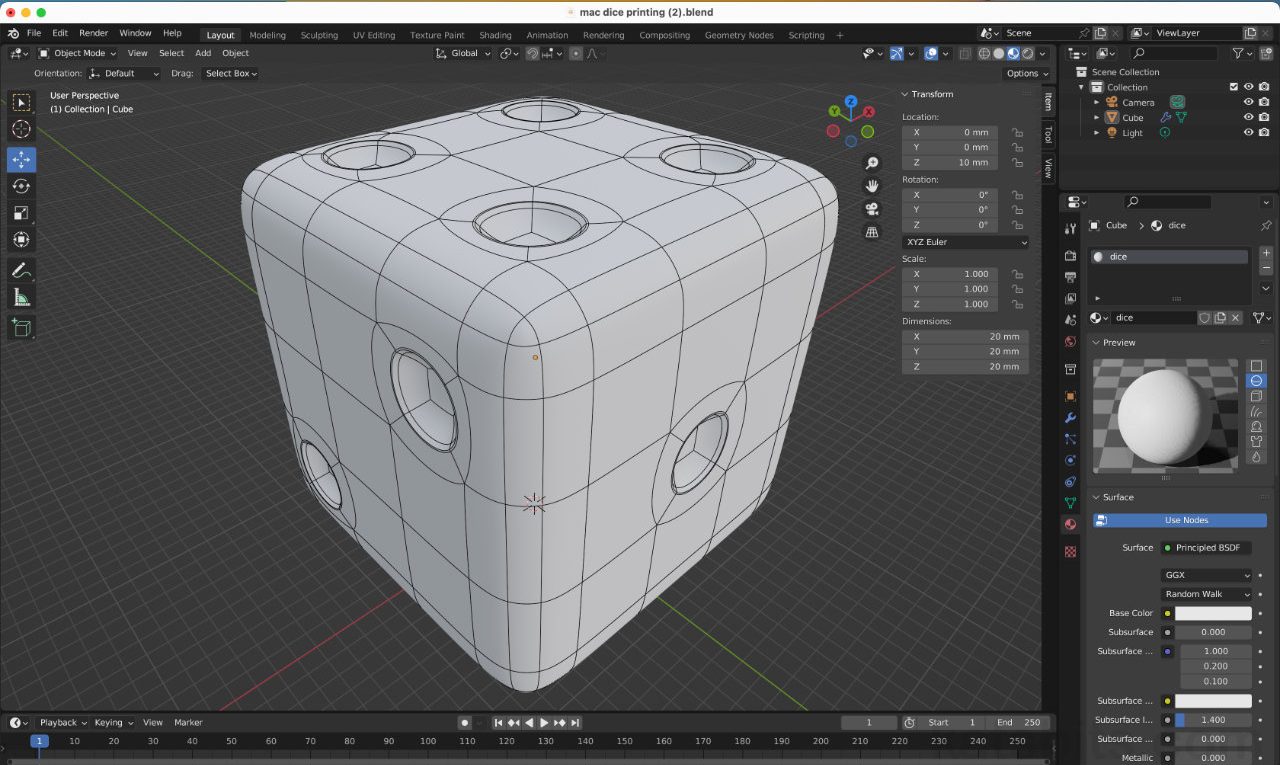
In this exercise we take a look at using Blender 3D on MacOS (MacBook Pro) to make a dice for 3D printing. Using the default Cube the Bevel tool is first used to round-over the edges. Next, a set of equidistant divisions are made using the Loop Cut tool. This sets out the grid for the dice pips/spots and once in place the pips can be generated using the Inset tool. Once done a Subdivision Surface modifier can be assigned and then fixed using Apply before the mesh is exported as an *.stl file for import into a ‘slicer’ for preparation and final export, as *.gcode, for 3D printing.
Duration: total c. 30 mins (00:30:00).
Info: 1080p.
Suitability: Beginner+.
Source: KatsBits – Mac 3D Print Dice (c. 12 MB, *.blend, *.stl, *.gcode). Open in Blender 3.6 LTS or above.
Product ID: n/a.
Design note: using MacOS in conjunction with Blender doesn’t present any particular concerns, however, some additional points to keep in mind when creating meshes for 3D printing;
Scene Setup
At some point the 3D scene in Blender will need setting up so it’s scaled correctly relative to the 3D printer being used, typically for millimetres. While some ‘slicer’ apps can automatically scale objects to fit the available build volume, e.g. Creality Slicer, its best to avoid this and establish correct size/scale in Blender prior to export to ensure a 1:1 correlation between Blender, the slicer and 3D printer. This can be done at any point and in any order;
- set scene Scale – in Viewport Overlays [1] change Scale to 0.001 for millimetres or 0.01 for centimetres.
- set Unit Scale – in Scene Properties [2] under Units, change Unit Scale to 0.001 for millimetres or 0.01 for centimetres.
- set unit Length – from the drop-down list select the Length as corresponds to both scene Scale and Unit Scale, i.e. Millimeters for 0.001 or Centimeters for 0.01.
When making content for 3D printing preference should be to set Blender up to use the correct Units of measurement rather than rely on preparation scaling in a slicer. With this in mind, change scene Scale [1] and the systems Units [2].Pip Depth
Although it’s relatively straightforward to define the pips initial structure, when they need to be indented in to the dice this can be tricky depending on how this is done; individually or as a localised group manipulation, i.e. all pips on one side modified at the same time, or global manipulation of all the pips at the same time. When using Scale to do this, ensure all pips are selected, on all sides, before manipulation, otherwise initiated changes will be relative to the selection, potentially deforming the operation regardless of any Pivot or Transform Orientation set. Where odd pips or sets of pips have to be edited use Shrink/Fatten [3] instead, simply make a selection and manipulate the tool widget [4] to indent it into the body of the dice. In all instance, hold Control (⌃) to increment snap, or type a value, i.e. “1” (positive) or “-1” (negative).
Editing the dice pips so they recede into the dice body can be tricky if they are not all changed at the same time. If not, use Shrink/Fatten [3] to modify the pips either individually or in a per-side group [4] (pips on the same face).
Timestamps
All times are approximate;
– 00:00 : Scene Setup.
– 03:30 : Bevel & Layout.
– 08:00 : Dice Pips.
– 16:00 : Pip Indentation.
– 26:00 : Slicer Prep & Export.


