Align Selection to Axis
Table of Contents
Another useful aspect of Blenders general snap and alignment tools is Align to Axis. Here a selection can be arranged relative to a cardinal axis such that they might maintain their height (Z) relative to neighbouring elements, but their width (X) or depth (Y) might be adjust to be identical, resulting in an linear positioning. In Object Mode this is done using Align Objects. In Edit Mode this has to be done using shortcut keys.
Align Objects
In Object Mode selections can be aligned to a given axis using Align Objects. To do this, first make a selection and from the Object menu click Transform [1] then Align Objects [2] – Object » Transform » Align Objects. In the Align Objects overlay that appears bottom-left [3], set the alignments characteristics; Align Mode sets the position relative to the group; Relative To to set the target around which alignment occurs; Align sets the axis of orientation – setting Centers, Scene Origin, X for example, realigns objects in a selection relative to grid centre (0,0,0) on the X axis.


Objects can be aligned relative to each other using Transform [1] » Align Objects [2]. Here different options [3] can be applied to reposition selections as a group relative to each other, and a particular axis or orientation [4].
Align Vertex, Edge, Faces
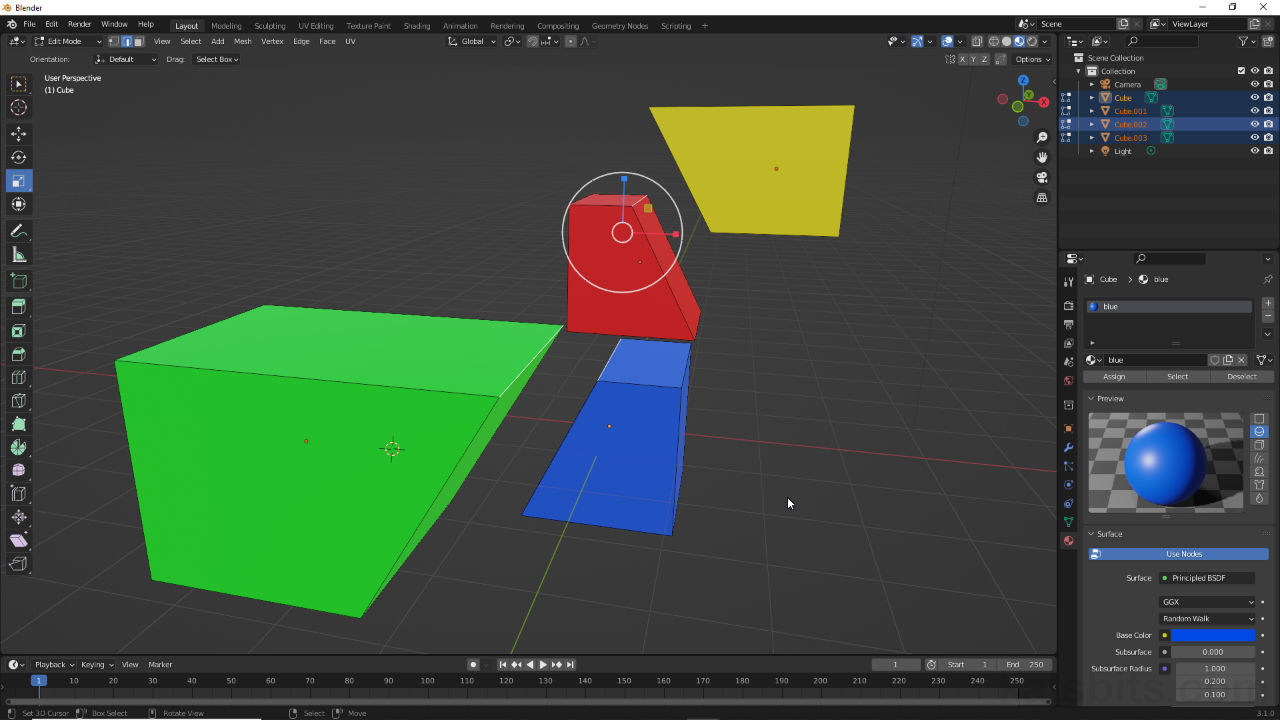
The ability to align selections in Edit Mode isn’t immediately apparent because there isn’t a specific menu item or tool available. Instead the operation has to be initiated using the Scale widget in combination with a shortcut key, and/or as a chain shortcuts. To use the widget, make a selection and toggle into Edit Mode. Switch to the Scale [5] manipulation widget, click-drag an axis indicator to start the action [6], which also locks the orientation, then whilst still initialised, press 0 (zero) or NumPad 0. Alternatively, with selection made press S (free-Scale), X/Y/Z (orientation axis) then 0 or NumPad 0. Additional options will then also be available in the Resize overlay [7] bottom-left.
Design note: align can be used on any element, vertex, edge or face in Edit Mode, and/or across multiple objects when multi-object editing is used in Edit Mode.


In Edit Mode mesh elements (vertex, edge and face) can be aligned to an axis or orientation using the Scale tool [5] in combination with a shortcut key – the is no menu option to activate in this context.

