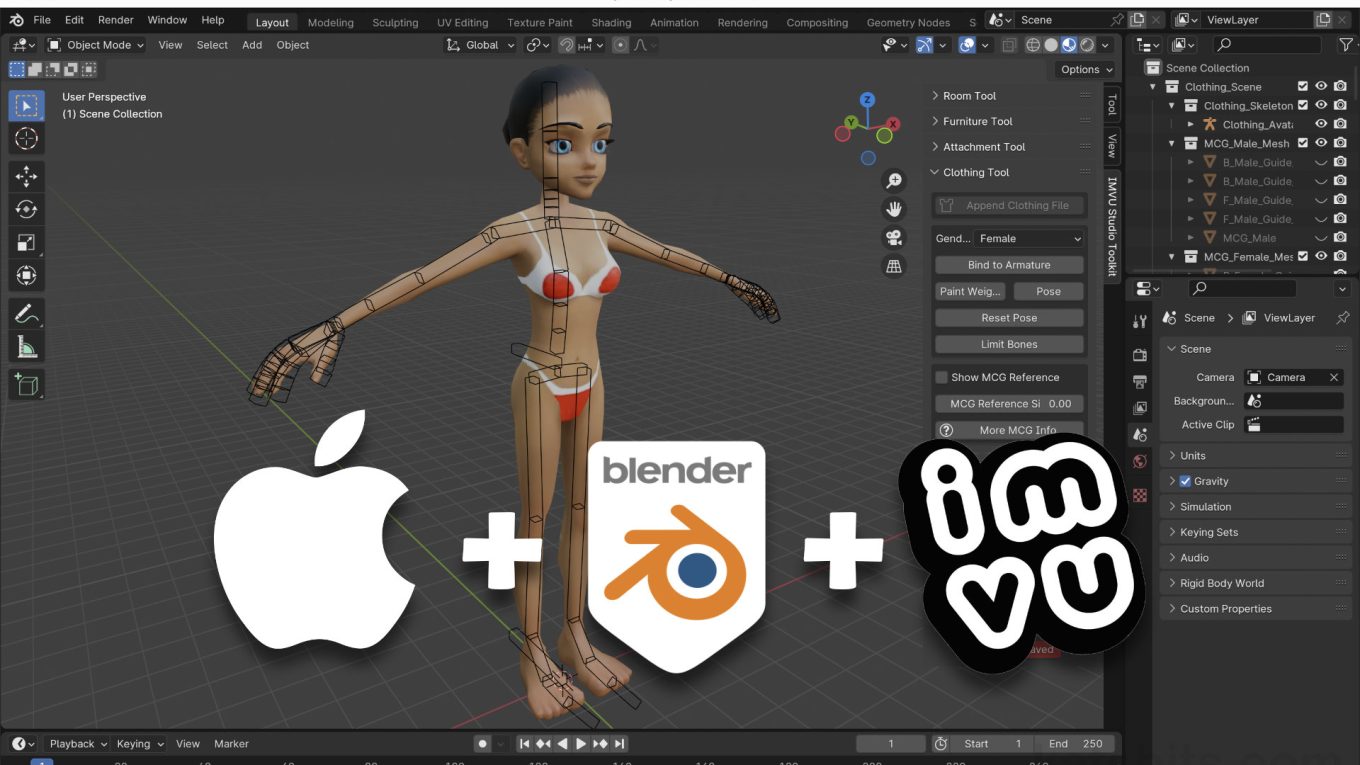
MacOS & IMVU Toolkit for Blender 4.0+
Table of Contents
Description
For MacOS, the installation of the IMVU Studio Toolkit for use in Blender 4.x or above is a two-step process; 1) install the Add-on and note the installation path of the IMVU_Studio_Toolkit.py script and then, 2) copy the entirety of IMVU-Studio-Toolkit-Blender[version_iteration].zip to that same location. After enabling the Add-on the tools will be accessible as normal.
Design note: for more details about installing IMVU Toolkit for Blender on MacOs computers see “Installing IMVU Toolkit on Mac (Macbook Pro/Air etc.)“.
Important: to install IMVU Toolkit into Blender properly, access to the User directory is necessary. This is typically shown at the bottom of the Favourites list in Finder. If not visible, with a Finder instance open, click the Finder menu then on Settings [i]. In the Finder Settings panel that opens, at the bottom of the Favourites list, click the checkbox corresponding to the Home/House [ii] icon – this will be labelled the same as the current, logged in User, e.g. “katsbits” as shown below. The User associated with that item will then be available in Finder [iii] listed under Favourites.
To be able to install the Toolkit for Blender access is needed to the User directory. If this is now shown, in Finder Settings [ii] enable the Home [iii] checkbox.Generally speaking it’s recommended the IMVU Toolkit for Blender be used in conjunction with the current Long Term Support version of Blender, Blender 3.6 LTS, for sake of being fully compatible with the tools and IMVU Studio.
Timestamps
Times are approximate;
– 00:00 : Toolkit Download & Install
– 02:30 : File Path & Finder
– 05:00 : Enabling Toolkit


