Weight Paint Clothes for IMVU
Table of Contents
Video
Description
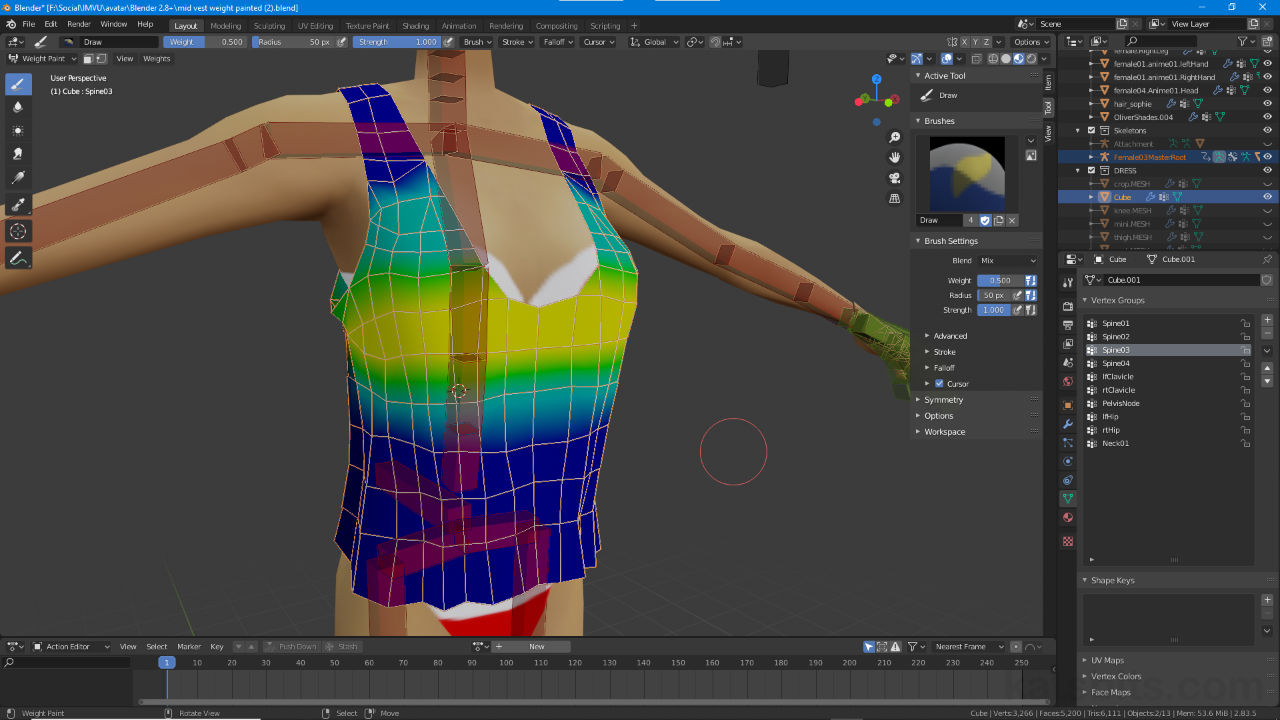
In this video we take a specific look at weight painting a simple clothing item, a vest-style top, for IMVU in real-time so it properly articulates and moves with the avatar (female shown but also male applicable – Clothing Starter Files). To do this we use Blenders Weight Paint tools, a special editing or interaction mode available in the 3D View, that makes it easier to create and manage the underlying Vertex Groups that actually control the mesh.
Duration : total c. 40 mins (00:40:00).
Info : 1080p | Total c. 490 MB.
Project file : n/a.
Product ID: n/a.
Design note: keep the following in mind when making clothing for IMVU;
Weight Paint Mode
to activate Weight Paint mode select Armature first [1] then mesh (last) [2]. From the editing context or Interaction Mode selector (upper-left), switch to Weight Paint [3] (alternatively press Ctrl + Tab to open the quick access pie menu). Repeat and select Object Mode to switch back to normal editing. For Pose Mode, select the Armature and chose Pose Mode from the list.
To weight paint a mesh to a skeleton, first select the Armature object [1] then mesh [2] before switching to Weight Paint mode [3] from interaction mode menu (or press Ctrl + Tab for the quick access menu)Weight Values/Influence
To check weight values, aside from observing colour assignment when weight painting, in Edit Mode individual vertices can be selected and their associations checked in the Vertex Weights subsection of the Sidebar. To do this, select the mesh and toggle in to Edit Mode (Tab – may require switching from Weight Paint mode first) and select an individual vertex (weights only visible for individual vertex selections). Open the Sidebar [4], N or View » Sidebar, and click the Item tab setting it as the active property group. Expand the Vertex Weights options [5], if not already expanded, to see the weights associated with the selected vertex – all bone relationships are show regardless of influence. To delete an influence click the X button to permanently remove (‘null’ or ‘0’ influence bones should also be removed) – this is preferable to painting ‘0’ weights as the latter does not remove the influence over the vertex, only the degree to which that might occur, 0.000 » 1.000.
Checking bone influence over a specific vertex [5] using Vertex Weights in the Sidebar [4].


Time Stamps
Times are approximate.
Video : Weight Painting – c. 40 mins (40:00).
– 00:00 : Overview & Start.
– 04:00 : Modifiers & First Pass.
– 14:00 : Removing Weights & Second Pass.
– 25:00 : Material Colour & Third Pass.
– 32:00 : Mesh Structure & Final Pass.
Design note: see links below for more on topics shown in the video;
– Setting up left or right mouse click.
– What is Mesh Smoothing?.
– The basics of Blender.
– Material basics, using Nodes in Blender.
– IMVU compliant material names.
