Nowhere Minecraft Room Prep in Blender
Table of Contents
Description
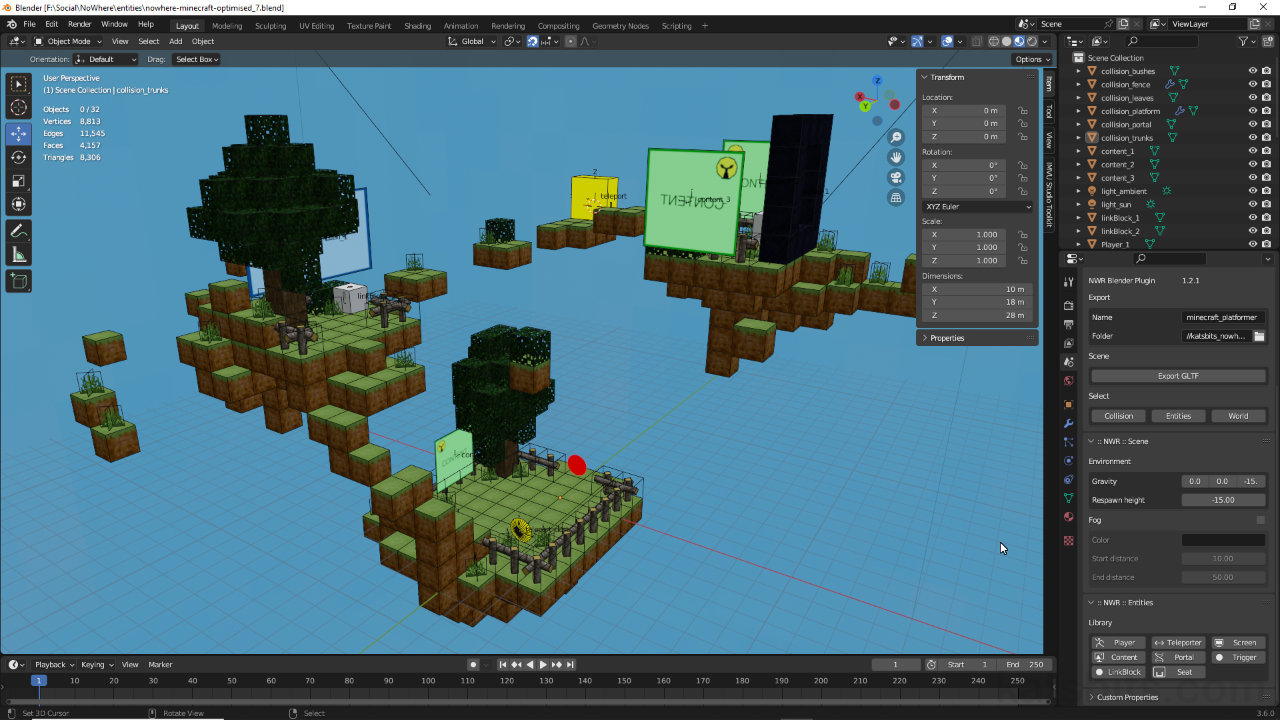
Continuing on from making rooms for Nowhere metaverse, this exercise solidifies series in a finalised Minecraft style room that’s slightly larger and includes an number of Nowhere entities for some basic interaction. With scene now meshed it has to be optimised and all hidden or non-visible (to the User) faces removed. This applies primarily to the platforms, which are single-sided (Backface Culling enabled). For the grass, bushes and tree leaves, these are duplicated and inverted to create two-sided objects which ensures they illuminate and shade correctly. Once the visible elements are prepped they are duplicated and flagged as Collision objects, before finally placing Nowhere game entities, Screen, Content and so on.
Duration: total c. 1 hr 20 mins (01:20:00).
Info: 1080p.
Suitability: Beginner+.
Source: KatsBits – Nowhere Minecraft Source (c. 250 KB – *.blend, *.gltf, *.fbx, *.png), Compatible with Blender 3.6 LTS and above.
Room URL: Nowhere Live Station.
Design note: when preparing rooms for Nowhere it’s critical to understand optimisation, that is, reducing meshes down to the bare minimum required to describe a scene and/or using as few resources as possible to render it.
Mesh Optimisation
While the platforms could be left in their original state as a series of individual blocks that just happen to be Joined into a single object, doing this means a lot of mesh data has to be processed even though it will never been seen by the User [1]. In all instances this occurs, such material should be considered waste and removed [2]. How this is done depends on the object, however, reduction is generally carried out by manually editing and removing offending elements, or using Decimate to automate the process. In either case, and again referring context, this will result in first using Join (Object » Join or Ctrl + J/Command + J [MacOS]) to attached blocks together forming a single mesh, then Merge By Distance (remove doubles) to collapse coincidental vertices – these form as a consequence of blocks butting up to each other, vertices occupy the same coordinates while belonging to separate sub-meshes.
Shown in Wireframe display mode for clarity, image-top, unseen (internal) faces [1] left in place are a resource hog that consume processing power that, image-bottom, should otherwise be directed at elements that can be seen [2].Two-Sided Meshes
Where both sides of an object are meant to be seen, and for each to be correctly lit relative to the scenes lighting, they may need to include a separate front and back face, i.e. two plains stacked back-to-back. While both sides might carry the same material and image assignment, this back-to-back approach ensures each each is lit or shaded correctly depending on their orientation towards light sources.
Meshes are actually single-sided by default, appearing double-sided due to the way programs like Blender and Nowhere duplicate the available face data and flip it at run-time to create (pseudo) two-sided meshes. While Blender is clever enough to know how each face should then be lit or shaded with respect to scene lighting, game engines typically don’t. The only way to compensate for this then, is to make two-sided meshes actually two-sided, that is that both ‘front’ and ‘back’ sides are sperate, individual surfaces – without doing that objects often appear incorrectly lit because the duplication process also typically includes how the surfaces being replicated are lit; the lit side is flipped to the shaded side. See here for proper two-sided materials in Blender.To set up double-sided meshed correctly in Blender so they function correctly in Nowhere, make the object as normal and in Material Properties, for the assigned material(s), ensure Backface Culling [3] is enabled by clicking the checkbox under Settings. Next, select the parts of the mesh that are to be back faces and use Duplicate to copy them – Mesh » Duplicate (Shift + D). Press Esc to release. Finally, while the new selection is still active use Flip [4] to invert them – Mesh » Normals » Flip. This results in a mesh that then has a ‘front’ and ‘back’ side that can be independently lit from one another while still using the same material assignment.
When duplicating something, the elements copied move with the mouse cursor until Esc is pressed (or optionally right-click) which releases and resets them back the same location as the original object they were duplicated from.
Two-sided meshes are an optimisation in so much that it allows an object to be correctly lit in Nowhere. Simply duplicate a mesh, enable Backface Culling [3] and then Flip [4] the faces.


Timestamps
Times are approximate;
– 00:00 : Overview
– 05:00 : Optimising Platforms
– 17:00 : Portal, Trunks, Fences, Grass, Leaves
– 25:00 : Collision Meshes
– 42:00 : Nowhere Entities
– 01:00:00 : Prep, Export & WorldRunner
