Two-sided Meshes, Normal & Shininess
Table of Contents
Description
In this exercise (recorded live so may include off-topic chat) an two sided accessory items is used to explain an issue where normal and shininess maps are used in IMVU Studio, in particular how to address issues caused by the Double Sided material option, which mirrors surfaces and the dynamic way these new maps respond to scene lighting. Now, rather than enabling the option in the materials Settings, meshes should instead be physically double-sided, that is have a front and back that are independent of one another (although using the same material assignment in Blender). In video #1 mesh preparation is discussed before making the normal maps in video #2 for assembly and assignment in IMVU Studio.
Duration: total c. 2 hr 40 mins (02:40:00).
Info: 1080p.
Source: KatsBits – Two Sided Meshes (zip c. 1.6 MB – *.blend, *.fbx, *.png).
Product ID: 56597131.
Design note: some additional considerations to keep in mind using Bezier Curves;
Double Sided
Making products in IMVU Studio that use normal and shininess maps present a few not-so-obvious problems due to their dynamic nature, especially when both sides of a mesh have to be seen. Ordinary to see both front and back of a mesh Double Sided [1] is enabled in Studio which forces IMVU to duplicate and mirror materials based on the original, non-mirrored, surface, essentially disabling the default ‘backface culling‘ render state. For normal maps this is an issue because it often means the effect can appear inverted or backwards [2]. To fix this particular issue the mesh has to be physically duplicated and mirrored in Blender prior to export so there are independent front/back, outside/inside surfaces.
Shown in IMVU Studio a simple panel is shown two-sided, achieved by enabling the Double Sided material option. Using the setting in conjunction with normal maps tends to cause issues because the back face is rendered as a mirrored duplicate of the front, which includes how well its lit and the structure defined by the normal map.Backface Culling
In Blender materials have a similar setting, Backface Culling [3], that when enabled forces meshes to be rendered single-sided [4] – in Blender surfaces are rendered double-sided by default so enabling Backface Culling disables this property, IMVU draws surfaces single-sided by default, the opposite to Blender. This option should be enabled for any surface that needs to be draw ‘two-sided’ in IMVU otherwise it can be difficult to determine face orientation.
Enabling Backface Culling [3] in Blender forces meshes to render as single-sided, the opposite of IMVU, making it easier to determine which way surfaces are pointing [4].Duplicate Mesh
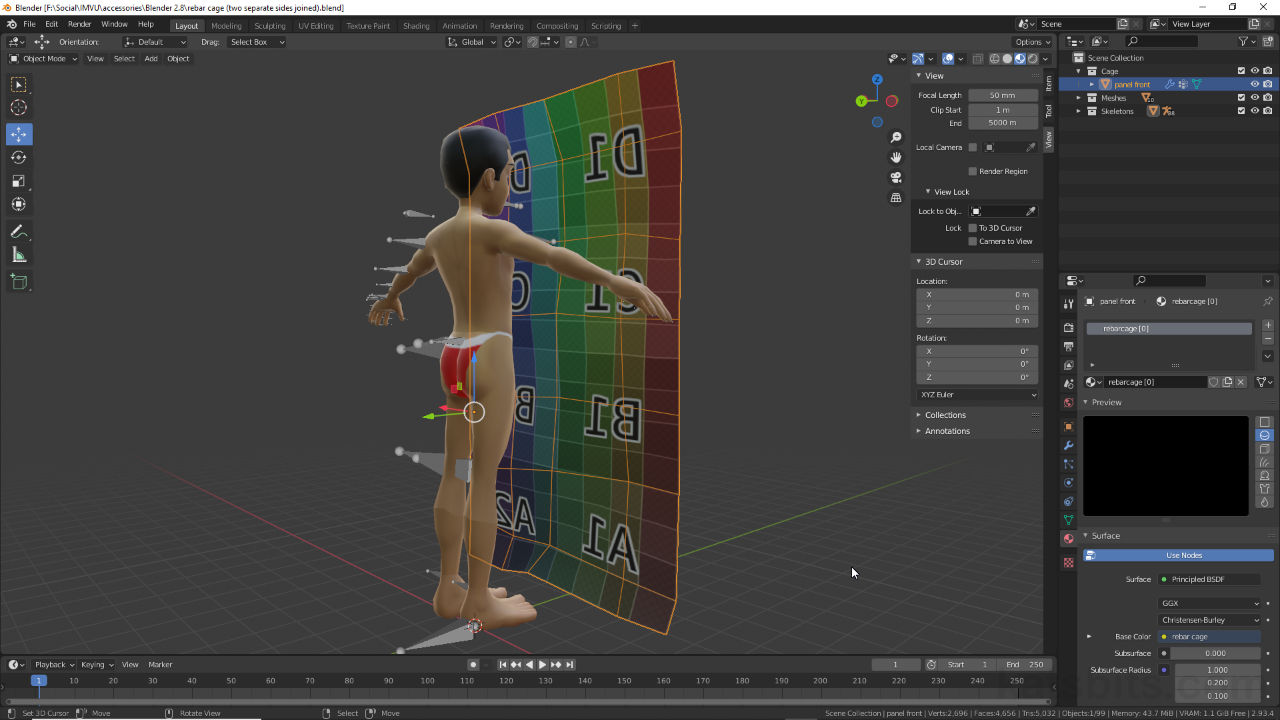
To make a ‘true’ two-sided mesh in Blender, select the original outer surfaces (in this example) and from the Object menu select Duplicate Objects – Object » Duplicate Objects (or press Shift + D). Press Esc to reset the new object and switch to Edit Mode. Here, ensure the entire mesh is selected (Select » All or press A) and from the Mesh menu select Normals, then Flip – Mesh » Normals » Flip. This inverts or reverses the polarity of the selected faces so they now point inwards (relative to the original selection). Exit Edit Mode. This results in two objects [5] back-to-back, one with surfaces facing outwards, the other inwards [6].
Important: materials and UV maps do not need to be modified.
Duplicating an object and using Flip in Edit Mode to invert its orientation, resulting in two separate objects [5], one facing outwards, the other inwards [6] – each is a separate object while using the same material and UV assignments.In IMVU Studio, and with the Double Sided option disabled [7], the product can be set up as before with normal and shininess maps. This time however, because front and back are essentially separate sub-objects each will illuminate and respond dynamically relative to the scene lighting [8].
Important: normal maps rely heavily on there being an actual light source in a room (Omni or Spot) so the effect will be negligible (if visible at all) in rooms illuminated by ambient light only, and/or may not be as noticeable depending on what (detail) is being represented.
Assembled in IMVU Studio, with Double Sided disabled, when items are comprised of separate elements it allows for each side to respond correctly based on the scenes lighting e.g. the front face being lit and effects being shown versus the back, which is in shadow and facing away from the light source [8].Normal Maps Swizzle
When loading normal maps into IMVU Studio the effect produced may appear upside down or flipped in some way relative to scene lighting. If this happens first double-check this is indeed occurring by perhaps loading in a furniture item that includes a light and placing it near the object to better highlight the normalised effect. If the effect still appears incorrect open the image map in GIMP, Photoshop, Affinity etc. and ‘swizzle’ the GREEN (typical) or RED (less typical) channel, for example in GIMP, this would mean selecting the Green channel in the Channels docking panel [11] – Windows » Dockable Dialogs » Channels, then selecting Invert from the Colors menu – Colors » Invert [12]. Or in Affinity Photo select the Green channel in the Chn panel [13] then from Layer click Invert – Layer » Invert [14]. This inverts the channel effectively correcting the errant orientation of the normal map.
Important: how image channels are ‘swizzled’ will depend on the image editor used, typically however, each Red (R), Green (G) and (to a lesser extent) Blue (B) channels should be selectable separately, and modifiable without affecting other channels or the image as a whole. The image may need to be ‘renormalised’ afterwards to ensure the correct normalised colour palette. See here for more on making Normal Maps.
If a the effect accosiated with a normal map appears to be upside down or inverted it’s likely the red or green image channel is inverted relative to IMVU. This can be fixed by ‘swizzling’ or inverting the channel by selecting it [11] and then using Invert [12] or similar.
Swizzling the Green channel of a normal map in Affinity Photo – select the Green channel in the Chn panel [13] (which disables/hide Red and Blue) then from Layer select Invert [14].


Timestamps
Times are approximate;
Video 1 – Mesh Prep for Two-Sided
– 00:00 : null
– 01:30 : Overview
– 05:00 : Mesh Duplication
– 18:00 : UV Map & Material Prep
– 40:00 : Mesh Prep & FBX Export
– 48:00 : IMVU Studio Import & Assembly
– 55:00 : Studio & Alpha Test
Video II – Making Normal & Shininess
– 00:00 : null
– 01:30 : Overview, nJob & GIMP
– 10:30 : Normal Map #1 & Studio Test #1
– 35:00 : Normal Map #2 & Studio Test #2
– 01:02:00 : Shininess & Reflectivity
– 01:27:00 : Coming Soon
