Texture Blending using Masks
Table of Contents
Texture Blending is useful for mixing or blending two or more textures (images) on the same object that might not be related (belong to the same object). In this context the mixing is controlled by an alpha mask, a greyscale image that determines where and to what degree mixing occurs. In the following, two textures of differing size are mixed using a mask as the control.
Design note: the approach to mixing textures in the same material described below works with both Eevee and Cycles Render Engine’s.
Download: KatsBits – Texture Blending (ZIP c. 200KB – *.blend, *.tga).
Texture Blending
Being able to blend or mix separate images together is a relatively cheap way to generate unique textures on pseudo-demand or semi-dynamically without needing to create specific image assets. In other words, mixing dirt and stone together might ordinarily require different versions of the mix to be painted in an image editor for each unique blend represented, e.g. three separate images for each 1/4, 1/2 and 3/4 blends – the more iterations on a theme there are, the more assets required that consume space. Material or node-based texture mixing alleviates this demand in that it only requires simple, low kilobyte, greyscale image masks to define blending.
Design note: texture blending using masks is generally applicable to uniquely UV mapped objects so meshes typically need to be appropriately UV unwrapped for the effect to render correctly (Material assignments are optional).
For texture blending to work in this context meshes will need to be UV unwrapped and UV mapped.

Basic Mix Material
The key to mixing textures in Blender using masks is the MixRGB node. In essence the two images to be mixed are connected to MixRGB’s Color1 and Color2 inputs via individual Image Texture nodes and their respective Color outputs. To complete the material the Color output of MixRGB is then linked to the standard Principled BSDF » Material Output node chain via Base Color input. To add a MixRGB node, from the Add menu of the Node Editor select Color then MixRGB [1] – Add » Color » MixRGB [2]. Drop in three Image Texture nodes from Add » Texture » Image Texture.
Design note: for standard blending the MixRGB nodes Blending Mode can be left as Mix (default).

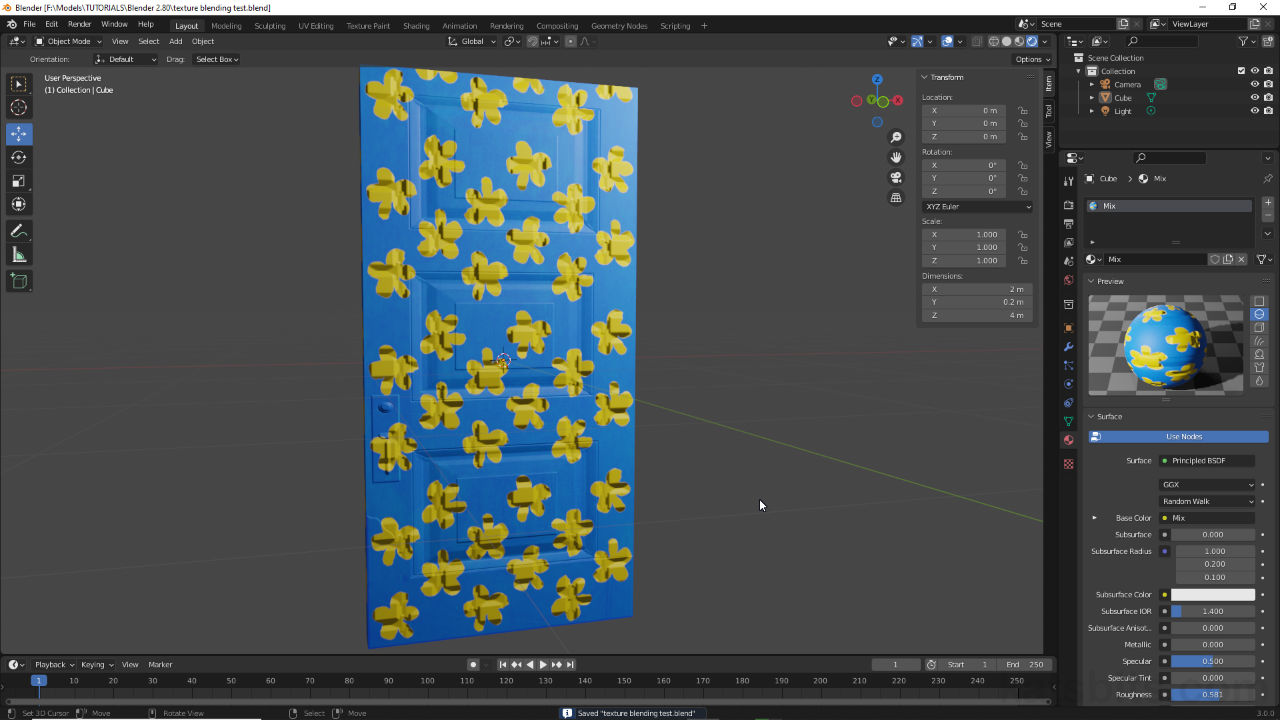
Adding a MixRGB node to mix or blend textures together.
For mixing, in addition to the two diffuse Image Texture [3 & 4] nodes, another Image Texture node that carries the mask [5] is linked to the Fac input of MixRGB [6], the component that controls the blending between the two by interpreting greyscale tones as blend values – black represents one image, white the other, grey being degrees of blend between the two. Once connected the Color output from MixRGB is linked to Base Color input of Principled BSDF (in turn linked to Material Output).
Design note: as the mask used to control blending is a simple greyscale image it can be painted in Texture Paint Workspace if needed. First make sure an image is associated with the Image Texture node, either an externally sourced bitmap or a Generated texture, then link the node so the effect is visible. Next switch to Texture Paint Workspace and select the mask image from the Browse image to be linked [i] dropdown (Image Editor header) or the Active Paint Texture Index [ii] (Active Tool properties panel). When it appears in the work area use the paint tools to paint, edit or modify the mask as required. Painted images can then be saved in the Image Editor clicking Image » Save, Save As.. or Save a Copy...
Because the mask image defining the blend between textures is a simple greyscale bitmap it can be painted in Texture Paint workspace to accommodate specific, instanced effects.


The node tree of a basic material that’s set up to blend two diffuse [3] images [4] together using a third that carries a greyscale mask [5], all linked to a MixRGB node – diffuse to the Color inputs, mask to Fac input [6].
Location, Rotation, Scale
The advantage of using MixRGB as part of the material node tree to blend textures is in the ability to then compensate for discrepancies between the images used. For example if Color1 input is 512 x 256 pixels (portrait – blue door), Color2 input is 512 x 64 (portrait – yellow stripe), and the Fac 256 x 512 (landscape – B/W petals), by default all are scaled-to-fit relative to the image occupying the Color1 slot, i.e. 512 x 256 portrait – the yellow stripe is stretched horizontally, the mask vertically, to compensate for the differences.
Design note: the materials textures are actually being scaled relative to the UV mapping associated with Color1 rather than the image itself.

Images used for the basic texture mixing material are all different sizes so the effect may appear distorted – this could be fixed manually editing images but doing so adds extra assets to the project.
This behaviour can be changed with two additional nodes however; a UV Map [7] node that’s linked to a Mapping [8] node, which in turn is connected to the corresponding Image Texture to be changed. With these two extra nodes in place it’s then possible to change the Location, Rotation and Scale of the image e.g., setting Scale: X to 0.250, effectively tiles the 256 x 512 four times top-to-bottom.

Adding a UV Map [7] and Mapping [8] nodes to the material, any disparities between the images used can be compensated for changing Location, Rotation and Scale values where needed.
To include a Mapping node; from the Add menu select Vector then Mapping – Add » Vector » Mapping. Set Type to Texture [9] then connect the Vector output to the Vector input of the Image Texture [10]. To drop in a UV Map node; from the Add menu select Input then UV Map – Add » Input » UV Map. Set the UV Map [11] to the active or to-be-used UV map (UVMap by default) then connect the UV output of this node to the Vector [12] input of the Mapping node. Once the nodes are in place Location, Rotation and Scale values can be changed to modify the image e.g. changing Scale: Y to 0.250 compensates for the width of the mask so it tiles or repeats vertically four times.
Design note: the UV Map node is required so the material knows what coordinate system changes are relative to, e.g. setting UVMap means using the active mesh objects UV map (as displayed in Object Data Properties under UV Maps).

Settings up the UV Map and Mapping nodes so the linked Image Texture can be modified via the Vector input, which allows Location, Rotation and Scale image coordinates to be changed.
If multiple images need to be corrected that are connect through the same MixRGB node, repeat the process; place additional UV Map and Mapping node pairs, link them to each Image Texture node that needs to be changed, then set the appropriate properties; UVMap set as the coordinates used, Texture set as the mapping Type and Vector as the input. This then allows for Location, Rotation and Scale to be changed independently, for example shown below the same node pairs are replicated and used to compensate for the vertical scaling of the mask in additional to separately correcting the horizontal scaling of the yellow image.

As an number of images need to be changed additional UV Map and Mapping nodes can be linked to their respective Image Texture nodes.
Mixing Normal Maps
Where special consideration needs to be given to the texture blending because of the type of images used, the set up is exactly the same with one or two property differences. Mixing normal maps for example presents such a situation. First set up the MixRGB node with the normal maps that need to be mixed, each using their own Image Texture node linked through to the corresponding Color[n] input of MixRGB. Set the Color Space for each to Non-Color [13].
Design note: for normal maps to behave correctly they need to be set as non-colour, despite being 24 bit RGB(A) images, due to the way the red, green and blue colour saturation values are interpreted.
To this group drop in a Normal Map [14] node – Add » Vector » Normal Map – and position this between MixRGB and Principled BSDF. Link the Color output of MixRGB to the Color input of Normal Map. Then Normal output of Normal Map to Normal input of Principled BSDF, completing the node chain. This displays the two normal maps mixed together across the entire object.

When using a Normal Map node make sure Color Space is set to Non-Color [13] for each Image Texture that references an normal map image. This ensure the effect they generate renders correctly. This can then be connected through from MixRGB to Principled BSDF [14].
To then blend the normal maps so the effect corresponds to the mixing previously established for the diffuse images, link the Color [15] output of the existing diffuse Image Texture node to the Fac [16] input of normal maps MixRGB node; the same mask image [17] is linked to two MixRGB nodes [18] and controls the blending of both image sets.
Design note: when a material includes a number of different image types; diffuse, specular, normal etc., each set can use an existing or independent blend mask [iii] that might then also be adjusted using additional UV Map and Mapping nodes as required. In this way a flexible material tree can be built in which each set of images can share characteristics with other sets or use entirely dedicated assignments that dictate appearance.
The same normal map as used above blended using a different mask that doesn’t explicitly correspond to other images in the material [iii]. This set up means blending can be controlled in a number of ways that can then be adjusted as needed using additional UV Map and Mapping nodes.


When using a Normal Map node make sure Color Space is set to Non-Color [13] for each Image Texture that references an normal map image. This ensure the effect they generate renders correctly. This can then be connected through from MixRGB to Principled BSDF [14].
Blending Mode
When mixing images particular attention should be paid to the Blending Mode used by MixRGB as this determines how they interact with each other, Mix [19] being the default, means Color2 sits above or atop Color1 [20], the two images essentially treated as being independent from one other. To genuinely mix images the Blending Mode can be set depending on the desired effect, to mix normal maps for example, Blending Mode can be set to Overlay [21] otherwise the normalised colour values are not combined correctly [22] (similar to blending normal maps in an image editor). Similarly changing the Blending Mode for other map types changes the effect respectively [23]. This does not affect the masking.


The default Blending Mode [19] for MixRGB doesn’t blend normal maps [20] so one sits above the other (image top). Where mixing normal maps is required Blending Mode should be set to Overlay [21], which combines maps and renders the effect appropriately [22] (if both are to be mixed and not just masked).

Blending Mode can also be set for other image sets, Difference [23] changes the way the diffuse images for Color2 interacts with Color1 in the same material.
