Snowbawl : IMVU Avatar Head
Table of Contents
Description
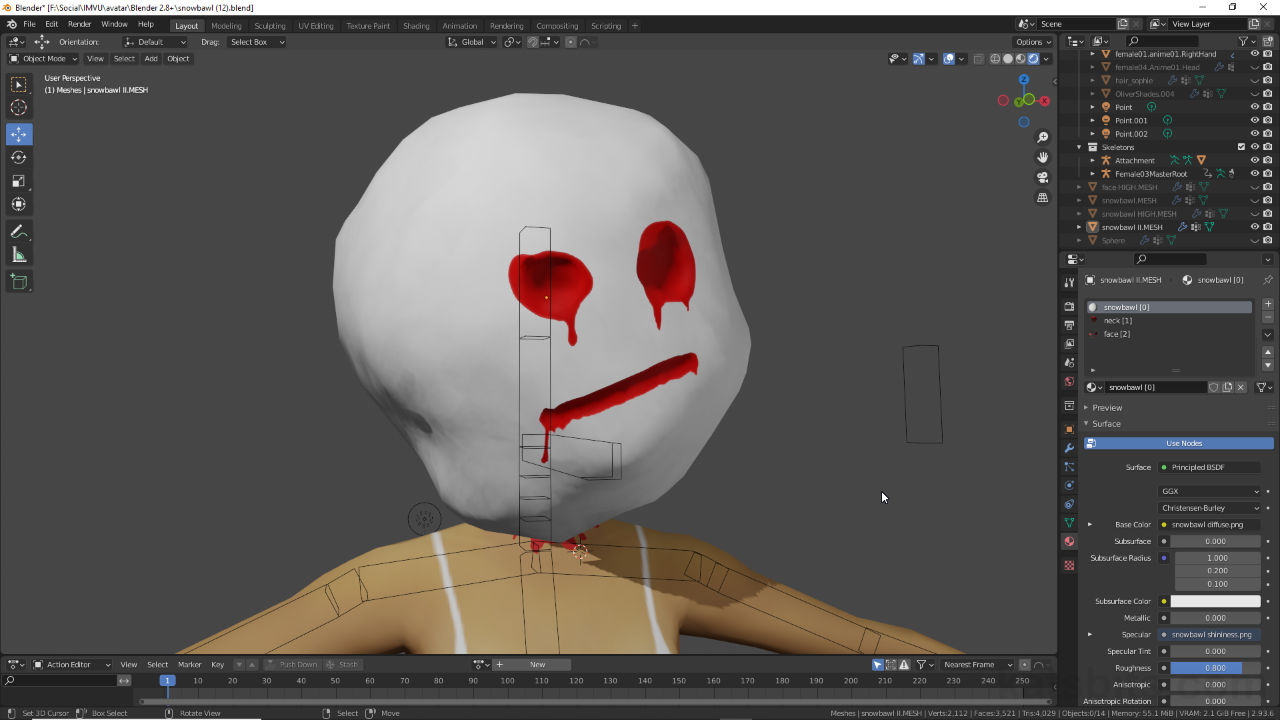
In this exercise (recorded live so may include off-topic chat) we take a look at making a custom ‘SnowBawl’ head to replace the avatars default. Included in the process is some basic sculpting using the Sculpting tools to create a high resolution version of the initial mesh so normal maps can be generated using Texture Bake. Discussed along the way are some of the consideration and pitfalls that need to be kept in mind as the project changes as it progresses. For the head itself, a section is duplicated and detached to create a separate ‘face’ area that can be UV mapped with a higher resolution image. This is in turn masked to mitigate a border showing around the area. Once complete the head is exported to FBX and assembled in IMVU Studio using the normal maps generated using Bake.
Duration: total c. 3 hr 30 mins (03:30:00).
Info: 1080p.
Source: N/A.
Product ID: Snowbawl Female (57491690) | Snowbawl Male (57208127).
Design note: additional considerations to keep in mind making avatar heads;
Starter File/Toolkit Tool
Most meshes that accompany, augment or replace the avatars head can be built using the Accessory Starter File or Clothing Starter File depending on how the product is to be used. If the base head is to be replaced entirely then the Clothing Starter File [1] is needed to properly accommodate articulation of the neck (and shoulders where necessary). If the item augments the base head then the Accessory Starter File [2] can be used, the mesh only then needing to move with the head.
Important: items influenced by two or more bones, but that don’t necessarily replace the head, need to be made using the Clothing Starter File. These are then uploaded as layerable items, that is an item with a custom Mesh ID that doesn’t override the default head so it can be worn/used at the same time.
Choosing the correct Starter File depends on what the product is and how its to be used; use the Clothing File [1] for items that need to deform across a number of regions controlled by other bones; use the Accessory file [2] for items only articulated by the Head.Texture Bake Issues
When sculpting a high resolution mesh for normal map generation there’s often a significant enough disparity between high [3] and low [4] versions that it makes the Bake process dissatisfactory. In such situations it’s often best to scrap the initial low resolution mesh, instead repurposing a copy of the high to ensure better structural correspondence, i.e. the difference between the two will generally be one of mesh density rather than mesh structure. The most straightforward way to generate a low from high resolution mesh is to use Decimate [6], lowering the Ratio value until the objects silhouette is more dominant than its density [6].
In some instances manually creating a low [3] resolution version of high [4] can lead to disparities that are difficult to accommodate. In this situations it may be better to Decimate [5] the high resolution to generate a lower resolution version with better correspondence [6] (highlighted as selected).UV Mapping
UV mapping an image to a large object and using the largest image possible, a 512 x 256 pixel image in this case, can mean painted features appear blurry as too small a detail might be mapped to too few pixels. The general solution to this is to use decals. Decals are essentially sections of mesh duplicated and offset slightly to sit above the surface. They are then given unique material assignments and UV mapping to separate images [7] that often allow for increased detail compared to the parts they may float atop [8]. In this way feature details can appear crisper than otherwise possible.
Decals [7], duplicates of a mesh that are offset from their parent, can be used to increase texture details by mapping UVs to separate images. This helps where feature details need to be more clearly defined than would otherwise be possible [8] (above: ‘face’ decal UVs superimposed above the ‘head’ UVs).Bake & Max Ray Distance
Key to using Bake for normal map generation [9] is that the Max Ray Distance value will vary depending on the meshes being baked, not all will produce viable maps using the default 0.01 m setting [10], some trial an error should be expected, including but not limited to making changes to the low resolution mesh, especially due the the scale difference between IMVU and Blenders base unit – IMVU is 100x larger than Blenders default, which can cause issues when texture baking.
The Bake settings for IMVU [9] may require some trail and error to generate an acceptable normal map due to the scale difference between IMVU and Blender. Generally speaking the default Max Ray Distance value [10] will need to be larger than 0.01 m.Material Preview
Materials in Blender can be used to preview IMVU Studio materials, especially with respect to transparency [12] and the new normal and shininess maps. How each is defined [11] exactly depends on the overall intended effect, but so long as the node tree is simplified (Image Texture nodes linked directly to Principled BSDF) the resulting FBX will auto-assemble correctly on import.
Important: for Blender, the Base Color setting equates to IMVU Studios Diffuse [I], Alpha is Opacity [III], Specular is Shininess [II] and Normal is Normal [IV]. So long as these are connected correctly in Blender, IMVU Studio will read and assemble the material appropriately on import.
Material node tree in Blender showing the set-up for transparency which will be interpreted by IMVU Studio as an Opacity.
Materials can be used to preview [12] the final result in IMVU Studio so long as the appropriate settings are used, especially true of transparency [11].Append
When using Append to bring assets from one project into another, use the Outliner to double-check what’s been imported as the process typically includes everything linked or associated with the append-selected objects, appending in the head from the fully prepped female avatar for example, also includes materials, which are wanted, and the female skeleton [13], which is not wanted as an instance of this already exists in the male Starter file. This can be highlighted in the Outliner and removed (Delete).
Check the assets brought into the Starter File after Append and remove anything that’s unwanted [13], e.g. duplicate avatar Armature. This can be done in the Outliner selecting the item and deleting.IMVU Materials
Standard avatar heads in IMVU use a number of materials by default [14]; skin, eyes, eyebrows and eyelashes, that need to be overridden by another material using the same Material ID, e.g. Head [2], Eyes [3], Hair [4], Eyelashes [5], Eyebrows [8] and optionally skin [7]. In other words, to override the default ‘Head [2]‘ material when importing the mesh, in Blender the material assigned to the mesh also needs to be named ‘Head [2]‘ (both are caSe SenSiTiVE). If this is not done the defaults remain in place as non-removeable inherited assets. Similarly for meshes as heads typically include Hair by default that, at present, cannot be disabled or overridden unless another, separate, mesh is imported into IMVU Studio for such purposes [15]. For the end User this means removing any hair they might be wearing to use the custom head rather than the head doing that as a matter of course when used.
Heads use and include a number of default material and mesh IDs that can be overridden by imported assets. If this isn’t done inherited materials [14] and meshes [15] remain in place.


Timestamps
Times are approximate;
Video 1 – Snowbawl Avatar Head.
– 00:00 : Null.
– 01:30 : Overview & Initial Pass.
– 19:00 : Initial Prep, Export & Assembly.
– 32:00 : Mesh Sculpting & Decimate.
– 57:00 : Bake Normal Map.
– 1:29:00 : FBX Export & Studio Assembly.
Video II – UV Maps & Materials
– 0:00 : Null
– 01:30 : Overview & UV Maps.
– 25:00 : Materials & Real Time Preview.
– 42:00 : Export & Assembly.
Video III – Assembly & Normal Maps
– 0:00 : Null.
– 01:30 : Overview & Append.
– 08:00 : Meshing (Neck Update).
– 40:00 : Export & Assembly (Normal Maps).
