Make A Minecraft Character in Blender
Table of Contents
Description
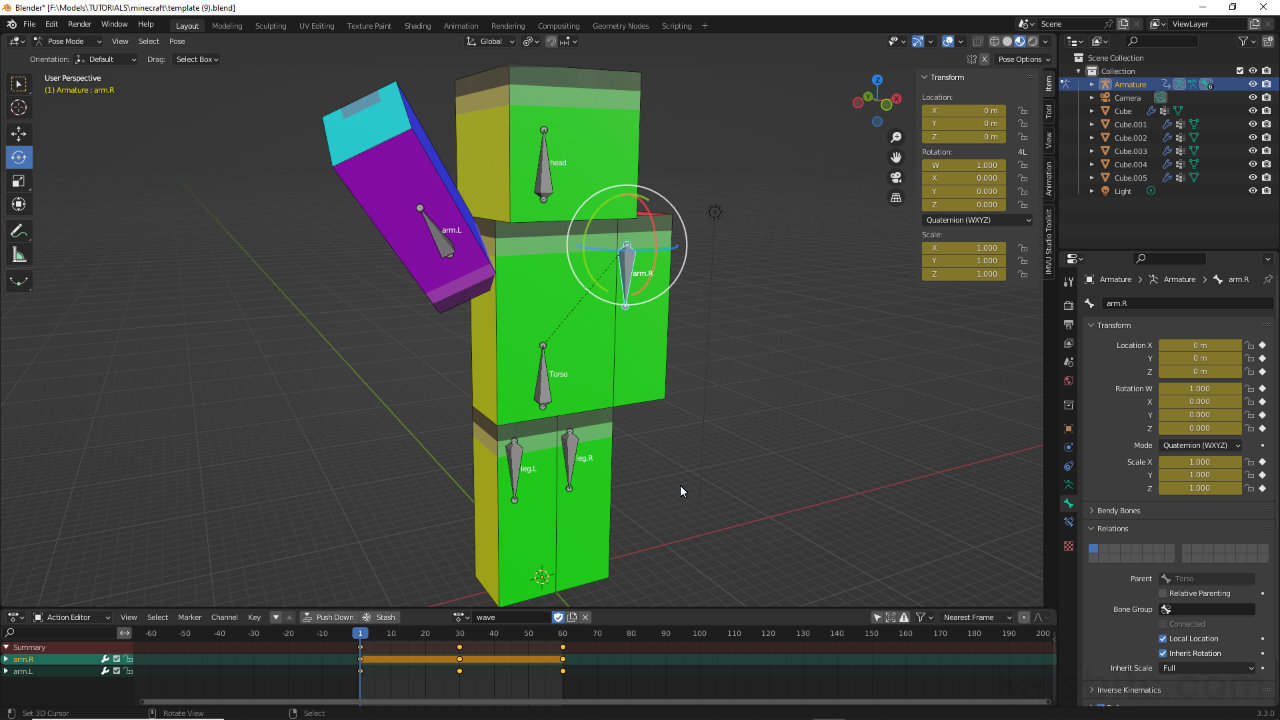
In this first part of “Making a Classic ‘Steve’ Minecraft Character in Blender” we take a look at building, texturing, rigging and creating a simple animated character made from basic shapes. Using the default Cube the basic body parts are made in the 3D Viewport. A material is assigned and each object then UV Unwrapped and UV Mapped in UV Editing Workspace. Once this is done the character is rigged using an Armature, and a basic animation generated using the Action Editor.
Download: Katsbits – Minecraft Base (c. 200KB | *.blend, *.png, *.psd).
Design note: some optional considerations when making a Minecraft style character in Blender 3D;
Unit Scale
Setting the projects Unit Scale [1] to 4.000000 does not physically alter the Cube, it changes how its size/scale is displayed relative to the grid/unit of measurement. Once the project is completed Unit Scale can be reverted back to the default value 1.000000 – the unit of measurement Minecraft uses is relative to ‘power-of-two‘ (multiples of 2) which makes a properly proportioned character much larger than one made using Blenders inherent scaling. If the mesh were then to be used in a larger project, a rendered animation for example, adjustments would need to be made to cameras and lights to compensate for this scale difference.
Changing how the Cubes dimensions are changed by increasing Unit Scale [1] to make it easier to shape the characters body parts.Object Dimensions
The dimensions of each body part is essentially based on the number of pixels mapped to each side (for more information on this see “[Minecraft] how tall is the Minecraft player in Blender“;
• Head = 8 x 8 x 8
• Torso = 8 x 4 x 12
• Arms = 4 x 4 x 12
• Legs = 4 x 4 x 12
The full dimensions for each body part.UV Layout
The UV maps for each part of the body should end up as a series of axial shapes that fit precisely over the skin image [2]. To better facilitate this be sure to enable Snap to Pixels [3] from the UV menu in the UV Editor – UV » Snap to Pixels » Corner.
Minecraft uses a very axial UV map for characters [2]. Enable Snap to Pixels [3] to ensure each body part is properly mapped to the skin.Join Objects
For clarity and ease of editing the characters body parts are not joined together, they remain independently selectable objects. As an option however, once the Steve is assembled (he has both left and right arms and legs in place) the parts can be attached together using Join; shift-click each object then from the Object menu select Join [4] – Object » Join (Ctrl + J). By way of confirmation the Outliner will list a single object instance [5] – joining can be done at any point but preference would be to wait until all the characters parts have been made and reset to avoid issues and additional work.
After duplication the characters body parts remain separate so they can be selected individually. They can however, be attached using Join [4], which then displays a single editable object in the 3D Viewport and Outliner [5].Mesh Articulation
When setting up the characters rig, if extra bones are added to give the impression of upper/lower arm and leg movement, the corresponding mesh parts will need to be cut to accommodate ‘elbow’ and ‘knee’ articulation [6]. This can be done using loop cuts. For each object, in Edit Mode click the Loop Cut button [7] in the Toolbar, or use Ctrl + R, to activate the tool and place the cuts at each limbs mid-points [8] – if the toolbar tool is used, once active click the appropriate edge to place a cut; if the shortcut is used to activate, mouse over an edge, click to select, then click again to place (right-click auto-centres).
For more complex articulation of the character additional bones can be added but this then also means loop cuts [6] need to be added using the Loop Cut tool [7] to place ‘elbow’ and ‘knee’ joints [8].Auto Keyframing
To make the animation process easier, before switching to the Action Editor, in the Timeline Editor enable Auto Keying to automatically insert a keyframe whenever bones are manipulated. This can be set to specifically record the necessary Location & Rotation, or Location, Rotation & Scale datasets from the Keying menu. To do this, in the Timeline click the Keying menu. In the options pop-up that appears click the Active Keying Set input field and select Location & Rotation or Location, Rotation & Scale from the list. In addition ensure New Keyframe Type is set to Keyframe.
Before animating enable Auto Keying. This can be set to automatically insert Rotation, Location and/or Scale [10] data when bones [11] are posed.
Timestamps
Times are approximate;
– 00:00: Scene Setup & Meshing
– 06:00: Materials & UVs
– 37:00: Armature & Rigging
– 52:00: Animation


