Learn Blender – Make a Dice
Table of Contents
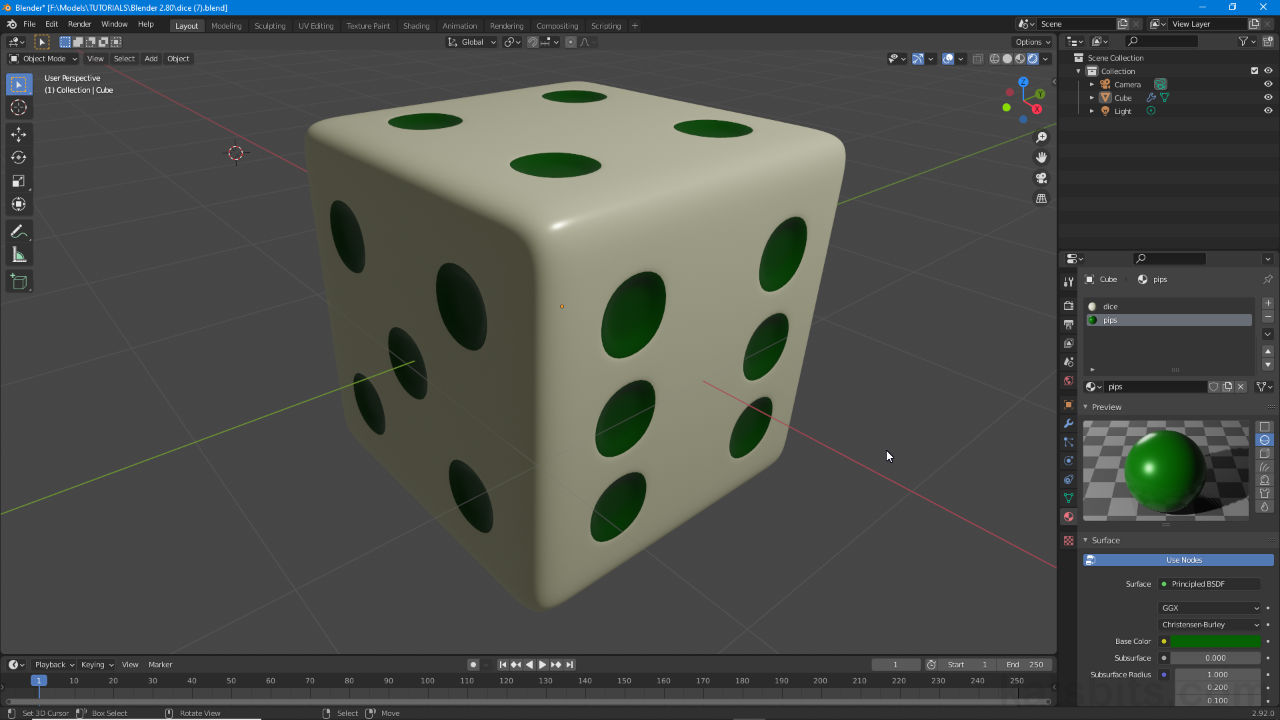
Description
In this simple exercise to learn Blender (2.92+/-) we take a look at making a six-sided dice from Blenders default scene Cube. To make the object in a reasonably efficient way that accommodates the various number of pips on each face, the mesh is manually subdivided in Edit Mode using the Loop Cut tool (Toolbar or Ctrl + R), the resulting grid forming the basis from which the dice pips can be made, delineated from surrounding faces with their own material assignment. They are then shaped using the Inset Faces tool (I) before assigning the Subdivision Surface modifier to ‘smooth’ the mesh. Finally the materials are edited for more realism (‘plastic’ and ‘paint’) and checked in both Eevee and Cycles.
Suitability: beginners or anyone wanting a simple exercise to get more familiar with Blender (Blender 2.92 shown but any version from Blender 2.80 onwards can be used).
Duration: c. 30 mins (30:00).
Info: 1080p | c. 150 MB.
Source: KatsBits – Dice (zip c. 500 KB – *.blend).
Design note: some additional considerations to keep in mind while making the dice;
Edge Loop Selection
Blender (2.92+/-) current only accommodates ‘edge’ loop selections from the Selection menu – Select » Select Loops » Edge Loop – so selections have to be done manually. When making loop selections, depending on where a mouse-click occurs, Blender will select from a number of possible outcomes based on the structure of the mesh or its edge flow. In other words, when making a selection click in a way that prejudices a particular orientation, for example clicking a corner or other ‘internal’ edge [1] will tend to select a similarly ‘internal’ loop of faces, around the pips for example, whereas clicking in the middle of a face [2] typically selects the alternative loop around the entire mesh.
Important: using Alt + [click] for loop selections works when either left or right mouse is set as the selection default.
Where the mouse is click determines which loop of faces (or other element) is selected – typically clicking an ‘internal’ edge of a loop [1] will select that loop, whereas clicking a face will select the alternative loop [2].Inset Faces
When insetting faces to create the pips the positive or negative nature of the edit (+/-) depends on which side of the axis the selection is and the direction it should be manipulated; inwards and the value typed will be ‘positive’, i.e. 0.05 in line with the axis marker [3] (selection move forwards relative to widget); outwards and the value typed will be negative, i.e. -0.05 ‘away’ from the axis marker [4] (selection moves backwards relative to the widget).
To determine whether a ‘negative’ (-) or positive (+) value is needed to inset the pips to form a recess, check which direction the 3D Widget is pointing [3] vs which way the face needs to move [4].Subdivision Surfaces
When adding the Subdivision Surface modifier to an object its structure is ‘smoothed’ in the sense that more face data is added by subdividing the mesh, 1 face becomes 4 by being split down the centre, top-to-bottom, left-to-right. This differs from mesh smoothing or Shade Smooth as its called in Blender, which alters the way surfaces are shaded (light and dark highlights) in response to scene lighting so they appear contiguous instead of facetted [5]. To smooth surfaces, in Object Mode click the Object menu then Shade Smooth – Object » Shade Smooth [6]. To smooth in Edit Mode, Select All then click Mesh » Shading » Smooth Faces.
Important: in Edit Mode smoothing is assigned based on selection so can be applied semi-selectively – to fully control hard/soft edges or the appearance of ‘groups’, marking Sharp edges should be used.
To determine whether a ‘negative’ (-) or positive (+) value is needed to inset the pips to form a recess, check which direction the 3D Widget is pointing [3] vs which way the face needs to move [4].Previewing Materials
When working with simple materials it can be tricky to see just how each setting affects or changes the objects appearance. In these situations it helps to manipulate the scene so a corner or edge is centre-screen facing the viewer [7]. In other words take advantage of a mesh section where surface structure exposes a more stark sense of contrast, this could be between areas with or without highlights, areas with more obvious differences between light and dark shading and so on [8].
Orientating the preview area to expose more contrast so material changes are seen more clearly, looking at the corner of the dice for example [7], reveals edge highlights that in turn provides visual feedback on how ‘hard’ or ‘soft’ the material might be in relation to the settings used. Similarly faces arranged in shade/shadow [8].


Timestamps
Times are approximate.
Video : Make a Dice in Blender – c. 25 mins (25:00).
– 00:00 : Overview.
– 00:30 : Dice & Pips Layout.
– 05:00 : Pips Structure.
– 12:00 : Subdivision Surface.
– 20:00 : Materials.
