IMVU Studio Toolkit – Anyshape Furniture
Table of Contents
Description
Using the Furniture Tool aspect of the IMVU Studio Toolkit we take a look at making a simple furniture item, an ‘anyshape’ rug, that is, a flat plain whose shape can be changed using an opacity map. As this is a simple item all that’s needed is a flat plain which is assigned a transparent material so the ‘anyshape’ can be previewed in Blender. This is then duplicated to create a sense of depth. Once the mesh is done it’s prepped for export and then assembled in IMVU Studio.
Duration: total c. 20 mins (00:20:00).
Info: 1080p.
Source: KatsBits – Toolkit Rug (500 KB, *.blend, *.fbx, *.tga, *.png). Requires toolkit. For Blender 2.93 LTS.
Product ID: Toolkit AnyShape Rug (PID 59731656).
Design note: as ‘anyshape’ furniture isn’t really a 3D mesh some additional considerations need to be kept in mind when using the Toolkit for IMVU;
Mesh Primitives & UV Maps
Mesh primitives, i.e. the basic objects dropped into the Scene to model something, include basic UV maps so may not explicitly need to be unwrapped or mapped; once an image is associated with the material that’s assigned to the object it will orientate based on this default UV map and mapping. With this in mind make sure the UVs extend to the outer limits of the mapped image [1] to ensure there aren’t clipping or tiling issues once transparency is set up in Blender or Studio/Classic.
In UV Editing Workspace ensure the UVs extend to the edges of the mapped image [1] to avoid clipping and tiling issues once transparency is set up – Blender essentially provides a preview of the effect as it would appear in Classic editor or Studio, the latter especially due to the way it implements transparency.Vertex Group Assignments
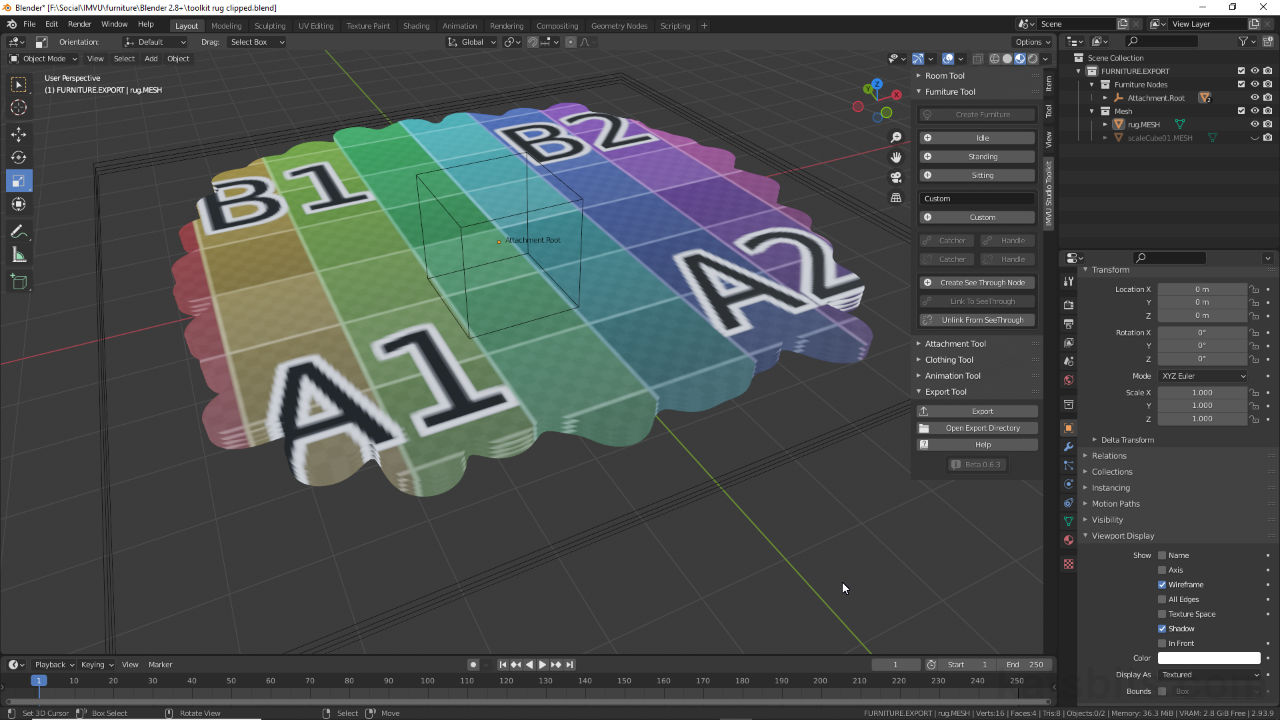
For basic non-animated furniture the toolkit automatically preps meshes for export and use in IMVU so long as they’re placed within the Mesh collection of FURNITURE EXPORT in the Outliner [2]. In practice this means the traditional ‘Root‘ vertex group assignment is not specifically needed so Vertex Groups in Object Data Properties will be blank [2]. However, if a groups do need to be added to accommodate more complex items, objects with multiple parts or parts that animate, the root group shown in Vertex Groups (click the + button to add) should be named Attachment.Root [3], with objects then parented to Attachment.Root or appropriate node from Object » Parent » Object.
A vertex group assignment is optional if the furniture object is placed in the Mesh collection [2]. Otherwise the root group should be named Attachment.Root [3] to link it to the root node in the scene.Faux/Fake Depth
To better affect the faux-3D appearance of theses types of opacity defined ‘anyshape‘ products/projects, each layer can be resized or shrunk slightly from bottom to top, bottom being the largest, top being the smallest [4]. What this then does is create an offset that emphasises the perception of depth created by the stack. In practice this type of modification is best done once the layers are set up the way they need to be, in terms of general appearance, i.e. material assignments and being UV unwrapped to ensures they all use the exact same UV mapping and image placement. Using the Scale widget in Blender to do this, be sure to click-drag the appropriate axes, e.g. a flat plain only needs to be modified on the X (red) and Y (green) axes (front/back, left/right).
Changing the relative size of each layer increases the sense of depth due to the slight offset this creates in how the boundaries of the mask are perceived [4] – the effect is not affected by the shape described by the opacity mask.Types of Transparency
When previewing transparency; Alpha Blend in Blender represents Composite Blend in Studio; Alpha Clip in Blender is Alpha Test in Studio. With assets auto-assembled/loaded [5], Composite Blend [6] renders transparency ‘as is’, so black is fully transparent, white is fully opaque, grey varies transparency depending on a particular tone being closer to black or white. Alpha Test on the other hand, clips transparency based on a Threshold, the higher the value the stronger the effect – black is transparent, white is opaque, with grey being either fully transparent or fully opaque based on the aforementioned Threshold value, 0.0 – 1.0 (0.5 default).
The different types of transparency in Blender have corollaries in IMVU Studio so opacity maps and the effect [5] appear different relative to the setting used [6]; Composite Blender for ‘soft’ edges, Alpha Test for hard edges.


Timestamps
Times are approximate;
– 00:00 : Meshing & Materials.
– 07:00 : Texture Painting.
– 11:00 : Mesh Layers.
– 13:00 : Prep & Export.
– 15:00 : Assembly in Studio.
