IMVU Studio Toolkit – Animated Furniture
Table of Contents
Description
Using IMVU Studio Toolkit we take a look at making a simple animated furniture item to understand how this is done using the Furniture Tool and the default template items. As a furniture items root node, Furniture.Root, cannot (should not) be moved another node has to be added so it can be animated instead. The two nodes, plus the mesh object, are then linked using Parent to form a hierarchy that becomes the items skeleton. Once this is set up the extra node is animated using the Action Editor, the whole project then being exported to FBX using the tools exporter and assembled in IMVU Studio.
Duration: total c. 20 mins (00:20:00).
Info: 1080p.
Source: KatsBits – Toolkit Animated Furniture (250 KB, *.blend, *.fbx). Requires installation of the toolkit for Blender. Open in Blender 2.93 LTS or above.
Product ID: Toolkit Anim Furniture (PID 59818759).
Design note: the complexity of animated furniture depends on what the item is and what type of animation is required so keep the following in mind;
Furniture Toolkit Defaults
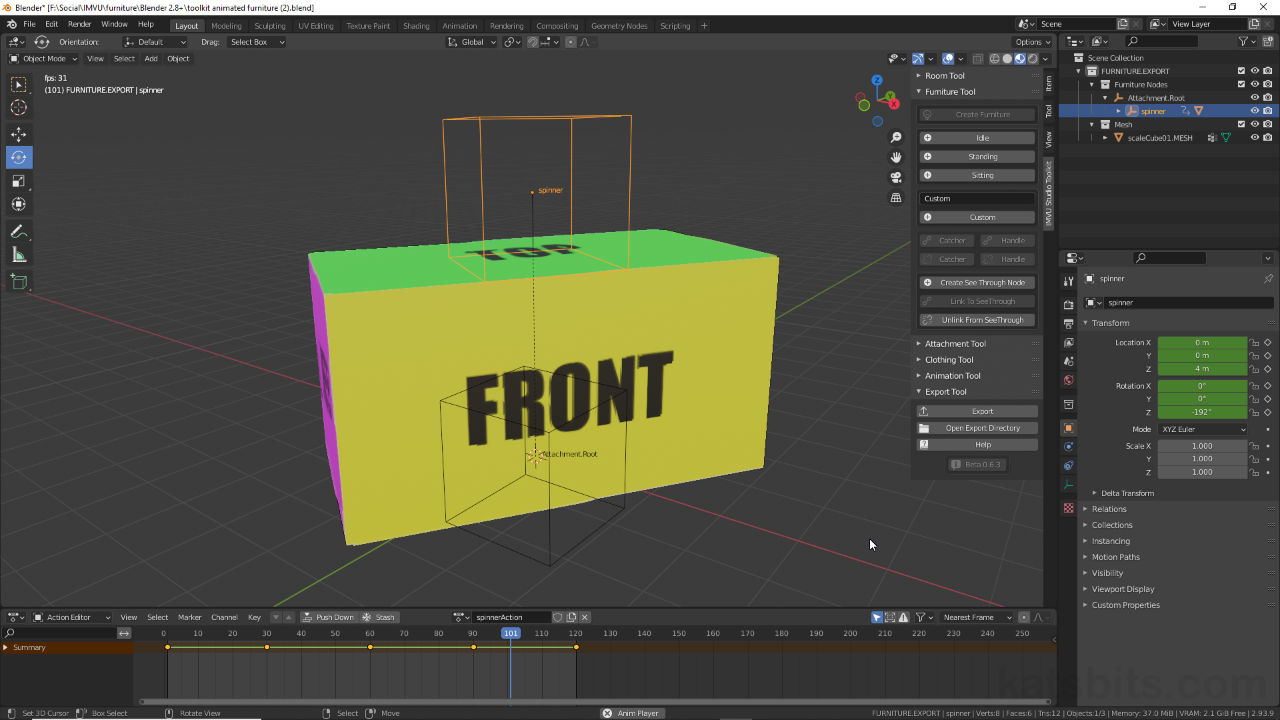
The components dropped into the scene by default are organised to export functional furniture items without needing additional set-up. In other words the mesh is automatically configured as a child object of Attachment.Root to create the necessary skeletal structure IMVU needs; Parent (Attachment.Root) « Child (mesh). Ordinarily if more meshes are to be included, so long as they reside in the Mesh collection in the Outliner [1], exporting will similarly generate the correct hierarchy for a furniture item. For animated furniture this differs however, the relationship between objects needs to be established manually depending on functionality and what the eventual product is supposed to do, else the exporter will assume the default relationship between objects – everything parented to Attachment.Root – which will break the item.
For general export meshes go in the Mesh collection and nodes in Furniture Nodes [1]. This ensures the resulting skeleton has the correct parent » child relationship to function correctly in IMVU.Check Vertex Group Assignment
To ensure objects animate correctly meshes need vertex group assignments that correspond to the nodes controlling them. Similarly for meshes controlled by multiple nodes, individual areas or segments each need their own vertex group. In all instances node labels and vertex group name needs to be unique (Blender forces this by default), both being CaSe SEnSiTiVe. In Object Data Properties then [2] click the + button for each group that needs to be added to the Vertex Groups list and assign them to specific selection of the mesh in Edit Mode.
Important: to ensure properly functioning furniture, if items include both animated and non-animated elements, the non-animated parts will need to be associated with the root node Attachment.Root. This can be done creating an additional vertex group named Attachment.Root and assigning it to all non-animated parts appropriately.
Vertex Group assignments are crucial for animated furniture item as they create the link between mesh and animated control node.Frame Rate (30 FPS) & Interpolation
Because the furniture tool isn’t specifically set up to create animated items, projects may need to be adjusted for this, primarily the Frame Rate and Interpolation Mode, which match an animations speed and behaviour with what IMVU is expecting; without doing this sequences will appear slower and may pause or hiccup, typically at the last » first loop transition. In Output Properties [3] make sure Frame Rate is set to 30 fps [4] (default is 24fps – may depend on region). Then in the Action Editor change the Interpolation Mode to Linear [5] in the Key menu – Key » Interpolation Mode » Linear.
The furniture tool isn’t set up to accommodate animation so the scene and interface need adjusting in Output Properties [3], naming the Frame Rate [4] and Interpolation Mode [5].Animation Import & IMVU Studio
Although IMVU Studio automatically assembles the main product after import, the Action will need to be manually set up. In the Inspector panel [6] for the Action being edited, for animated furniture items, the Trigger should be stance.Idle (cAsE SEnSitiVE) if the animation is to auto-start on load, or a word, phrase or character if its to be activated manually, e.g. “go“. Set the Action Type to either Room or leave it blank (default). The animations speed and other properties can then be set in the Ensembles configuration panel; Speed 100 plays the sequence as imported, 50 halves it, 200 doubles it and so on. Finally type a value to set the Start and End frames, and the number of times the sequence should play, 0 will repeat infinitely.
There are a number of settings to use in IMVU Studio that can modify the behaviour of an animated furniture item [6] but the fundamentals, the frame rate and sequence duration (length), should be established in Blender before export to FBX.


Timestamps
Times are approximate;
– 00:00 : Skeleton Set Up.
– 08:00 : Animating.
– 11:30 : Frame Rate, Duration & Interpolation.
– 15:30 : Export, Assembly & Action Setup.
