Cartoon Acme Bomb Accessory
Table of Contents
Description
In this exercise we take a look at using the Accesory Starter File to make a simple cartoon style ‘acme’ bomb. First the default Cube is deleted and replaced with a relatively low-resolution Sphere – Add » Mesh » UV Sphere. Next, once the mesh is shaped its given a Material assignment before being UV Unwrapped and UV Mapped, – the layout is exported as a texture map for IMVU – UV » Export UV Layout. With the model completed its brought in to the Accessory Starter File using Append – File » Append – then positioned and prepared for use as hand-held accessory item by assigning an AttachmentRoot vertex group and Armature modifier, before export to FBX and assembly in IMVU Studio.
Duration: total c. 45 mins (45:00).
Info: 1080p | c. 240 MB.
Source: KatsBits – Acme Bomb (zip c. 900 KB – *.fbx, *.blend, *.png).
Product ID: Cartoon ‘acme’ Bomb – PID 53889606.
Design note: some additional considerations to keep in mind modelling an ‘acme bomb’;
UV Unwrapping/Mapping
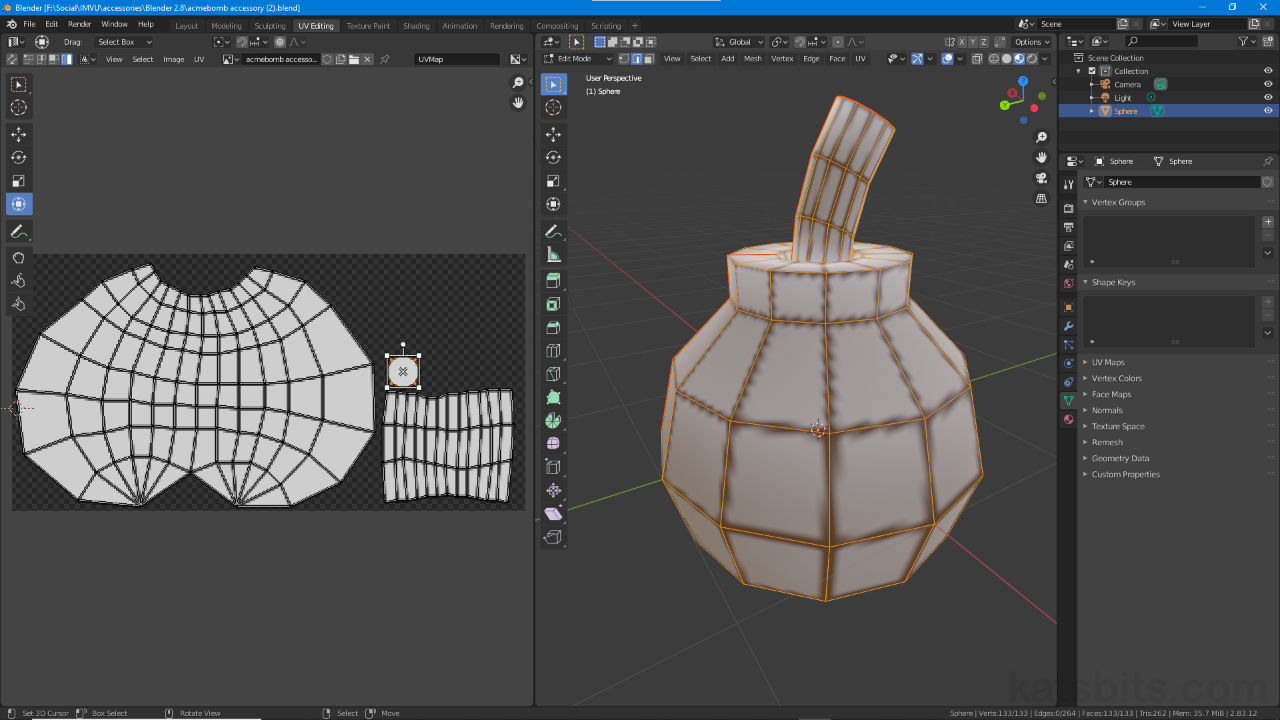
When UV unwrapping organic, shaped and especially curved or rounded forms, UV maps can be quite distorted relative to the object represented. This can be addressed by manually editing UV’s, selecting individual UV vertices and, optionally, ‘pinning’ them in place (UV Editor UV » Pin or press P), to modify the maps eventual layout. Taking this corrective action however, may not expressly solve UV/image stretching, and instead may just change where that might occur.
The default UV map generated by Blender when unwrapping a spherical object that’s split using a Seam; it results in a best effort attempt to cover curved structure with minimal UV or image stretching.
Modifying a UV map to formalise its appearance, in this instance making it more like a regulated grid, make solve some UV and image stretching whilst introducing it to others – texture density changes across the entire map more significantly using this layout style.Normal Maps
To generate normal maps in Blender switch the Render Engine to Cycles in Render properties where the necessary Bake will then be available. For IMVU most settings can be left as is except for Bake Type, which needs to be set as Normal, and Ray Distance, which may vary depending on whether the object was created using the default scene or a starter file – using the default scene the value can be set to 0.1 m; using a starter file this may need to be initially set as 10.0 m due to scale differences between Blender and IMVU’s defaults.
• For more on Normal Maps & IMVU Studio see ‘IMVU Studio & Normal Map Basics‘ and ‘Normal Maps & IMVU Studio‘.
Depending on whether the object being baked was created using the default scene or an IMVU starter file Ray Distance value will vary, at minimum 0.1 for the former or 10.0 for the latter to compensate for the significant scale differences between the two environments.


Timestamps
Times are approximate;
– n/a
