Accessory Light/Lamp
Table of Contents
Description
In this exercise we take a look at making a simple accessory light (light only) using the Accesory Starter File. With the starter file open, female or male, a light or lamp object is placed in the scene, Add » Light » Point, then modified slightly to make it easier to manipulate. After positioning the light is linked to an accessory Armature, rtHand in this example, using Parent, with Bone as the target object to ensure the correct relationship. Once done, light and armature are exported and assembled in IMVU Classic and IMVU Studio.
Duration: total c. 20 mins (20:00).
Info: 1080p | c. 110 MB.
Source: KatsBits – Light Accessory (zip c. 600 KB – *.fbx, *.blend).
Product ID: Accessory Light – PID 54016566.
Design note: while it is possible to export lights using the default labelling, i.e. Point[.n] (Point, Point.001 etc.), if an accessory or furniture item includes more than one their respective identifiers should be changed to use IMVU’s nomenclature, i.e. Omni[n] (where [n] is an incremental number e.g. Omni01). To do this, select the item in the 3D View and in Object Properties [1] click to edit the default name, ‘Point’ to ‘Omni01’, in the Name input field [2]. Alternatively double-click the corresponding entry in the Outliner [3] and type to change (press Enter to confirm).
With FBX it is possible to export Lights and other objects incorrectly labelled relative to what IMVU is looking for, while such items will import preference should be to correctly identify elements, Point to Omni01 for a Light for example.By default Light entities are coloured or tinted adjusting RGB (Red, Green, Blue) values, 0 – 1.000 where 0 = no colour (dark/black), 1.000 = full colour (bright/white) – although Blender has a number of ways to express colour, HSV being the default, IMVU uses RGB values. To change a lights colour, select the object in the 3D View then in Object Data Properties [4] click the Color sampler [5] (white by default) then click or drag-select a colour from the wheel [6]. To darken or change the intensity of the colour click or drag-select the greyscale Value sidebar – to give the illusion of reduced brightness lights are ‘dimmed’ by changing the assigned colours tint, i.e. making it a darker colour (omnidirectional lights use a fixed intensity by default and have minimal, noticeable, falloff or distance-fade). The values assigned, and colour represented, will then export out with the FBX.
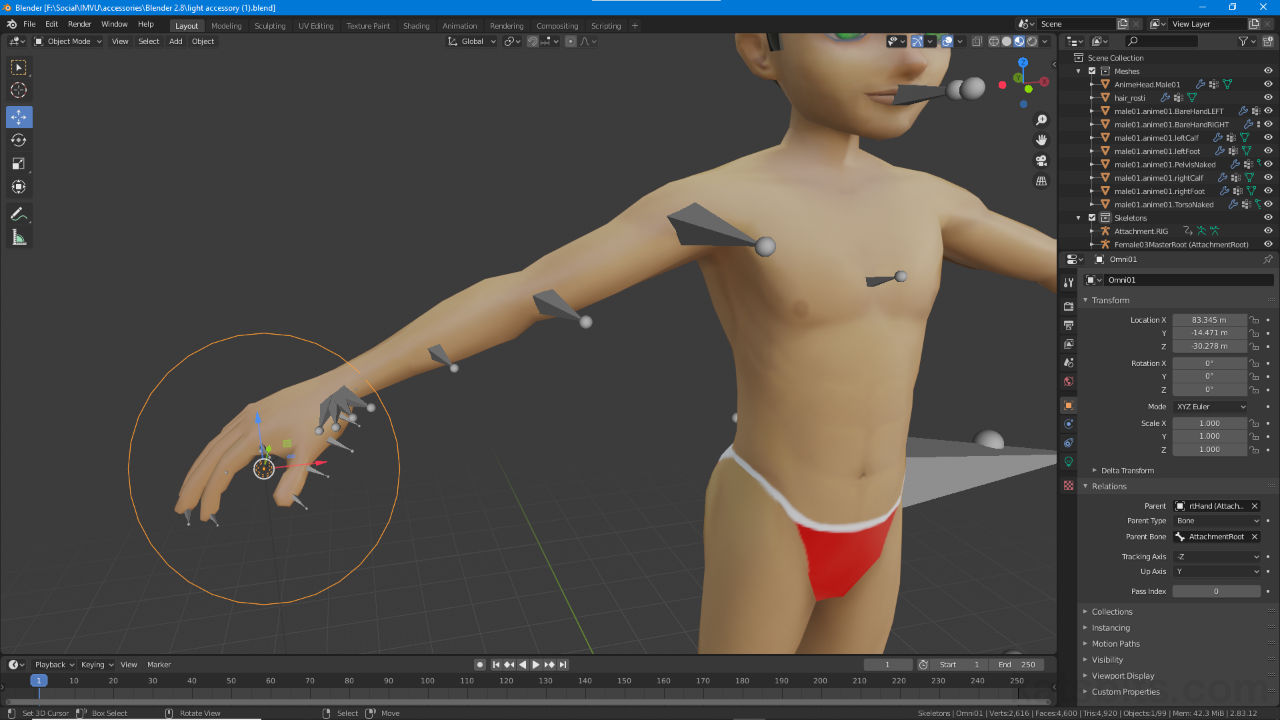
Lights IMVU are white and a of fixed brightness by default so colour is used to describe tint (RGB saturation) and value in terms of brightness – bright red and dark red light may have the same overall colour tint or saturation but not the same apparent value or brightness, the latter being darker means a dimmer light in IMVU.When using Parent to link Light to Armature make sure Bone is used as the parent type to establish the proper skeletal relationship – lights need to be seen as bones within a skeletal hierarchy rather than as objects in an object hierarchy, in other words Light » Armature is not the same as Light » Bone. In Object Properties [7], when parenting a Light to an Armature using Bone as the parent type [8], Blender tends to offset the objects because it uses the last bone in the Armatures hierarchy as the target or anchor not the root, i.e. AttachmentNode (undesired) instead of AttachmentRoot (desired) [9].
For lights to export correctly the accessory items skeletal hierarchy needs to be set up correctly so the object links to the AttachmentRoot bone within the Armature rather than the [bone] (AttachmentRoot) named Armature object itself.To change a lights colour after import and assembly, in IMVU Classic this can be done modifying the XSF file that sits in the IMVU project folder. To do this click the project folder icon above the 3D area in IMVU [10] and in the File Explorer that appears select and open the now available XSF file into NotePad or other text-capable editor. Find and change the LIGHTCOLOR variable [11], 0 for no colour (black), 1.0 for full colour – if file extensions are not visible the XSF may be identified by either/or/all ‘RootNode’, ‘AttachmentRoot’, ‘AttachmentNode’ being in the files name.
For IMVU Studio, changing lights after import by editing the raw XSF is not support, once the various XML files are imported (XSF, XMF, XRF, XAF, XPF) they become encrypted binary files that should not be edited.
Changing light colour after import and assembly can be done in IMVU by editing the XSF file located in the project folder – a text-capable editor should be used to ensure no unusual, format or hidden characters are saved with the file.


