IMVU Studio Toolkit – Accessory + Pose
Table of Contents
Description
In this exercise we take a look at making an accessory item that includes an avatar pose using IMVU Toolkit for Blender. This project has to be done in two phases, first the accessory item is made, which is then positioned relative to the avatar so it can be posed around the object. Both mesh and pose can then be exported and assembled in IMVU Studio.
Download: KatsBits – Toolkit Accessory + Pose (2 MB, *.blend, *.fbx, *.png). Requires latest toolkit to be installed. Open files in Blender 3.0+.
Product ID: Accessory + Pose – 59173130 (Avatar).
Design note: normal Accessory items use a different skeletal system to other products so the Attachment Tool won’t work correctly in this context – to include a pose meshes must be weighted to the avatar using the clothing skeleton, which give access to individual bones of the avatar. Once this is done the result can be use to pose the avatar.
The Attachment or Accessory skeleton (image top) differs from the normal avatar skeleton as it only contains two specially named bones. As these only work for accessory items, to include poses or other objects, the clothing skeleton (image bottom) has to be used.Append
When using Append make sure to only bring in objects from the Object folder [1], no other data is needed – in this context, Append, *.blend files act like zip or rar archives that can be browsed in similar fashion, double-click to drop down/back up the directory structure/folders to see their contents.
To bring meshes into the Pose Tool use Append and only load items from the Object folder [1].Pose Mode
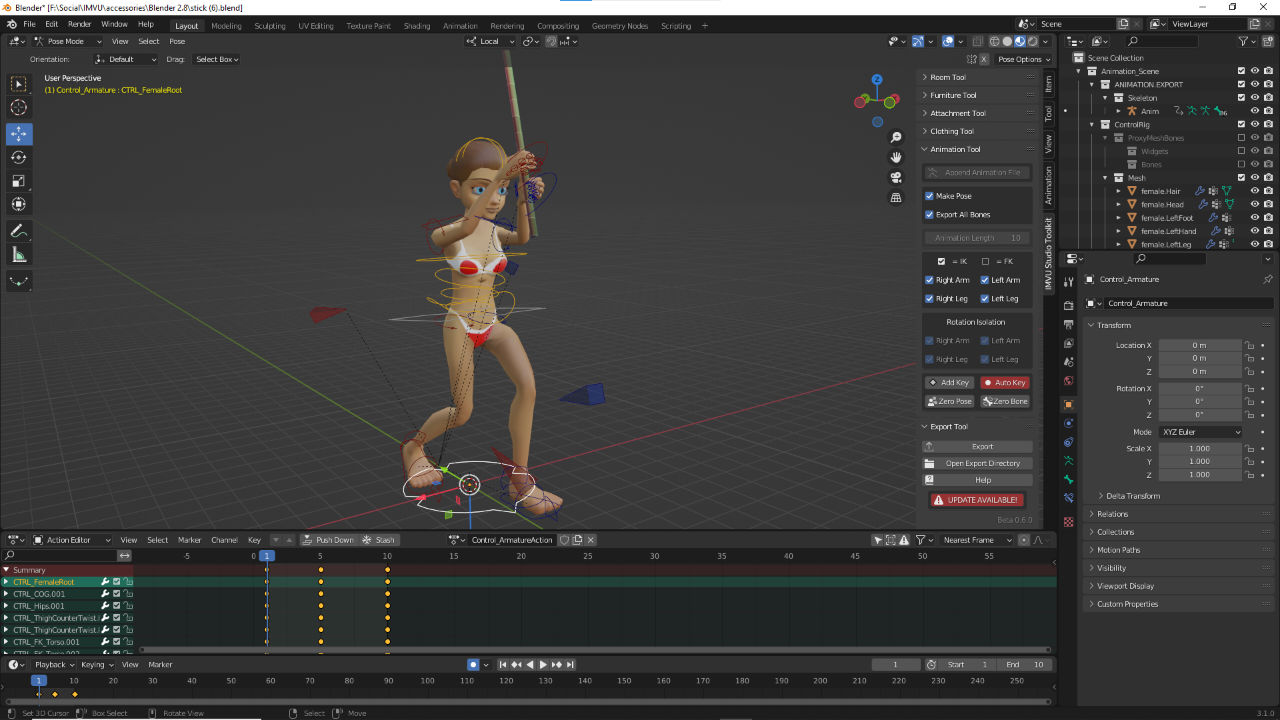
The animation tool requires the animation rig, the wireframe objects and shapes, to be in Pose Mode. When initially selecting the rig if it highlights orange this indicates its in Object Mode not Pose Mode. To switch, ensure the rig is selected, then from the Interaction Mode selector, click Pose Mode. The rig will changes its appearance, different parts changing colour, indicating they can be selected, moved and posed for sequence creation.
Make sure to be in Pose Mode when using the Animation Tool.


Timestamps
Times are approximate;
– n/a
