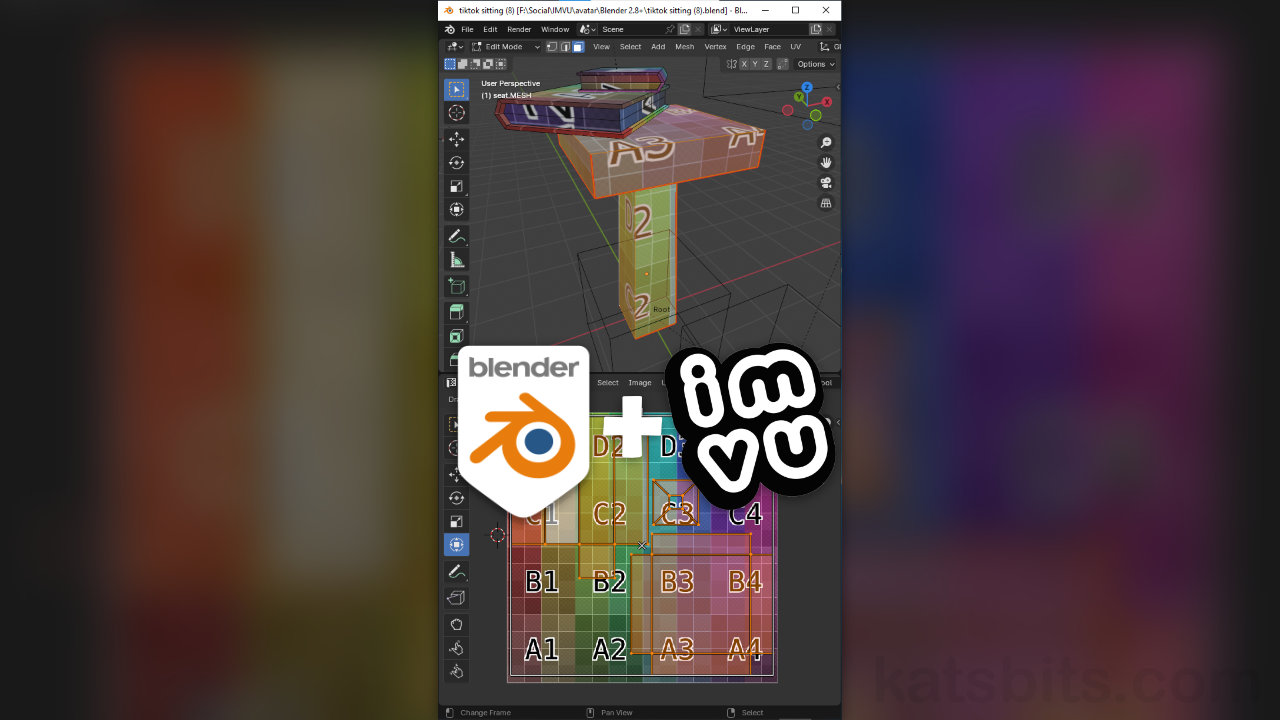
UV Mapping & Texturing Furniture for IMVU
Table of Contents
Description
Continuing the TikTok Live Stream series exploring avatar based projects made using the IMVU Toolkit for Blender, we take a look at finishing up the custom furniture item made previously. In this iteration we take a look at properly UV Unwrapping and UV mapping each object with their own images, discussing pros and cons about the process as we progress. We’ll also be able to extract a set of texture maps and a set of base images as a consequence, readying the project for texture painting.
Duration: total c. 50 mins (00:50:00).
Info: 720p (W: 720 x H: 1280 vertical/portrait).
Suitability: Beginner+.
Source: KatsBits – UV Mapping Furniture (c. 700 KB | *.blend, *.tga, *.png).
Product ID: n/a.
Design note: some additional concerns to keep in mind when UV unwrapping and UV mapping objects/meshes;
General UV Guidelines
UV unwrapping and UV mapping are more art than exact science as the mapping depends a great deal of what the object is and how its to be used. While there are a number of formal concerns to keep in mind, they are generally applied such that, while one layout works for one object, it may not for another. So for IMVU, if the mesh is to be published as a derivable;
- try to keep UV sections (islands) aligned to the horizontal/vertical.
- avoid creating lots of small UV sections.
- place UV Seams (Edge » Mark Seam) to control UV layout.
- avoid too much pinching or stretching of the UV.
- keep overall texture density consistent.
Timestamps
Times are approximate;
– 00:00 : Overview
– 02:00 : Adding Images
– 07:00 : UV Seams & Editing Book #1
– 22:00 : UV Editing Book #2
– 27:00 : UV Editing Stool
– 40:00 : Export UV/Texture Maps
– 44:00 : Save Images

