Separate Mesh/Selection
Table of Contents
Along other aspects of Edit Mode reorganisation in newer versions of Blender, Separate, the ability to detach a selection as a fully independent editable object, has been moved from the Vertex sub-menu to the main Mesh menu of the 3D View.
Important: Separate should not be confused with Split.

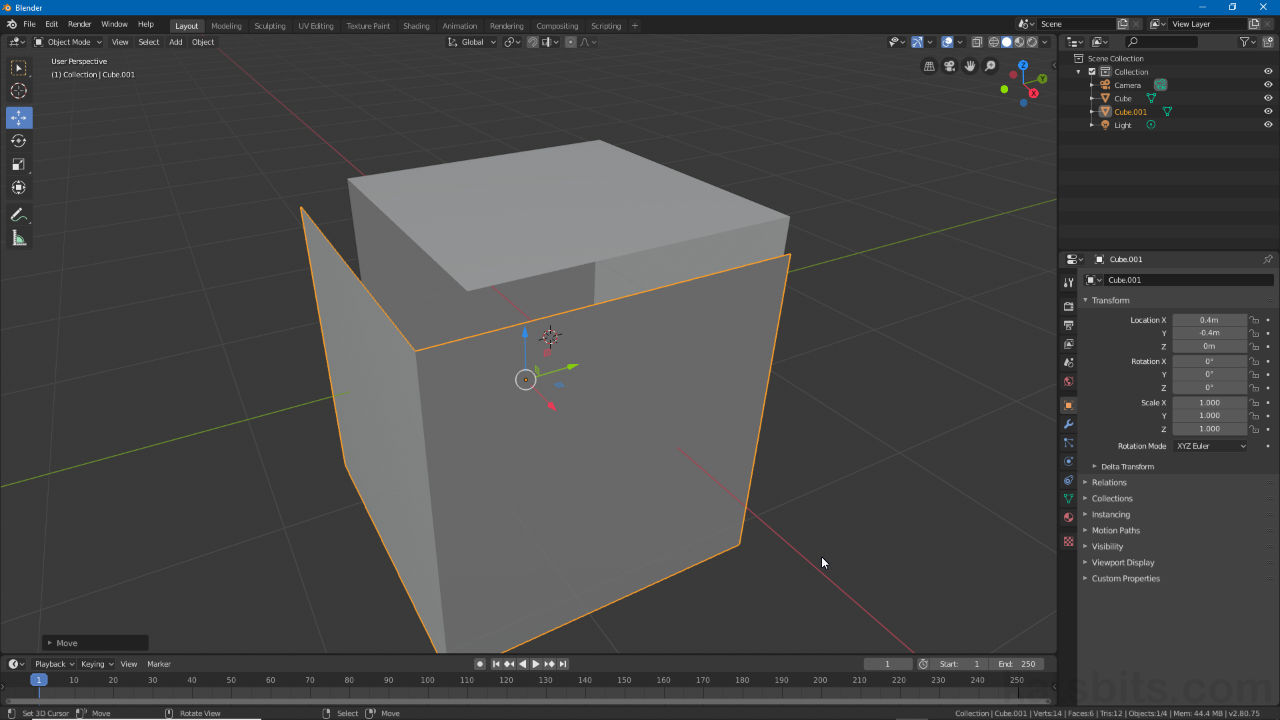
A selection of faces ready to be detached in Edit Mode (selection can be comprised of vertexes, edges or faces).
Separate
In Edit Mode, to Separate a selection choose the elements to be included in the resulting new object and from the main Mesh menu (upper-left), click Separate then an appropriate option – Mesh » Separate » [option] (or press P to display the Separate quick access menu);
- Separate: detaches the selected elements.
- By Material: detaches based on/per material assignments.
- By Loose Parts: detaches based on connection to other elements.
Design note: the resulting object will comprise whatever was selected, vertices, edges or faces. It will also duplicate the Origin point associated with the parent object (which may need adjustment as needed).
Depending on the option selected a new object will be created, the remaining structure left in place.

To Separate, make a selection and then from the Mesh menu click Separate » [option] depending on the outcome wanted.
Separate By Material
Some options to separate or detach elements do not need an active selection so for example, Separate » By Material breaks a mesh into new objects based entire on material assignments regardless. To do this, in Edit Mode, with or without an active selection (vertex, edge or face), from the Mesh menu upper-right of the 3D View select Separate then By Material in the fly-out – Mesh » Separate » By Material (alternatively press P then click By Material in the Separate context menu popup).
Design note: a distinction should be made here between the separate by material operation and the process of separation using materials; the former automatically splits a mesh based on the number of assigned materials – a mesh with six assignments results in six separate objects (materials have to be actively assigned rather than just being present in the Material List); whereas the latter only breaks the selected elements apart – material assignments are used to select and detach specific parts only. To do this (latter), with the object in Edit Mode and from Material Properties, highlight the Material instance to be used [1] and click the Select button below the aperture [2]. The appropriate mesh (sub)section will highlight. Next click Separate » Selection to detach and create a new object completing the process [3].
Using the Material List [1] to select specific parts of a mesh [2] in Edit Mode for detachment as independent objects [3]. This is a selective, manual process, only affecting elements specifically highlighted for treatment.Whilst similarly not a Separate operation by itself, Vertex Groups can also be used in part to make various (sub)element selections for separation in much the same way as Material selections above. Here Vertex Groups need to have been assigned such that parts can be highlighted for processing. To do this, in Object Data Properties and under Vertex Groups, highlight a group instance [4] and click the Select button below the aperture [5]. The selected part/s will highlight [6]. Separate per the above – Mesh » Separate » Selection.
Vertex Groups [4] can be used to make selection ready for separation in similar fashion to using Material selection, select a group, click Select [5] and then separate the section highlighted [6].


Using ‘By Material’ breaks a mesh apart based on the number of materials assigned [2]. Shown above for example, a section [1], now an individual object, being manipulated without affecting other parts or objects.
Editing Separated Object
As selections detached in this way create distinct independent objects, to edit, exit Edit Mode for the selected Object (Tab), select the new and toggle (Tab) back into Edit Mode to work on the new mesh.
Design note: to include the new object as part of a multi-object editable group, exit Edit Mode (Tab) and select it before toggling back into Edit Mode to continue working on both mesh objects at the same time.

The new object can be edited on its own or included as part of a larger editable group with multi-object editing.
