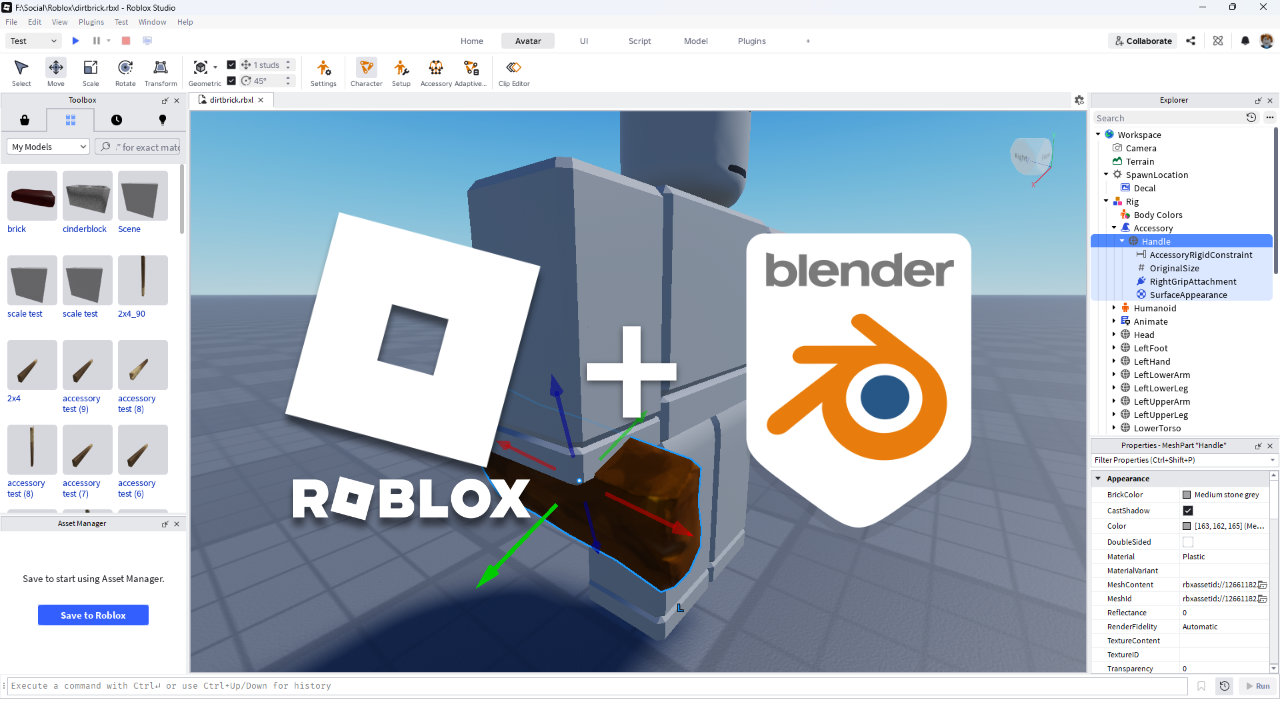
Roblox: How To Manually Set Up A Simple Accessory
Table of Contents
Description
There are two ways to make accessory items in Roblox Studio; 1) semi-automatically using the Accessory Fitting Tool, and 2) manually from within the project Explorer. Both result in the same game entity object, an Accessory item, but they each uses a slightly different approach to assembling the components to do that, largely a difference between using a guided process or assembling items manually. Below we take a look at manually setting up and Accessory game entity/object using the project Explorer.
Duration: total c. 15 mins (00:15:00).
Info: 1080p.
Suitability: Beginner+.
Source: n/a.
Product ID: n/a.
Important: manually set up accessory items can only be submitted as part of a game or experience, items built using the Explorer specifically for submission to Roblox Marketplace, will fail validation because they’re missing identifying metadata critical for the valid data schema Roblox embeds and uses to validate objects during the submission process – Marketplace items must be built using the Accessory Tool to avoid this.
Furthermore, (currently) Roblox no longer provides “Hand Accessory” (or ground/root) as an submission Asset Category, so items designed to be held in the hand cannot be submitted to the Marketplace. While a ‘hack’ can be used that attaches to an available mount point with a mesh offset, this is not recommended due to the mismatch this causes between static mesh/attachment offsets and dynamic body-proportion scaling, resulting in meshes not appearing where they should depending on the body used.
Design note: some additional considerations when making accessory items for Roblox avatars;
Avatar Choice
Making an accessory using the assembly tool or creating it manually works either way in terms of generating the entity object itself. However, accessory fit and placement is dependant on the avatar used because they’re not all shaped the same, nor do they all articulate (animate) the same; clothing cages do not affect this except where an items changes shape relative to an avatar, not its position.
Aside: if difference between avatars is significant, it may warrant publishing a different version of the accessory items to suit a specific avatar. When doing this ensure any product data includes compatibility information or disclaimers, e.g. “This item is compatible with Blocky R15 avatar only“.
Be sure to check and test Accessory items against different avatars to check fit and finish.Manual Accessory Creation
Manually creating an Accessory game entity creates the same end result, and Accessory entity object listed in the Explorer that can be moved or editing similarly. With an avatar of choice in the scene – typically AvatarMesh (2012) or AvatarMesh (2016);
- Import the game mesh – in the Home tab click the Import button and select the model (OBJ, FBX, GLB or GLTF) in the Open… file browser and click Open. This opens the Import Preview window, check the options (rename or use the defaults) and then clickImport to complete the process.
Use the Import tool to bring in the game mesh, the model that will be visible to the player.After import the game mesh should appear in the scene, typically positioned above the avatars head, and as a Model entity in the Explorer displayed using the label set during import, e.g “brick”. To then set this up as an Accessory;
- Add an Accessory game object – hover over Workspace in the Explorer and click the “+” icon that highlights to the right of the label. Select Accessory. This drops the game entity into place.
In the project Explorer, add an Accessory game object.- Add a MeshPart – in the project Explorer click drag, or copy/paste the mesh from the Model entity created during import, into the Accessory entity (drag and drop will ’empty’ the Model entity). The mesh now sits within the Accessory as a child object;
» Accessory
» » Mesh/model (brick)
Adding a MeshPart to the Accessory in the form of the game object previously imported into Roblox Studio – this can be moved or copy/pasted.- Rename the mesh instance to Handle – select the mesh instance in the project Explorer and rename it to “Handle“.
Important: doing this changes the mesh into the object attached to the avatar.
Once added to the Accessory entity, rename the mesh to “Handle”, creating the object gripped by the avatar.- Add an Attachment entity – hover over the newly renamed Handle entity and click “+“, select Attachment). This drop a sub-element into the hierarchy under Handle.
Drop an Attachment entity into the Accessory game object to Roblox knows where the mount point actually is.- Rename the Attachment – in the Explorer, highlight the Attachment entity and rename to it corresponds to attachment point on the avatar, e.g. RightGripAttachment.
Rename the Attachment entity so Roblox has a physical target to lock on to for positioning.If everything is set up correctly, in the project Explorer an Accessory game object should be listed with a similar hierarchical structure to the following inside the Workspace;
» Accessory (game object)
» » Handle (mesh)
» » » Attachment (game object)Accessory Testing
Once the game entity is set up properly, to test the Accessory on the avatar and check its position;
- Avatar testing – in the Explorer, drag and drop or copy/paste the Accessory game entity into Rig, the listing that corresponds to the avatar that’s in the scene. This should result in a hierarchy similar to the following;
» RIG (avatar)
» » AccessoryImportant: the Accessory game entity does not need to be placed under the corresponding body part as a child object, it just needs to sit top-level, under Rig, using RightGripAttachment as the Accessory’s attachment point for example, the Accessory doesn’t need to be a child of the avatars RightHand, the sub-element where RightGripAttachment is located.
To test the Accessory, either copy/paste or drag and drop the entire entity into the corresponding Rig object to check its position and rotation.Accessory Position
If everything has been set up correctly the Accessory game object will appear on the avatar snapped to, or positioned relative to the Attachment point previously named during set up. If the entity isn’t where it should be, the most efficient way to adjust its position or rotation while still a child object of the test Rig (avatar), is to manipulate the assigned Attachment point.
Important: Roblox typically ignores and ‘resets’ the orientation of mesh based on a Bounding Box, so objects may appear incorrectly positioned relative to how they might have been made in Blender.In the project Explorer, expand the Accessory entity and highlight the “*Attachment” sub-element, e.g. RightGripAttachment. A manipulation widget will appear in the main scene. Using Studio’s transform tools – Move, Rotate, Scale, Transform – manipulate the widget until the mesh is positioned where it should be.
Aside: hold Shift for more accuracy while moving the widget).
Once the Accessory is in place its position can be changed by selecting and manipulating the *Attachment entity object in the project Explorer.Attachment List
1. Head & Face Slots
These attachments sit inside the character’s Head part.
• HatAttachment – The standard anchor for hats, caps, helmets, and crowns.
• HairAttachment – Used specifically for hair pieces and wigs.
• FaceFrontAttachment – The master anchor for glasses, masks, bandanas, and visors.
• FaceCenterAttachment – Sits directly inside the center of the head, used for custom eyes or noses.2. Torso, Upper Body & Back Slots
These attachments sit inside the character’s UpperTorso part on R15 rigs, or the main Torso part on R6 rigs.
• BodyBackAttachment – The standard slot for backpacks, capes, swords sheathed on the back, and wings.
• BodyFrontAttachment – Used for front-facing gear, cross-body bags, chest rigs, and ties.
• NeckAttachment – The anchor point for necklaces, scarfs, collars, and chokers.3. Shoulder Slots
These attachments allow items to ride along with arm movements. On R15 rigs, they live inside the LeftUpperArm and RightUpperArm parts.
• LeftShoulderAttachment – Used for pauldrons, shoulder pads, or shoulder pets on the left side.
• RightShoulderAttachment – Used for shoulder cosmetics on the right side.
• LeftCollarAttachment/RightCollarAttachment – Sits closer to the neck on the collarbones, used for detailed armor layers.4. Waist & Hip Slots
These attachments sit inside the LowerTorso part on R15 rigs, or the bottom zone of the classic R6 Torso.
• WaistCenterAttachment – Sits directly in the center of the beltline, used for belts and hip-pouches.
• WaistFrontAttachment – Anchors front-facing belt accessories like keys or large buckles.
• WaistBackAttachment – Anchors items hanging off the lower back, like tails, holsters, or trailing coat-tails.5. Hand & Grip Slots (Weapons/Held Items)
These attachments sit inside the LeftHand and RightHand parts.
• LeftGripAttachment/RightGripAttachment – The default fallback spot where held accessories snap.
Location of Roblox attachment points for Accessory items for Blocky R15.


Timestamps
Times are approximate;
– 00:00 : Blender Prep & Export
– 03:00 : Roblox Studio Setup & Import
– 05:00 : Accessory Setup
– 08:00 : Avatar Test & Adjustments
