Principled BSDF Alpha Transparency
Table of Contents
For instances where an image might include an alpha channel, Blenders Node set-up allows for a simpler approach to creating materials with image-based transparency using the Alpha slot of the Principled BSDF node.
Download: Principled BSDF alpha example file *.blend (c.2 MB).
Design note: creating transparent materials using an Alpha node set, transparent materials in Cycles.
Alpha Channel
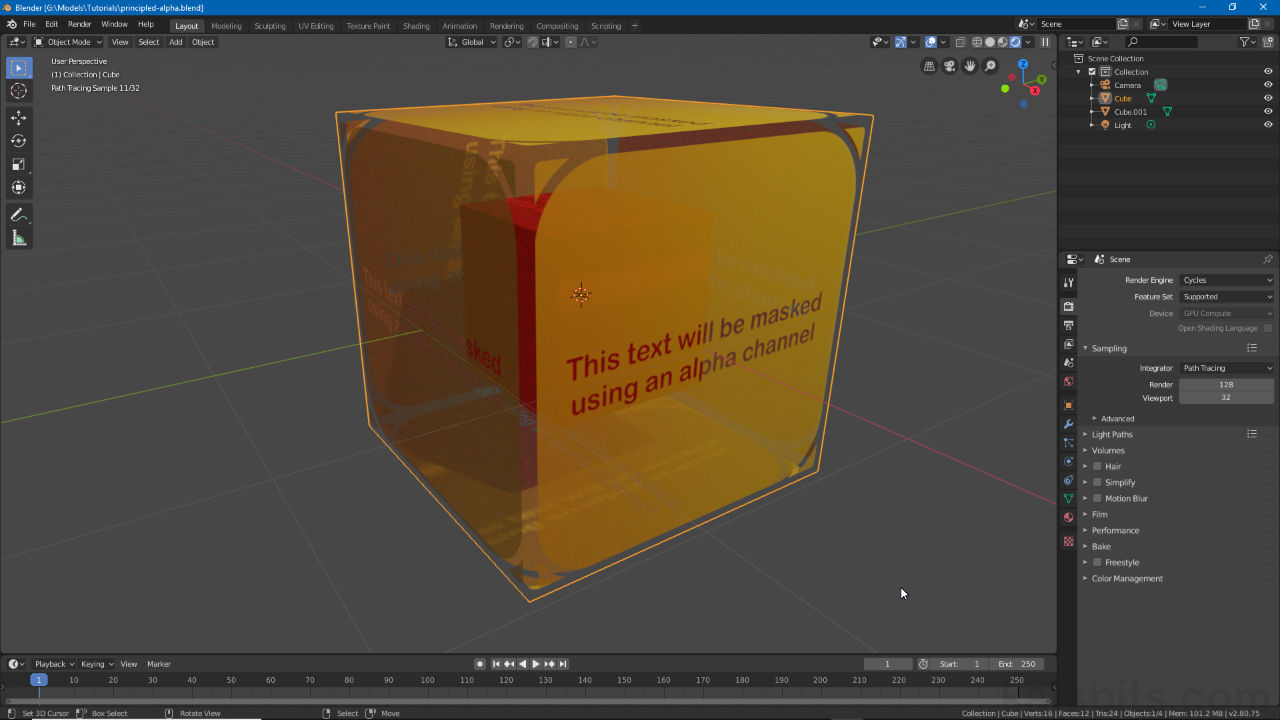
In this example the alpha values used for the materials transparency are generated from alpha channel data, the A of an RGBA image (RGB+A = Red, Green, Blue plus Alpha, typically written as RGBA), included with the image loaded in as the materials Texture.

A simple bitmap image that has transparency included as an alpha channel (shown in Affinity Photo).
Basic Principle BSDF Material
For simple Principle BSDF based transparency, in the Node Editor (switch to the Shading workspace if preferred – shown below), create a basic material (if one does not already exist) that references an image with alpha channel in an Image Texture node then link the Color output [1] of this node to the Base Color input [2] of the Principled BSDF node. If the object is UV unwrapped the image will appear mapped to the mesh.
Design note: if a material is not available, select the object and in Material Properties click New to generate one, ensure Use Nodes is enabled. Click here for more on Material Basics.

Once the bitmap is loaded into the Image Texture node it can be linked Color output [1] to Base Color input [2] of the Principled BSDF node – the 3D preview will update displaying the image sans (without) transparency.
Principled BSDF Alpha
Once the Image Texture node is linked, connect its Alpha output [3] to the Alpha input [4] of the Principled BSDF node. The image will update, likely displaying without transparency at this point (but confirming the output/input connection).

Link the Image Texture nodes Alpha output [3] to the Alpha input [4] of the Principled BSDF node – the image will update without showing any transparency.
Next, in Material properties to the right [5], access Settings [6] (scroll down the Properties panel if not visible and click the triangle/arrow to the left of the heading, displaying the available options). Here, in Blend Mode switch from Opaque (default) to Alpha Blend, Alpha Hashed or Alpha Clipped [7] depending on the type of, and/or degree to which, transparency should be shown. The image will update in the preview displaying the now utilised image-based alpha channel.
Design note: Eevee may exhibit incomplete transparency rendering compared to Cycles, especially with respect to backface rendering, shadows and how transparency affects them . Real-time rendering of transparency also introduces issues with regards to sort order, the hierarchical order in which surfaces are draw over each other, those that should be behind appear in front of others.

Once the materials nodes are linked together the final step in Material Properties [5] is to enable the type of Blend Mode to be used in Settings [6], typically Alpha Clipped, Alpha Hashed or Alpha Blend [7] – shown above, Backface Culling and Show Backface is disabled for clarity (the latter may be enabled by default).

An object shown in the 3D View rendered in real-time using Eevee with alpha transparency based on simple Principled BSDF alpha (using Eevee some aspect of scene may not drawn, cast shadows for example, which may be dependent on rendering aspects other than Blenders capabilities).
