Add, Assign, Delete Materials
Table of Contents
Generally speaking Blenders (node-based) material system can be thought of as a two-part process, of material creation and material assignment, that in practice means adding, assigning or deleting materials can be done independently of an object or element selection.
Design note: for Blender 2.8+ and newer meshes need to be UV unwrapped and mapped for materials assigned an image or texture to appear on the mesh in LookDev or Rendered display modes otherwise the materials diffuse colour (Base Color) is shown. Learn more about the basics of node-based materials here.

A project shown in the 3D View comprising multiple objects, each assigned a single unique material taken from a larger pool of materials (not ordinarily visible unless objects are joined together and/or selected using Browse Material to be linked menu).
Add Material
Materials in Blender are data blocks, segments or chunks of information that define the surface (or volumetric) properties of whatever they might be assigned to or associated with. As such this means they can be created in Object Mode or Edit Mode with or without an active object or selection being made.
Design note: although no object or selection is strictly necessary, adding a new material to a project will automatically assign it to, or associated it with, the last item selected, especially if this was a mesh (depending on object selection a number of different material ‘sets’ might appear to be created because Blender defaults to assuming an association between the last selected object or item and the materials subsequently generated – a completely new set of materials can be added to different object selections – all of which then become available project-wide).
Although no objects are shown selected in the 3D View, the Outliner highlights the last item interacted with as an inactive selection, for example ‘trim’ shown in the above, new materials will be associated with this by default.

To create or add a material, in Material properties click the + (Add Material Slot) button to the right of the Material List aperture and then the + New (Add a new material) button below, once an entry appears, to populate. Alternatively click the + New button (Add a new material) below the aperture to create a new list item (index) and set of properties at the same time.
Design note: using the + button adds an ‘index’ or ‘list item’ to the Material List (the aperture displaying materials associated with the selected object) minus accompanying properties; + New places a new index and populates it with a set of default (node-based) properties – where multiple materials are being created, a multi-material, the + button inserts an index which then needs to be populated clicking +New (the + New button isn’t available once an index/instance has been populated so click + first to add an index then + New to populate).
When adding materials to a project they can be created as an initial ‘index’ or ‘list item’ without an accompanying set of material properties and options, or a list item with a set of properties, the panel below propagated with various settings and options.


Adding new materials can be done by clicking the + button to add a new index then populating with a set of material properties or, clicking the + New button to add an entry and populate at the same time.

The Material List (Material Index) displays the instances available for assignment, each accompanied by a set of properties and options.
Assign to Object (Global)
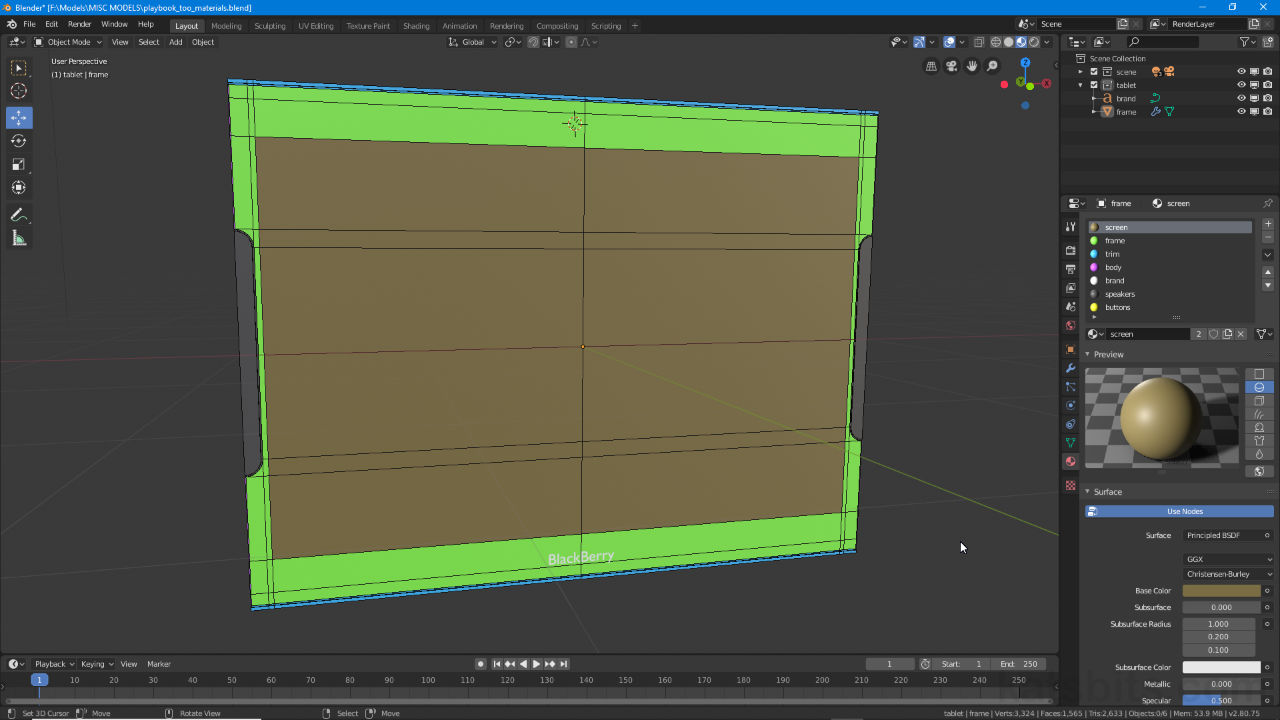
Once a material or set of materials are available they can be assigned. To do this in Object Mode, select an object 3D View then in Material properties click the Browse Material to be linked drop-down icon below-left of the Material List aperture and select an item from the list of materials shown, e.g. frame in the below. This immediately assigns the selected material to the object.
Design note: blank objects, that is objects absent material indexes or material assignments, will assume or take on the properties associated with whichever material is first assigned – subsequent applications generally don’t override this behaviour unless applied to local selections (Edit Mode).

To assign a single material to an object first make a selection then from the Browse Material to be linked drop-down menu choose an item to assign from the list shown, e.g. frame.
To assign additional materials, so two or more are associated with the selected object, with the object still selected click the + button to add a new material index, ensure this remain selected and use the Browse Material to be linked drop-down again to make a selection. The new slot will populate with properties. Repeat for however many materials need to be assigned to the item.
Important: assigning several materials to an object (in Object Mode) does not change the initial assignments influence over the object, it remains the primary reference regardless. Changing this in Object Mode means deleting all assignments (cf. below) and reordering their (re)application, or their being assigning to specific element selections in Edit Mode (cf. below); reordering the indexes as they appear in the Material List only changes display order, it does not affect the material/object relationship.
Assigning materials in Object Mode, objects will take on the properties of whichever material is assigned first – reordering the Material List does not change this.


To assign several (multiple) materials to an object a new material index has to be created which is then populated with a properties selection using the Browse Material to be linked drop-down list.
Assign to Element (Local)
Generally speaking, assigning materials in the local sense means using Edit Mode to apply them to specific element selections of an object. This is typically done when several materials need to be assigned to specific regions, areas or faces.
Design note: objects take on the properties of the first material assigned in Object Mode, which remain otherwise unaffected unless changed in Edit Mode through the addition and assignment of other materials. If materials are created and assigned entirely in Edit Mode, object mode behaviour is not generally applicable – the initial assignment won’t be automatically assigned to everything.
With an object selected, in Edit Mode make an element selection, a group of vertices, edges or faces associated with a particular mesh region or area. In Material properties click the + button to add a new material index, ensure this is selected then click the Assign button below the Material List aperture. Once done click Browse Material to be linked and select the appropriate set of properties to accompany the index.
Design note: the material index can be assigned with or without a set of properties – rather than assigning blank indexes they can be matched to a set of properties beforehand making each more easily identifiable (once matched to a set of properties each index will have a named and/or Base Color making identification easier).
Assigning material indexes to different parts of a mesh before being associated with a set of properties can make it difficult to determine what’s assigned where as nothing uniquely identifies the assignments.


To assign several (multiple) materials to an object a new material index has to be created which is then populated with a properties selection using the Browse Material to be linked drop-down list.
To assign materials to different selections of a mesh, whilst still in Edit Mode, make another selection (being mindful to clear previous selections, Alt + A) and click the + button to add another material index, ensure this is selected then click the Assign button. Click Browse Material to be linked and select the appropriate set of properties from those available.
Design note: in Edit Mode, to test assignments select each entry in the Material List in turn then click the Select and Deselect buttons below; different parts of the mesh will highlight relative to the selected material.
Test material assignments in Edit Mode selecting entries in the Material List and click the Select and Deselect buttons below – this can only be done in Edit Mode.


Multiple materials (shown with Base Color above for clarity) can be assigned to different selections in Edit Mode clicking the Assign button once an available index or material slot is available – each can be accompanied by a set of properties or left blank (default state).
Delete Material
Although materials can be added and assigned in Edit Mode and Object Mode to varying degrees they can only be deleted in the latter, Object Mode. To do this, if in Edit Mode toggle into Object Mode, Tab, and select the object to which the errant material is assigned.
Design note: upon object selection the Material List only displays assigned materials then available for removal.
In the Material List click an material index entry to highlight the instance to be removed, then click the – (minus) button (Remove Material Slot) to the right of the aperture (alternatively press the Delete or X keys). The material will be disappear from the list and the object will either; a) display ‘white’ if the removed material was the only one assigned, or b) the selected element from which the material was removed will assume the properties associated with the first instance in the Material List – faces assigned ‘frame’ in the below for example will assume ‘screen’ as that is the first available index.
Important: deleting materials does not remove the material itself, the underlying data block, it simply clears the associative link between it (data block as expressed as a material) and the object or element to which it was assigned. In this way materials can be removed (partially or fully/all) from selections and remain available for (re)assignment to other objects and selections (caveat: materials absent a Fake User will be lost if the *.blend is saved and reopened).
Deleting materials removes the association between material and object/selection not the underlying data block (cf. above), which should remain available for use – caveat: materials prefixed with a ‘0’ are Fake Users, data that can be lost if the project they’re in is saved and reopened.


Materials can only be removed in object mode, which will strip the association, the selection then assuming the initial materials properties or those of the first index in the Material List – in the above ‘frame’ is removed and in doing so those faces then take on the properties of the first entry in the Material List, ‘screen’.
Delete All Materials
To batch delete some or all materials from an object, the Outliner can be used as an alternative because the Material List can only remove single instances at a time. To do this, select the object with materials to be removed and in the Outliner expand its details clicking the ► icon to the left of the appropriate mesh listing. Once assignments are shown, Shift + click each item, right-click those highlighted and then select Delete from the context menu. All the materials will be deleted from the selected object.
Design note: using the Outliner to delete materials may leave indexes in the Material List, which will need removing separately per the above – using the Outliner, as with the Material List, is only deleting the relationship between object and material(s), it does not remove the underlying data blocks.

Removing several materials at a time (batch removal) can be done using the Outliner; view the objects details and highlight the entries to be removed, right-click then select Delete from the context menu.
Delete Material Data-Blocks
Regardless as to how materials are deleted the underlying datablocks remain in place ready for reapplication. If this not wanted and materials should be removed from the file outright this can be done using the Outliner. To do this, switch the Display Mode to Blender File and expand the Materials category to reveal the assigned entries. Select the items to be removed from the file then right-click the highlighted entries, from the context menu click Delete.
Important: once removed from Blender File using the Outliner the project will need to be saved and reopened to ensure the data is cleared properly – removing data this way can occasionally give rise to orphaned data, which can be removed using the Outliner and the Orphan Data editor.
Removing materials from a project can leave data behind that’s not assigned to anything (indicated above by the column with 0’s [zero’s]), orphaned data as this is called. Use the Orphan Data editor to remove.


Removing the underlying datablocks associated with the materials being deleted in the Outliner – switch the Display Mode to Blender File, select the Materials to be removed, right-click and select Delete.
