Debris Scatter using Particles
Table of Contents
Scattering objects across a surface can be extremely time consuming when individual objects have to be rotated or positioned to hide duplication. A better way to do this dynamically, or generatively, is to use Blenders Particle System to populate objects before they are then optionally made ‘real’ and editable.
Scatter Prep
To scatter objects using the particle system three components are needed;
1) a surface over which objects are to be scattered [1].
2) the object or objects to be scattered [2].
3) a particle effect/modifier instance [3].
In essence, with a Particle System instance assigned, its properties are adjusted to change the behaviour of the effect as it scatters a set of reference objects across the target object to dynamically generate scatter that can be modified in real time.
Design note: generally speaking it’s preferable to work with duplicate sections of the target object that have been separated as this allows for greater flexibility in terms of placement and scale of scatter generated.

The basic elements needed to scatter objects; the target object over which debris is to be scattered [1] (showing grey); the scatter objects themselves [2] and the particle modifier [3] (particle system link).
Scatter Plain
To scatter debris a ‘target’ object first needs to be selected, this can be an original item or a detached section or sections therein [4]. To this either; in Modifier Properties assign a Particle System modifier [5], or in Particle Properties [6] click the + [7] button to add a new ParticleSystem. In both cases a ParticleSystem instance is generated and populated with some basic settings, accessible in Particle Properties [6].
![Target object to be scattered across]](https://www.katsbits.com/images/tutorials/scatter/particle-system-modifier.jpg)
A Particle System modifier [5], from Modifier Properties, assigned to the scatter objects (highlighted red and blue above for clarity).

Similarly in Particle Properties [6] a ParticleSystem instance is generated and populated clicking the + button to the right of the particle list aperture.
Scatter Objects
If other objects are to be scattered across a surface they need to be created and then grouped together into a (group) Collection. To do this simply make a selection of at least one scatter object and from the Object menu click Collections, then Create New Collection if one does not already exist [8] – Object » Collections » Create New Collection (or press Ctrl + G), optionally Name the group in the Create New Collection overlay that appears bottom-left of the 3D Viewport. This creates a new datablock that can be managed from Object Properties under Collections [9] that’s also available to the particle system.
Important: group based Collections created in this way may not appear in the Outliner, they are generally managed (add/remove items, delete groups) from within Object Properties – upon object selection in the 3D Viewport associated groups will be shown in Object Properties under Collections.
Important: the relationship between objects being scattered is based on their physical position relative to each other as a group, i.e. after being scattered, objects can be moved closer together, further apart etc., any changes then reflected by the effect as a result.
Design note: the particle system initially works by scattering linked duplicate instances of the objects contained in the scatter Collection – if the original object is edited, changes are immediately reflected in the scattered duplicates. In practice this means each Collection should include at least one object per ParticleSystem instance but, where some degree of variety is required either; multiple objects can be included, or several particle system instances referencing different objects can be assigned to the same target. Objects can be added to [i] or removed from the debris group, as well as being physically moved or repositioned, changing the outcome of the effect.
To add or remove and item from a group Collection, select the object in question and in Object Properties [i] click the Add to Collection button to access the available groups list, or click the X on the corresponding group instance to remove.


The objects to be scattered need to be collated together into a Collection (group) [8], which is then managed in Object Properties [9] while also being available for the particle system itself.
Particle Properties
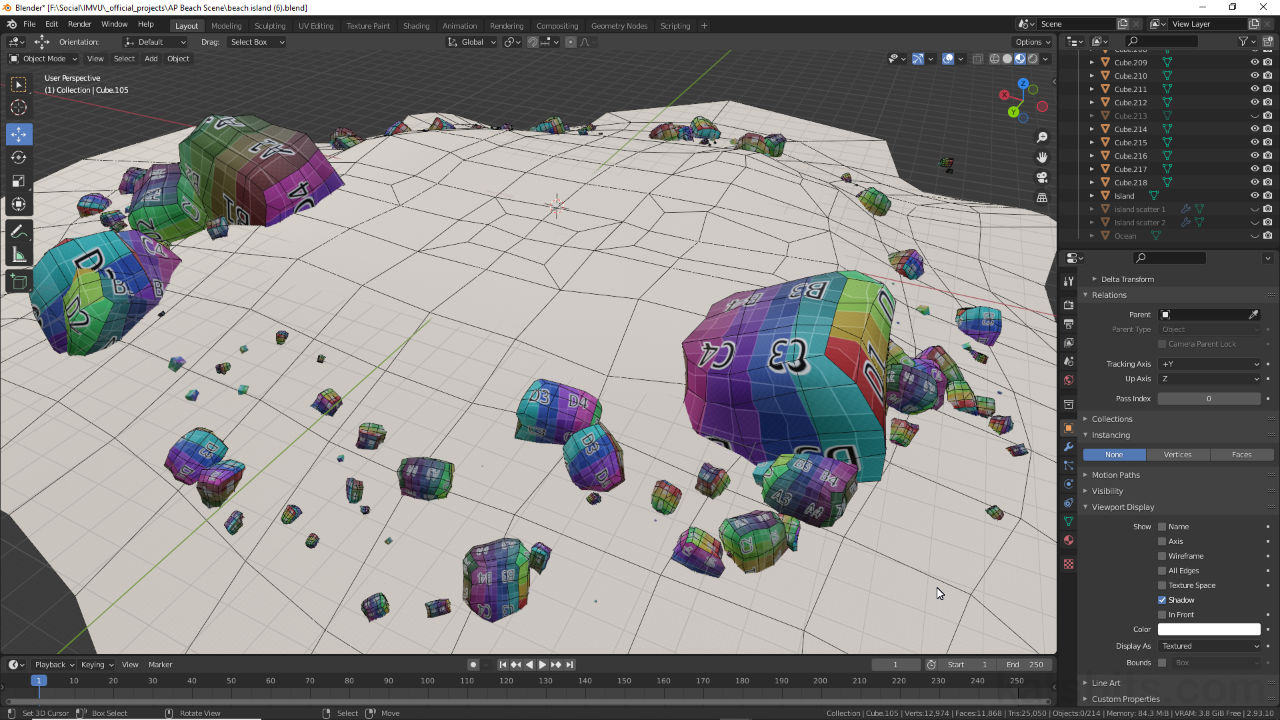
Once a particle effect is assigned to the target object its properties can be adjusted in Particle Properties [10]. Here, click Hair and the Advanced checkbox [11] below to enable the appropriate set of options for debris scattering. Next, link the debris collection to the effect by scrolling down to the Render subsection and changing Render As [12] to Collection – Render As: Collection (Path is the default). In the Instance Collection [13] field that then becomes available, set the debris collection as the group to be instanced by clicking the Collection icon and selecting the group from the available list, e.g. ‘scatter‘. The debris objects will immediately appear scattered across the target based on the particle systems default settings [14].
Design note: when using particle system in this way be sure to appropriately name the Collection that contains the debris objects to make is more easily discernible from other Collections that will be listed – the effect doesn’t make any distinction between ‘organisational‘ collections, as might be managed in the Outliner, versus ‘group‘ collections where objects have a relationship to one another.

In Particle Properties [10] set Hair as the type and activate Advanced [11] to access relevant options. Then set Render As to Collection in the Render subsection…

… a Collection sub-subsection will then appear where the debris group can be set in Instance Collection [13]. This immediately spawns the debris objects [14] across the target object.
Scatter Properties
For most particle based scatter the core settings to then use once the debris collection is referenced [15] are the Emission, Rotation and Render properties, each accessible from within Particle Properties.
Emission
In Emission properties [16] debris duplication is largely controlled by;
• Number – increase/decrease item count.
• Seed – increase/decease the number of ‘spawn’ points.
• Hair Length – increase/decrease item size (uniformly).
These set a baseline of replication and general distribution over the target object. Additionally under the Source sub-subsection the location debris essentially spawns can be adjusted by changing Emit From (Faces, Vertices, Volume) and Distribution (Jittered, Random).

Once the debris objects [15] are linked to the particle the amount and distribution can be controlled in the Emission [16] settings by changing the Number, Seed and Hair Length.
Rotation
In Rotation settings [17] (click the checkbox to enable) debris items can be twisted or turned off-grid or axis depending on;
• Orientation Axis – sets what axis of orientation is used by particles.
• Randomize/Phase/Randomize Phase – randomises item orientation around the axis set.

The settings in Rotation [17] ostensibly control how the scatter objects are rotated or orientated relative to their origins (set in Emission’s Emit From)
Render
In Render options [18] scattered objects can be randomly rescaled up/down from the original size using;
• Scale – increase/decrease debris group uniformly.
• Scale Randomness – increase/decrease debris objects independently of each other.
Objects can be further randomised by clicking the checkbox for Pick Random which randomly selects objects to be affected by the particles settings.

Randomising scatter object size can be done in Render options [18] where the particle effect Scale and Scale Randomness to modify debris from their original size/scale.
Make Real/Apply
Once debris has been scattered the normal procedure to make the results ‘real’, that is to Apply the modifier, does not work. To fix the effect in place so objects can be edited further, ensure the target object assigned the particle system is selected and from the Object menu click Apply then Make Instances Real – Object » Apply » Makes Instances Real. The objects will be duplicated and essentially detached from the effect, which is left intact. Hide the scatter object and ensure the new duplicates are selected (selected by default). From the Object menu again select Relations then Make Single User and then an appropriate option, typically Object & Data – Object » Relations » Make Single User » [option]. This further converts the duplicates into individually editable meshes whose location, rotation and scaling is based on the settings defined by the particle system beforehand.
Important: the first step converts the effect into object-type groups, for example all cube objects remain linked duplicates of the original parent so any edits to one propagate to all. This has to be broken by making each instance a ‘single user’.
Design note: before making particle scatter real it’s best to UV mapped and textured the scatter (parent) objects as needed to save having to unwrap, map an material dozens of individual objects after the fact.

Although a modifier is assign, ‘Apply’ doesn’t work in this context. Instead Make Instances Real has to be used [19]. This converts the particle objects into editable meshes.

To make debris fully editable Make Single User [20] can be used to further convert the instanced groups into individual objects that are no longer linked duplicates of the original.
