How to Set Up Emission/Emissive Materials in Roblox
Table of Contents
In Roblox, Emission is a surface effect rather than a literal light emitting entity like a point light. As a surface effect its fundamentally a product of the games broader material system that relies on objects, models and surfaces being assigned or mapped using appropriately configured materials. For Blender, this typically means additional mesh prep to use the Emission material property of Principled BSDF before export to Roblox.
Emission Basics
Emission in Roblox is a surface effect that works by converting the tonal values of a greyscale image, an emissive mask or emissive map, into a surface brightness or intensity equivalence, it essentially makes surfaces appear as though they’re emitting light, or acting as a light source. Because the effect is defined by greyscale values, in practice this means;
• black = no emission
– Grey 0%
– RGB 0,0,0
• grey = variable emission
– Grey 1%/1 <-> 99%/254
– RGB 1,1,1 <-> 254,254,254
• white = full emission
– Grey 100%/255
– RGB 255,255,255
Important: emission does not ’emit’ light… [more]

Emission is defined by black <-> grey <-> white images, where black equals no emission and while is full emission (see “Emission Settings” below).
UVs & Emission
3D models that include emission need to be properly UV unwrapped as a general rule, especially as models only use a single image or texture atlas – everything is mapped to a single ‘texture space’ that can optionally include other texture maps; normal, roughness, etc.
For example, using a 256 x 256 atlas UV mapped to a simple lantern model, a small area of the diffuse (albedo) image might be painted to define;
• where on the model emission appears.
• the colour of the effect.
Whereas the emissive image will specifically defines;
• intensity or brightness.
• (optionally) colour and intensity values.
In Roblox, UV mapping ensures correct image placement on the model, with colour or tone providing the colour tint or intensity value in either/or the diffuse and emissive image maps (see Roblox Import note below).

A simple lamp model with an area representing lamp glass painted for effect. The corresponding emission image is similarly painted, and can include colour as well as tonal ‘intensity’ values – everything not meant to emit is black regardless.
Blender Material Setup
To ensure Roblox reads emissive material data correctly, preference is to use an image rather than the Emissive property of Principled BSDF (or connecting an Emissive node instance). This means an Image Texture node needs to be added to the material that’s linked to the Color input of the Emissive property (Image Texture Color output » Color input of Principled BSDFs Emissive property). During import Roblox Studio recognises the node relationship and looks for the corresponding emission image/map that’s then processed for use.
Important: Color not Strength… [more]

An Image Texture carrying the emissive image is mapped to the Principled BSDF through the Color property of the Emissive channel. This connection forces Roblox to look for the asset to enable the effect in-editor/game.
Roblox Import
In Roblox Studio use the Import tool to bring the Blender exported model into the editor. In the Import Preview window the process opens, expand the Scene information lower left, and check the emissive effect is functional on the material – an alert icon should be visible that, when clicked, displays text outlining what Roblox does when it finds an emission map;
“Roblox transforms emissive map textures into a grayscale mask texture and modifies the imported colour map to include the colour information from the emissive map texture.“
This message confirms Roblox Studio has found the emissive image and has properly converted it for use in-game. Completing the Import process will drop the assets into the scene ready for use.
Design note: Roblox doesn’t use the actual emissive image as is… [more]

Preference should be to use a fully greyscale image (right) vs. including any colour information (left), which should be reserved for the diffuse (albedo) image.

During import a warning will be shown in the Import Preview window indicating an emissive texture was found and converted ready for use.
Emissive Lighting
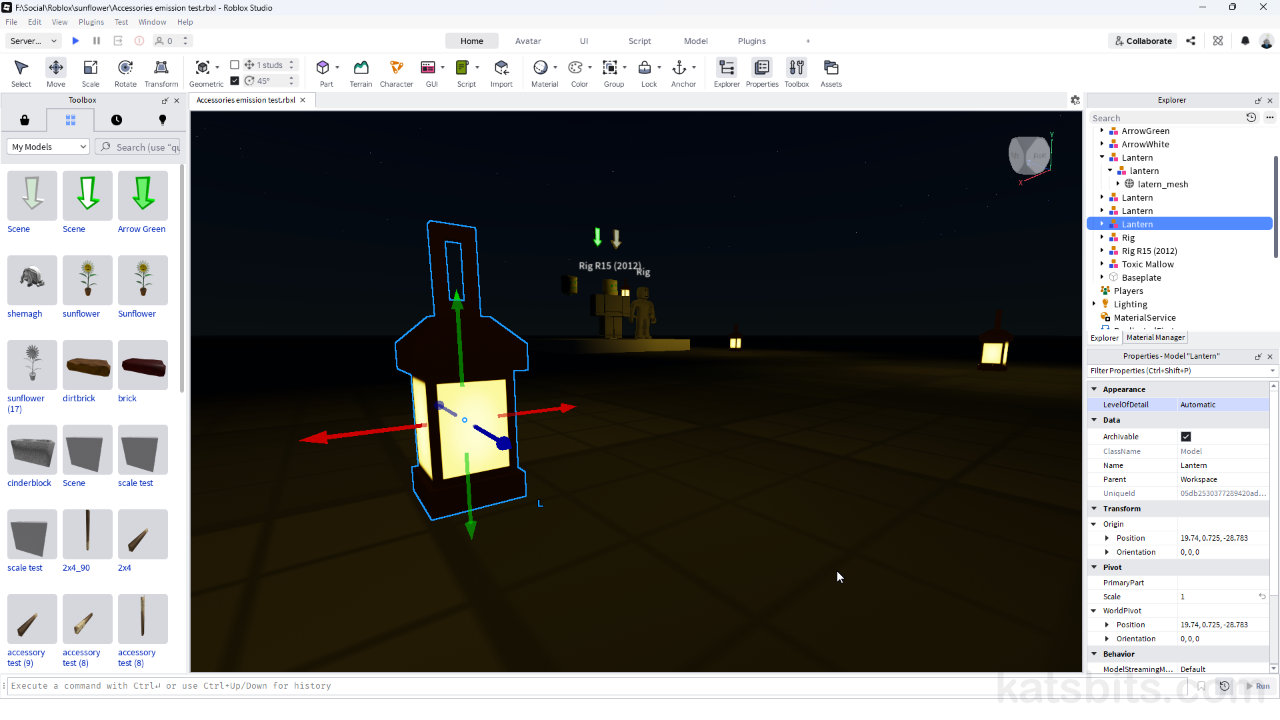
As the emissive effect doesn’t actually emit light, surrounding objects won’t be illuminated. To create this impression, that the effect is lighting the scene, an actual light emitting entity has to be added that’s positioned relative to the model and the effect. Exactly how this is done depends on the object, and what the effect represents, a ‘lamp’ for example, might have a PointLight added to the same entity as the 3D lantern model, positioned so the emissive effect appears to emit light and illuminate the scene from the lantern.
To add a light, in Explorer mouse over the model listing (MeshPart) and click the + (Insert Object) icon to the right of the label. Search for “light” and click one of the available options (PointLight, SpotLight, SurfaceLight). This drops the entity into the scene relative to, and positioned in the Explorer as a child of, the mesh object parent, making it a (sub)component of the Model game object that now means if the group is moved, the light moves with it.
Design note: managing lights… [more]
To work around this a MeshPart, the aforementioned proxy object, can be added as a child of the lantern, which itself becomes the parent of the light. This can then be made invisible and non-collide-able, and as its a physical object, the manipulation widgets will be available allowing for precise manipulation of the light entity.
» lantern (MeshPart)
» » proxy (MeshPart)
» » » light (entity)

To make it easier to position light entities make them children of proxy objects (parents) as this (re)enables the manipulation handles otherwise not available when lights themselves are selected.

To give the impression emission is actually illuminating the scene, add a light to the same entity.
Emission Settings
Due to the way Roblox Studio sets up emissive textures during import, it accommodates material colour and intensity being adjusted after the fact. This is done by adjusting the SurfaceAppearance component that’s automatically added to the imported 3D model. Highlighting this in Explorer lists two particular properties associated with the emissive effect, EmissiveStrength and EmissiveTint. Here, both can be changed additively, that is, they change colour and intensity relative to the original baseline colour and intensity established during import from the source images, for example the emissive effects appearance can be changed from green to red, from dull to very bright, by altering the numerical values and colour selection of the two properties.
Design note: original vs. in-editor adjusted colour… [more]

Depending on the image editor, during export as a PNG, set the ‘palette’ to ‘greyscale’ to ensure a proper 8 bit greyscale image – this is entirely optional as Roblox Studio converts what it finds during import as a matter of course.

Adjusting the emission effect after importing the model by changing the EmissiveStrength and EmissiveTint properties of the SurfaceAppearance component added to the game entity (Model).
