Paint Minecraft Stone Texture in Blender
Table of Contents
Description
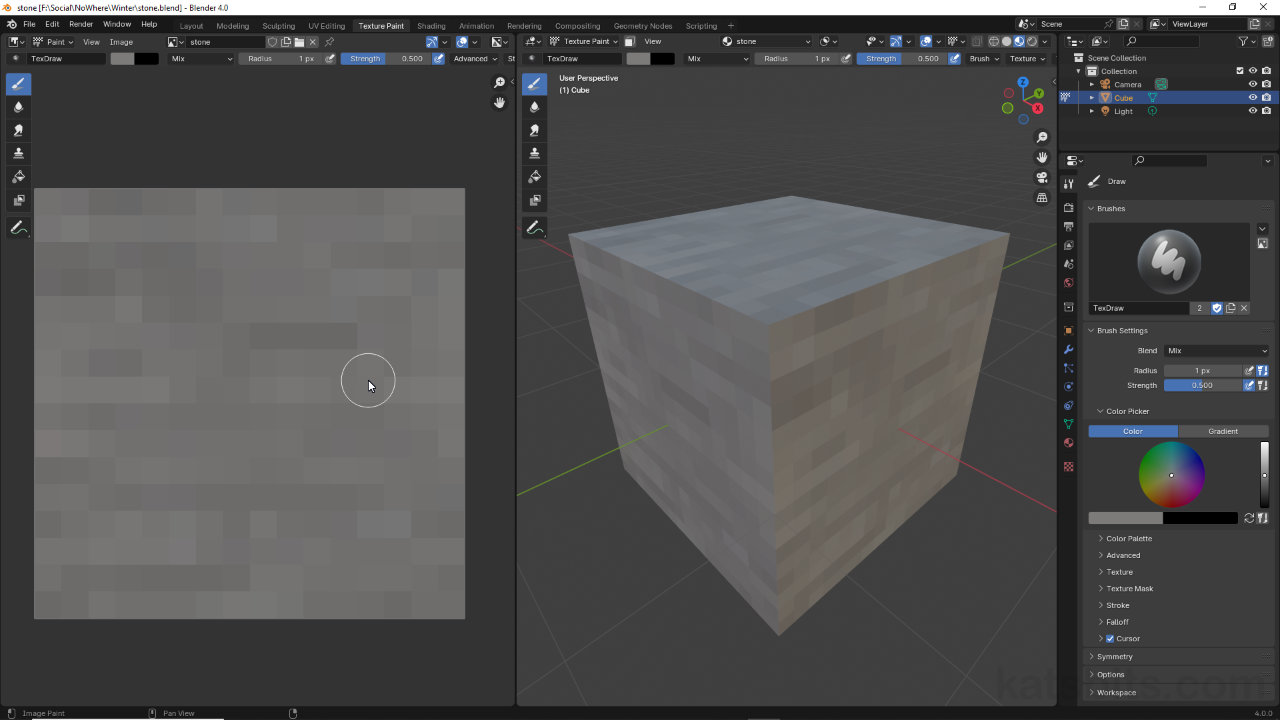
In this exercise we take a look at painting a Minecraft style ‘stone‘ texture in Blender using Texture Paint. As always with these types of 16 x 16 pixel images, the default scene cube is used as a ‘viewer’ so it needs a material, and to be UV Unwrapped relative to the image to properly assess the painting process in live-time. Once this is done the image can be painted in Texture Paint Workspace, primarily using Color, Radius (brush size), and Strength (how much ‘paint’), and finally saved for use as is, or further work in an image editor.
Design note: some additional considerations to keep in mind when painting (Minecraft style) stone or rock textures;
Rock and Ore
This particular version of ‘stone’ should be relatively generic in nature because it can be used as the basis of other textures. The ores for example use the same underlying ‘stone’ or ‘rock’ image, various ‘elements’ – coal, gold, diamond etc. – then being a colour variable layer over the top that keeps image assets consistent across the broader set to ensure uninterrupted tiling from one variant to another; coal to rock/stone to gold without there being any discernible difference aside from the element type.
The painted stone/rock image can be used as a the basis for other texture types, ‘the various ‘ores’ for example; gold, coal, red stone etc. This ensure consistency across the texture set and that they tile cleanly, without issue.

Timestamps
Times are approximate;
– 00:00 : Materials & UVs
– 04:30 : Texture Painting
– 09:30 : Save Image
