Paint Minecraft Frozen Dirt Texture in Blender
Table of Contents
Description
In this exercise we take a look at painting a Minecraft style frozen dirt texture using Blenders Texture Paint tools. First the default Cube is edited to include a temporary Generated image. The mesh is then fully UV unwrapped and mapped before painting can then be done switching the Texture Paint workspace. Once the 16 x 16 pixel image is painted it can be saved for further use.
Duration: total c. 15 mins (00:15:00).
Info: 1080p.
Suitability: Beginner+.
Source: n/a.
Product: n/a.
Design note: generally speaking painting Minecraft style images using Blender shouldn’t present any issues, the below however, should be kept in mind;
Paint Tools
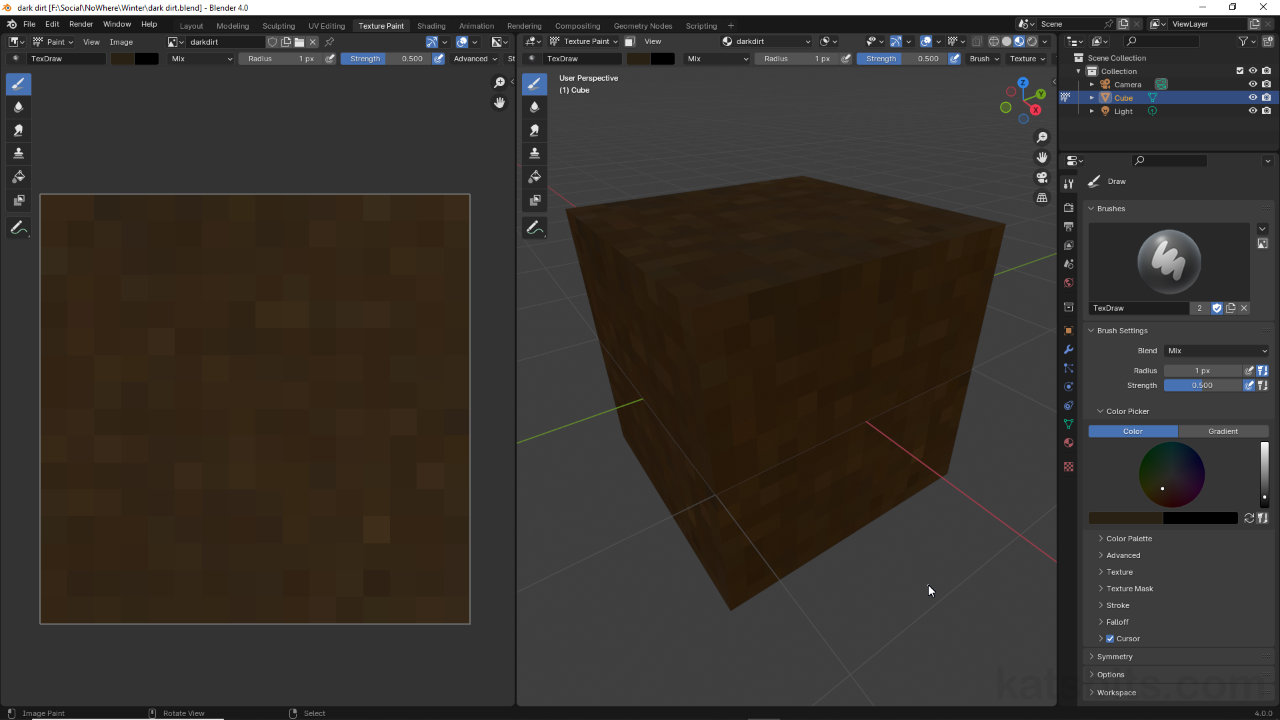
Texture Paint layout is split down the centre, Texture Editor to the left of the centreline, 3D Viewport on the right. The Editor displays the texture/image being painted to, the 3D Viewport, the object the image is mapped to – this is why correct UV unwrapping and UV mapping is important to sort out first. Both areas provide access to the same basic texture painting tools [1] though their presentation may differ. Additionally, Properties [2] may also show the Tool panel, which similarly displays the same core options organised appropriately for the panel. For Minecraft style texture painting, i.e. painting 16 x 16 pixel images, any tool set can be used to paint the image.
When in Texture Paint workspace the layout provides a number of different ways to access the core tools, from the main area headers [1] and the Tool panel of Properties [2].Specular Highlights
In Texture Paint workspace the 3D Viewport renders the scene in Solid mode, with specular highlights, and the texture being painted visible instead of the normal flat-lit grey clay material. As this can make it difficult to properly discern image data as its painted specular highlights should be disabled and/or Viewport Display should be switch to Material Preview instead. To turn off highlights, in Shading [3] options click the Specular Lighting checkbox [4] to clear and disable. TO switch render mode click the Material Preview icon in the header as normal.
Texture Paint uses a modified version of Solid mode that includes specular or shiny highlights that can interfere with colour assessment. This can be disable in Shading options [3] clearing the Specular Lighting [4] checkbox.


Timestamps
Times are approximate;
– 00:00 : Material & UVs
– 05:00 : Texture Painting
– 11:00 : Image Save
