Paint Minecraft Fir Tree Textures in Blender
Table of Contents
Description
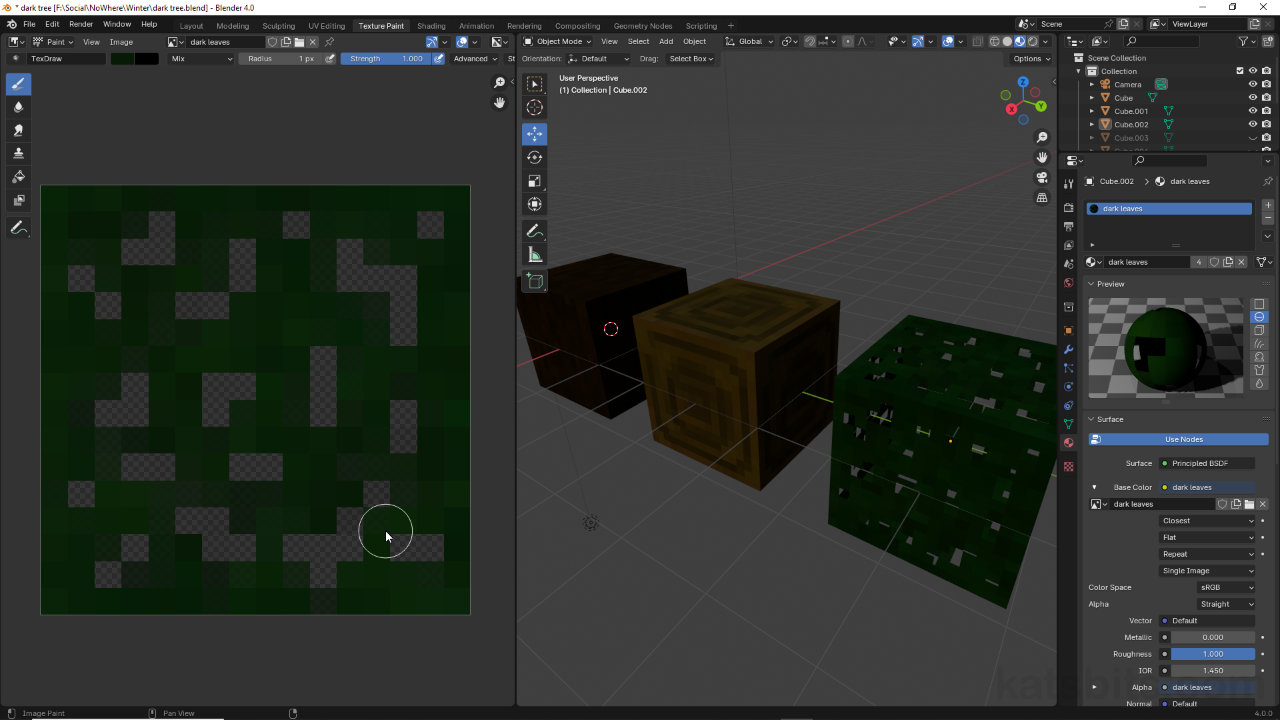
In this exercise we take a look at making a set of fir tree or ‘dark wood’ Minecraft style textures using Texture Paint in Blender. Starting with the default cube, as we’ll be painting three images we need to duplicate it so we have a ‘preview object’ for a trunk, cut wood, and a leaf texture. Materials then needs to be sorted out so, each carrying its own image, before than resetting their respective UVs. Once this is done the textures can be painted and saved within Texture Paint workspace.
Duration: total c. 35 mins hr (00:35:00).
Info: 1080p.
Suitability: Beginner+.
Source: n/a.
Product ID: n/a.
Design note: painting a number of Minecraft style images at the same time shouldn’t present any issues so long as time is taken to properly set up the preview cubes and materials.
Browse Image to be linked
When painting several images within the same project, rather than constantly exiting/entering Paint mode to select other objects in the 3D Viewport, use the Browse Image to be linked menu option available in the Image Editor (left-side). To do this, click the Browse Image to be linked button [1] to expose the drop-down list of available images. Click to select the appropriate image instance to be painted. In the Image Editor the selection appears immediately in the workspace, and when painted, updates automatically appear on the correspond object without needing to switch back and forth between modes or objects.
In the Image Editor use Browse Image to be linked [1] to swap between images to be painted rather than changing modes and selecting objects.Alpha Clip
When painting images that need to use Alpha Clip for transparency, the limit set in Clip Threshold [2] determines whether an erased pixel is actually rendered transparent. In practice this can mean pixels may appear painted out in the Image Editor but not in the 3D Viewport. When this happens be sure to fully remove a given pixel when using Erase Alpha, that there isn’t any faint, residual colour or pixel data still in place.
Be sure that Clip Threshold [2] is set to at least 0.5 to get a better idea of image transparency being painted using Erase Alpha.


Timestamps
Times are approximate;
– 00:00 : Object & Material Set-up
– 06:30 : UV Unwrapping
– 09:00 : Trunk Image
– 16:30 : Wood Image
– 22:00 : Leaf Image
– 32:00 : Test Assembly
