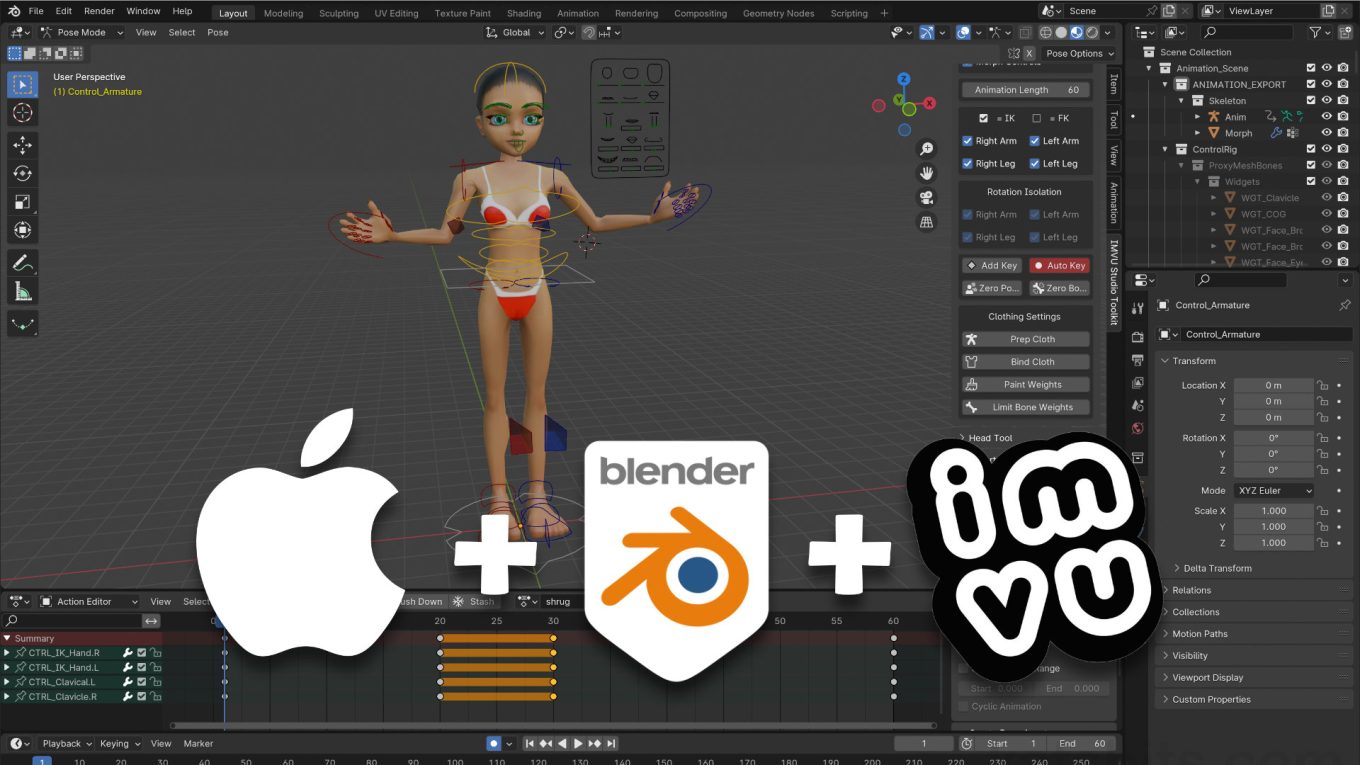
MacOS, Blender 4 & IMVU Toolkit – Animated Pose
Table of Contents
Description
In this exercise we take a look at making a simple animated avatar pose for IMVU in Blender using the IMVU Toolkit on MacOS (MacBook). With Toolkit open in the Sidebar (View » Sidebar or press N) load in an Animation Tool instance to access the rigged avatar. Checking to make sure Pose Mode is active, an animation is then made posing the avatar at different key frames (keyframes) along the timeline. This can then be exported using the Toolkits embedded FBX Export tool that generate a file that can be imported into Classic or Studio and assembled into an triggerable Action.
Duration: total c. 25 mins (00:25:00).
Info: 1080p.
Suitability: Beginner+.
Source: KatsBits – MacOS Animated Pose (c. 1 MB, *.blend, *.fbx).
Product ID: n/a.
Design note: some additional considerations to keep in mind making animated avatar poses for IMVU using the Toolkit in Blender on MacOS;
Copy/Paste Poses
When duplicating a pose, keyframe or keyframe set, there are two approaches that can use; 1) copying the posed/positioned control elements in the 3D Viewport, or 2) copying keyframe markers in the timeline.
Using the former [1], copying (Command (⌘) + C) control element positions in the 3D Viewport [2] – Pose » Copy Pose/Paste Pose – ensure the blue timeline scrubber/playback head is over the frame from which pose position data is to be copied, e.g. frame 20, else the pose copied may be slightly different from what’s needed due to “tweening”, the blending of one pose to another. Similarly, make sure to move the timeline scrubber into position before pasting (Command (⌘) + V) to avoid overriding existing frame data.
When copy/pasting keyframes [3] – Key » Copy Keyframe/Paste Keyframe – this consideration is not necessary because by nature, keyframes incorporate whatever pose data [4] has been inserted into the timeline and/or is associated with each control element.
Pose data can be copy/pasted by selecting various control elements of the rigged avatar in the 3D Viewport and using the Pose[1] menu to Copy Pose/Paste Pose [2]…
… or by similarly copy/pasting a set of keyframes in the Action Editor timeline from the Key [3] menu to Copy Keyframes/Paste Keyframes [4].Action/Pose Name
If several poses or avatar animations are to be used in the same avatar product, each needs to be uniquely named in Blender to prevent overriding existing or previously exported FBX files or imported data in Classic or Studio. In Blender, while this generally means sequences should be saved to their own *.blend file, they still need to be labelled in a way that they can be uniquely identified during export/import.
To do this, first create an Action sequence by posing the avatar, or select a previously generated sequence from the Browse Action to be linked menu [5]. Next, in the Action timeline Header click in the Name input field [6] and type an identifying label e.g. “shrug” (alpha-numeric characters only). (Re)save the *.blend file and export as normal. Repeat for each sequence to be imported into IMVU.
Make sure the rig is selected in the 3D Viewport so the correct Action sequence is exposed (or select it from Browse Action to be linked) [5], then click the Name [6] input field and type a new unique label. Press Enter/Return to confirm.Avatar vs Empty Mood
When testing animated poses it’s best to derive from the Empty Mood [7] (PID 10945930) as this is stripped of potentially conflicting pose data. Essentially this makes it easier to check the FBX file exports correctly from Blender, and that the derived item itself doesn’t include something that might otherwise cause issues erroneously attributed to the animation or pose being imported into Classic or Studio.
Important: using the Empty Mood, avatars poses and animations only activate using a stance.* automatic or ‘on-load’ trigger, i.e. stance.Idle (activates regardless of mood or mode), stance.Sitting (activates when the avatar ‘sits’) or stance.Standing (activates when avatar ‘stands’). In other words, animations and/or poses play as soon as they’re put on or worn by the User. For manually triggered animations and poses, once testing has been done, derive from 80 (female), 191 (male) or a derivative thereof.
The Empty Mood is useful for testing to ensure animated poses have exported correctly because the base derivable is stripped of action data [7] that might cause issues/confusion.Disable Gaze
When creating an animated pose, or just a pose generally for which the avatars head needs to remain still, this can either be done in Blender by posing the Head bone, or alternative in Classic or Studio editors by enabling Disable Gaze. To do this, once the basic Action has been created, in the Ensemble editor (Studio) or panel (Classic) click the Disable Gaze [8] checkbox or toggle to activate. The avatars head will then freeze in place (note the eyes may still move).
To ‘fix’ the avatars head in place (forward looking) enable Disable Gaze [8] in the Ensemble panel or editor for the corresponding Action sequence in Classic/Studio.


Timestamps
Times are approximate;
– 00:00 : Overview & 1st Pose
– 02:00 : Timeline Poses
– 12:00 : 1st Export & Assembly
– 14:30 : Rename & Re-Export
– 17:00 : Empty Mood Set Up
– 19:00 : Avatar Set Up
