Paint Minecraft Snow Texture in Blender
Table of Contents
Description
In this exercise we take a look at using Texture Paint tools in Blender 3D to paint a Minecraft style ‘snow’ texture. First, the default Cube and its material is edited to add a Generated image, this is the canvas. Next, the Cube is fully UV unwrapped so the painted texture maps 1:1. One this is done the texture can be painted. Switching to Texture Paint workspace, set a Radius value to change the brush size, select a colour and click-drag to paint to the image. Once done, from the Image menu, save the file.
Duration: total c. 15 mins (00:15:00).
Info: 1080p.
Suitability: Beginner+.
Source: n/a.
Product ID: n/a.
Design note: when using Blender 4.x and above keep the following in mind;
Blender 4.x Updates
For Blender 4.x and above the application has been reorganised slightly to accommodate new additions. Consequently, some features and menu options may appear a little different from previous versions despite functioning exactly as before, Material Properties for example, has been reorganised to include more subcategories based on property ‘type’. This only affects how the user interacts with materials, it does not affect how they work.
With Blender 4.x and above the interfaces has been reorganised to accommodate new features. For example, the same material shown in Shading workspace, image-top in Blender 3.6, more-or-less all material options are exposed in Material Properties and respective nodes in the node editor, whereas image-bottom show Blender 4.x and the updated ‘categorisation’ based largely on effect or property ‘type’, options have to be exposed (click heading) before use.Whiteout
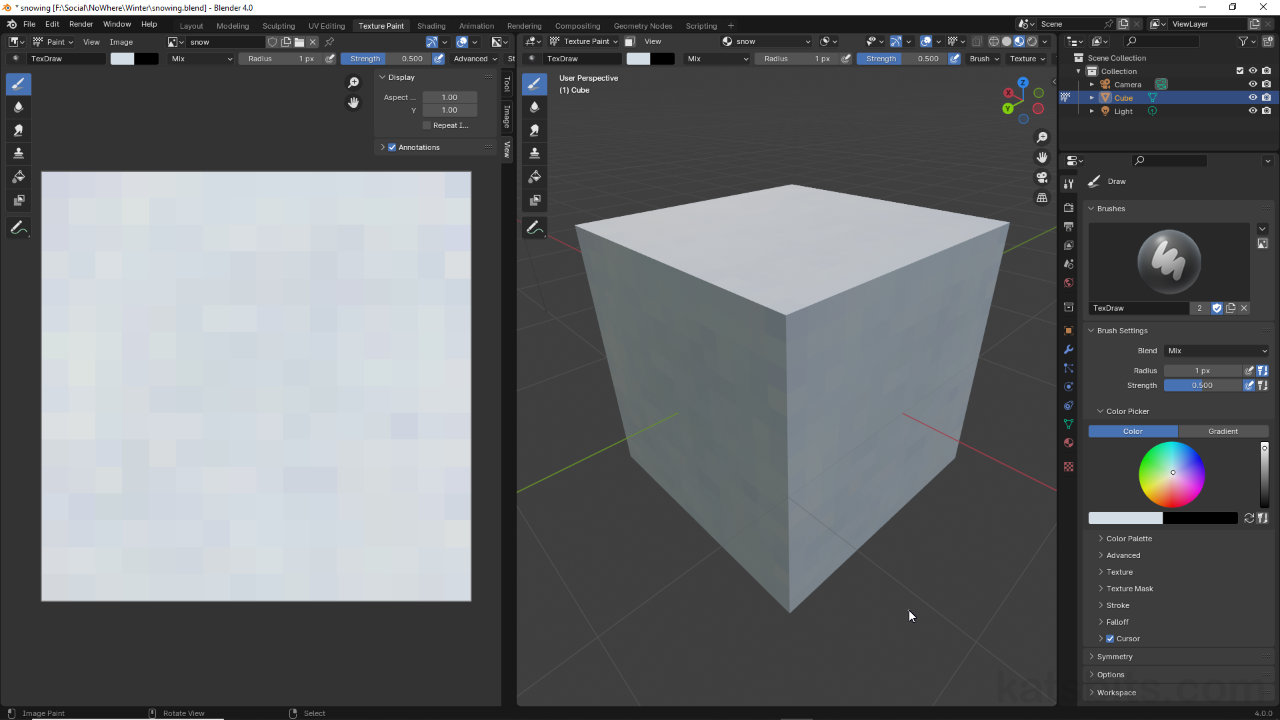
When painting white textures it can be tricky to discern colour or tonal variation as images may appear full-bright or over-bright. In these situation use the cube in the 3D Viewport, with lighting adjustments where necessary, to get a better sense of the textures appearance, which will differ from the Texture Paint editor as a consequence of lighting [1] on the demo block.
Add or remove lights from the 3D Viewport to change the scenes lighting, and how the demo block is lit [1], to get a better sense of the textures appearance, especially useful for white or lighter coloured textures.Image Editor
Blenders Texture Paint tools are not as complex, and should not be considered a replacement for, a dedicated image editing program. While it’s useful to be able to quickly paint Minecraft style textures in situ, finer adjustments can be tricky using the available tools. In these situations save the painted image – use a lossless image format – and open it into GIMP [2] or other image editor for more controlled adjustment, in GIMP for example, adjusting Brightness and Contrast or Levels from Colors » [option] menu.
Modifying images after-the-fact in an image editor for finer control, for example using different image filters [2] to change ‘brightness and contrast’ or ‘levels’.


![[descriptive alt image text here]](https://www.katsbits.com/images/tutorials/minecraft/gimp-adjustments-contrast.jpg)
![[descriptive alt image text here]](https://www.katsbits.com/images/tutorials/minecraft/gimp-adjustments-levels.jpg)
Timestamps
Times are approximate;
– 00:00 : Material & UVs
– 04:00 : Texture Painting
– 10:00 : Image Save
