
No Skeleton Minecraft Character Animation in Blender (Vertical)
Table of Contents
Description
In part II of the TikTok Minecraft Character series we take a look at a very simple way to ‘rig’ and animated our no-image Gerald, that is a Minecraft character textured without using images. Here, instead of using a more complicated approach that involves an Armature object and bones (the “Skeleton” in the title), we instead set up the characters body parts to act as a skeleton itself, manipulating them directly to then create a looping (cycling) animation sequence in the Action Editor.
Duration: total c. 35 mins hr (00:35:00).
Info: 720p (720 x 1280 vertical).
Suitability: Beginner+.
Source: KatsBits – No Skeleton Minecraft Animation (c. 200 KB | *.blend).
Product ID: n/a.
Design note: additional considerations when animating using objects instead of an Armature;
What is a ‘Rig’?
A ‘rig’ is essentially a wholistic apparatus that allows an object or collection of objects to be indirectly controlled/animated. Ordinarily this is done using an Armature, a dedicated object type from which a skeleton can be built that reflects an objects shape or how a set of structures are meant to move and articulate. Within Blender however, objects themselves can be used to define a ‘rig’ simply by linking them together to form a hierarchical structure, an ‘object chain‘, based on a Parent » Child relationship from one object to another. While this is relatively easy to set up, managing and controlling the resulting overall collection become complicated because each object within the collection has its own Action sequence; using an Armature there would only be one, the Armature itself.
Aside: this approach only works within Blender, if the character and animations are to be exported or used elsewhere a proper ‘rig’ will be needed.
A ‘rig’ is just a means to control how objects behave, especially where a collection of objects needs to be moved or manipulated as a group, by linking them together into a hierarchy, an ‘order of importance’.Positioning the Origin
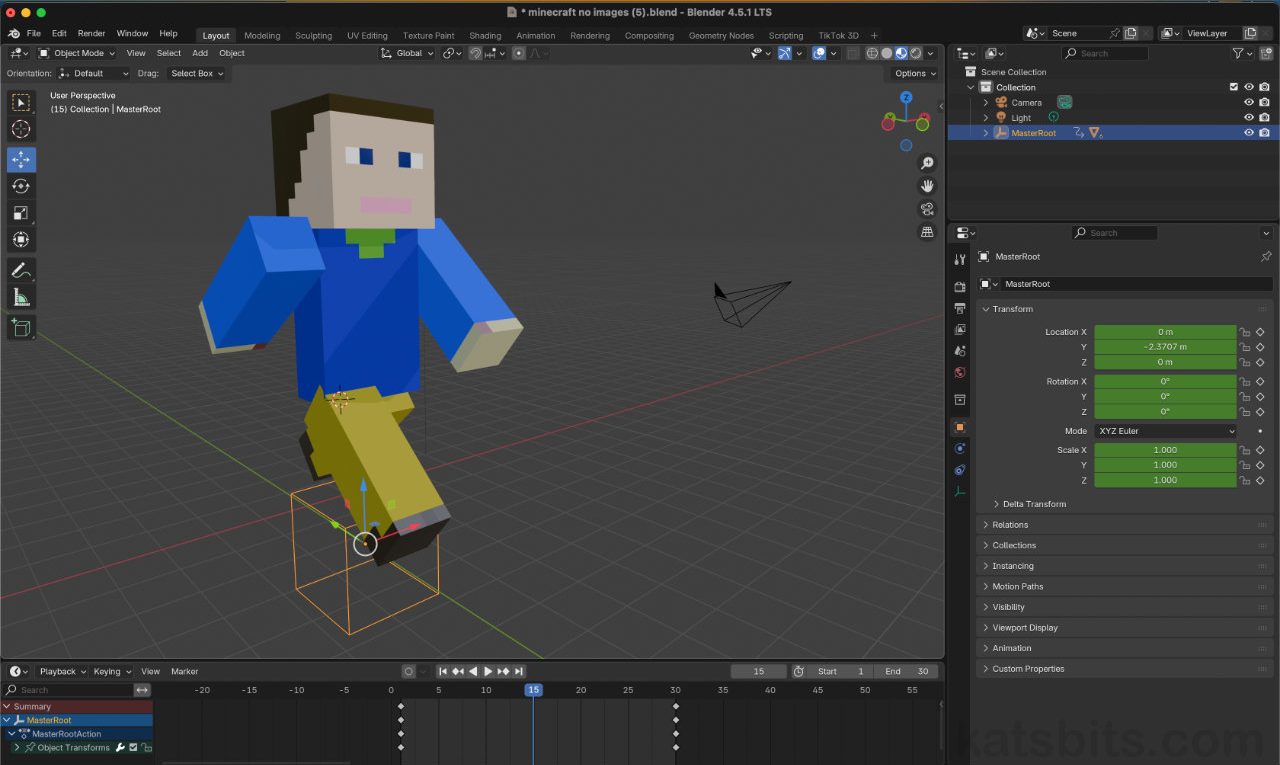
If the Origin [1] of an object is misplace or misaligned it can be reset and then positioned where it needs to be. Assuming the Minecraft characters body parts are correctly sized (arms/legs = 4 x 4 x 12, torso = 4 x 8 x 12, head = 8 x 8 x 8), the Origin just needs to be reset to the geometry – Object » Set Origin » Origin to Geometry – and mesh then positioned in Edit Mode relative to it – press and hold Ctrl to grid snap while moving.
Aside: Everything in Blender has an Origin. Its the point around which objects are generated, transformed and manipulated. Its a fixed location in the sense that it always exists, but its placement or position relative to objects themselves is flexible meaning, it can be repositioned relative to the object it belongs to. When animating using objects this is important as its the point around which they, in particular, rotate.
In this context, using objects as ‘rig’ controls, the location of the Origin [1] is important as it determines how elements rotate; changing its relative position then alters the way the ‘rig’ behaves.Pose Reset
Resetting Objects that have been animated is relatively straightforward but, unlike an Armature, positional data is tied to the object itself, and based on its initial XYZ coordinates. In other words, mirrored objects may have a different orientation from their originals, so when reset may flip around an axis requiring a bit of fiddling to correct. This doesn’t happen using Armatures. For objects like this it’s best to just edit the standard Transform [2] values for each, or their respective, X, Y or Z axis. These can be found in the Item tab of the Sidebar (N) or Object Properties. Additionally, when resetting ensure the timeline scrubber is at the appropriate frame in the timeline so any new coordinate data can be saved (baked) to it – this overrides or updates any existing keyframe markers associated with the selected object, and the selected frame.
Having used duplicated and mirrored objects (Duplicate Linked) to create the limbs, after editing the Origin’s position just used Transform [2] properties in the Sidebar (N) or Object Properties.Single User
When duplicating or creating new Action sequences it’s best to enable Single User for all existing sequences to ensure the data is maintained and stored in the file as, without doing this, Blender interprets the data as being temporary because it’s not being actively used. To bypass this enabling Single User [3] effectively instructs Blender to see the data in being in use, it has a (single) User, i.e. its assigned and being used by something in the scene.
To ensure Action sequences are retained in the *.blend file, enable Single User. To confirm click the Browse Action to Use list and check there’s an “F” [3] (Fake User) to the left of each entry.Copy/Paste Object Data
One of the main disadvantages animating objects, or using objects as a rig to control themselves, is that coordinate data is typically tied to the object itself, it’s not specifically ‘detachable’ in the same way pose data might be when using an Armature. In other words, the orientation of one object cannot be immediately copied from one pose over to another without physically duplicating one object to replace another. In practice this essentially means that copying an objects pose needs to be done from within the Action editor [4], selecting a keyframe or frames and copy/pasting – Key » Copy Keyframes [5] (Ctrl + C | Command + C)/Key » Paste Keyframes (Ctrl + V | Command + V) – or duplicating – Key » Duplicate (Shift + D), one set of markers to another frame in the timeline.
Because objects don’t function the same way as an Armature for animation, ‘poses’ have to be copied in the Timeline by selecting a marker and in the Key [4] menu, using the copy/paste [5] options.


Timestamps
Times are approximate;
– 00:00 : Overview
– 03:00 : Origin & Pivot
– 09:00 : Parent (Skeleton)
– 15:00 : Animation (Walk)
– 22:00 : Walk
– 25:00 : Animation (Wave)
