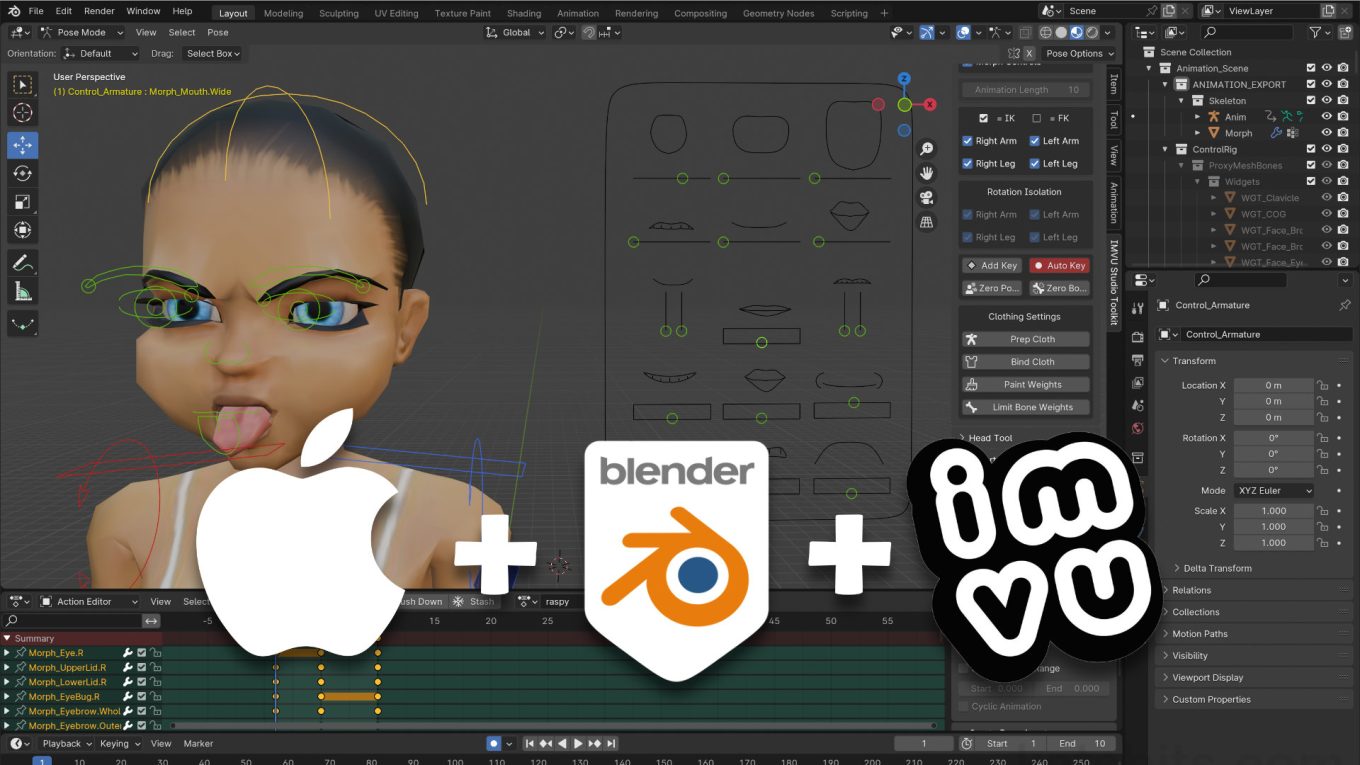
MacOS, Blender 4 & IMVU Toolkit – Avatar Expressions
Table of Contents
Description
In this exercise we take a look at making a simple facial expression for an avatar in Blender using the IMVU Toolkit on MacOS (MacBook). With IMVU Studio Toolkit open in the Sidebar (N), load in an Animation Tool instance to access the rigged avatar. Make sure Pose Mode is active, and using the control elements that animate the face, create a sequence by manipulating the shapes. Once done this can then be exported using the Toolkits FBX exporter as a ‘morph’ animation, itself then imported and assembled in Classic or IMVU Studio to make a triggerable facial animation or static expression.
Duration: total c. 20 mins (00:20:00).
Info: 1080p.
Suitability: Beginner+.
Source: KatsBits – Facial Expression (c. 1.5 MB | *.blend, *.fbx).
Product ID: n/a.
Design note: some additional points to keep in mind when using the Animation Tool to make facial expressions/Shape Key (morph) sequences;
Tool Overview
The rig for animating the avatars face is essentially a two-part tool; part one [1] is a set of shapes positioned over the face that control areas of the mesh they are localised to, part two [2] is a control panel offset to one side with a number of gizmos and shapes that specifically controls the mouth. This division is necessary largely because there isn’t enough room for all the mouth control in one area.
The facial animation tool is basically split in two; one half sits over the mesh [1], the other is a panel off to one side [2] to make controlling the mouth easier – the control nodes can’t all fit in the available area around the mouth.Tool Use
In terms of behaviour, how the tool is used, each part of the mesh is manipulated by a specific, corresponding shape or a generic circle [3], each providing a different degree of control depending on the control shape itself and the maximum-minimum deformation, or ‘morph’ (‘Shape’ in Blender), limitations associated with the part of the mesh being controlled. To use, with rig selected and in Pose Mode (Control + Tab), click a control node, which highlights green, and use the Move or Rotate manipulation to set a pose. A keyframe marker will be dropped into the Action Editor timeline [4] that can then be exported as part of a larger pose or sequence for IMVU as an FBX.
Important: Scale is not used in this context as associated pose/bone data is ignored by IMVU. To change the relative size of something use the Bone Scale tool in IMVU Studio.
A pose or animation is made by selecting individual control nodes [3] and manipulating them using the Move and Rotate tools. This creates a ‘keyframe’ marker in the timeline [4] that store pose data for subsequent export to FBX.Pose Mode, Auto Insert
When the animation rig drops into the scene it may not be immediately available for posing because it’s in the wrong interaction mode. This can be confirmed by selecting the rig, the wires and shapes, which may highlight orange. If so, this confirms Object Mode and requires a mode switch to Pose Mode. To do this, make sure the rig is selected then from the Interaction Mode selector click Pose Mode [5] from the drop down. Alternatively press Control + Tab. Similarly, before starting, to ensure poses data is automatically dropped into the timeline and doesn’t require manual insertion using Insert » Location & Rotation (I » Location & Rotation), click the Auto Key [6] button.
The avatar rig needs to be in Pose Mode to animate. Double-check the Interaction Mode is set to Pose Mode [5]. Additionally, enable Auto Key [6] to automatically insert keyframes for each manipulation into the timeline.Action Name
The toolkit defaults to naming animation sequences Control_ArmatureAction. If a number of animations need to be created this can result in accidently over-writing previously exported files because they too use the same name. To avoid this Actions can be renamed by clicking the Name input field and typing a new distinct label. On export this will then be used to name the file, i.e. renaming an Action “raspberry” results in an FBX file labelled raspberry.fbx.
Important: where several facial animations needs to be created, preference should be to save to, and export each sequence from, their own individual *.blend files.
Renaming an Action sequence help avoid over-writing exist FBX files as the tools defaults to using the same name. Click, type the Name [7] input field to rename both the sequence and subsequent FBX exports.T-Pose Reset
When exporting a facial expression using the Toolkit, the default pose for the avatar will be included also, imported into Studio this will show two or more components; for Empty Mood derivations that will be the ‘morph’ (face) and ‘skeletal’ (body) data; for Avatar derivations that will be the ‘morph’ (face), ‘skeletal’ (body) and ‘skeleton’ data. To import only morph data, deselect any other data presented regardless of the derivable base, Empty Mood or Avatar, complete the process and then assign the converted XPF to the Morph Animation [8] property of the Ensemble.
Important: depending on the Ensembles settings, facial animations and actions generally blend with other sequences that might be in use by the avatar – essentially this is why morph actions work with the base avatars, the default Action sequences are still active so stand an increased probability of replacing or override the possibility of the T-Pose appearing. In some circumstances however, usually where custom actions are mixed-and-matched, the T-Pose may still appear when using the base avatars.
Depending on the derivable used the avatar may reset to the T-Pose importing facial animations only.


Timestamps
Times are approximate;
– 00:00 : Tool Overview
– 04:00 : Expression
– 09:00 : Prep & Export
– 11:00 : IMVU Studio, Empty Mood
– 15:00 : IMVU Studio, Avatar
