Toolkit – Attachments
Table of Contents
Description
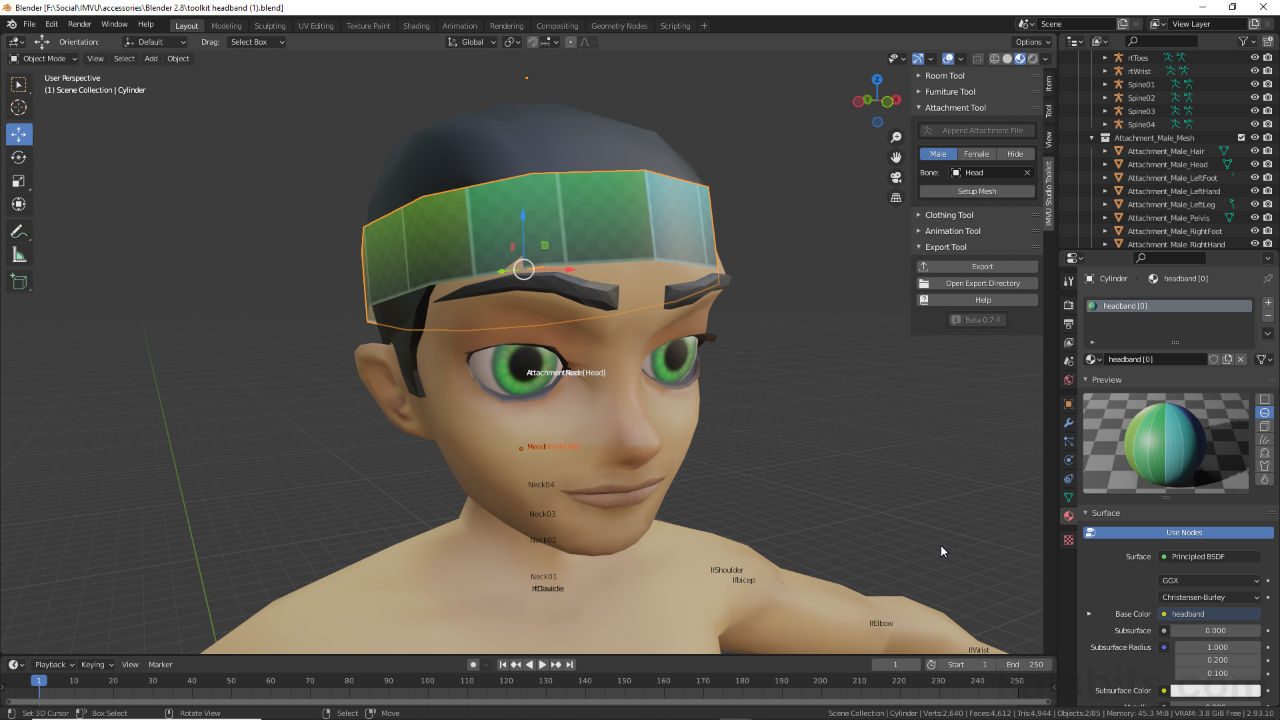
In this exercise we take a look at using IMVU Studio Toolkit for Blender to make a simple headband Accessory using the Attachment Tool. With Toolkit installed, first an Attachment Tool project is created and an avatar Bone attachment point set. The accessory itself is then created by adding a mesh (Add » Mesh » [mesh primitive]) that’s shaped and positioned where it needs to be relative to the attachment point. Next, once the accessory is modelled the Toolkit is used to link it to the avatar bone previously set before finally being exported to FBX using the Toolkits exporter, and assembly in IMVU Studio.
Duration: total c. 30 mins (00:30:00).
Info: 1080p.
Suitability: Beginner+.
Source: KatsBits – Toolkit Headband (c. 1.0 MB, *.blend, *.fbx, *.tga). Requires installation of the toolkit for Blender. Open in Blender 2.93 LTS (preferred) or above.
Product ID: HeadBand Glowie (61958552).
Design note: currently only Blender 2.93 LTS is fully supported by IMVU Studio Toolkit. Errors may occur using other versions.
Important: after deriving from the respective Empty [Fe/Male] Accessory item, Studio will display body-part IDs [1] in the Mesh ID list. For basic Accessory items this means Mesh ID 0 (zero) for Male avatars, and 2 (two) for Female, correspond to Head (0) and Upper Body (2) respectively (ordinarily this would override the male and female glasses/sunshades).
During import IMVU Studio displays body-part Mesh IDs. For Accessory items make sure to select/set 0 for Male avatars, and 2 for Female.

Timestamps
Times are approximate;
– 00:00 : Start/Setup
– 02:30 : Mesh, Materials, UVs
– 16:00 : Tool Setup, FBX Export
– 20:30 : Studio Import & Assembly
– 25:00 : Attachment Summary
