Painting Textures in Blender – IMVU Furniture
Table of Contents
Description
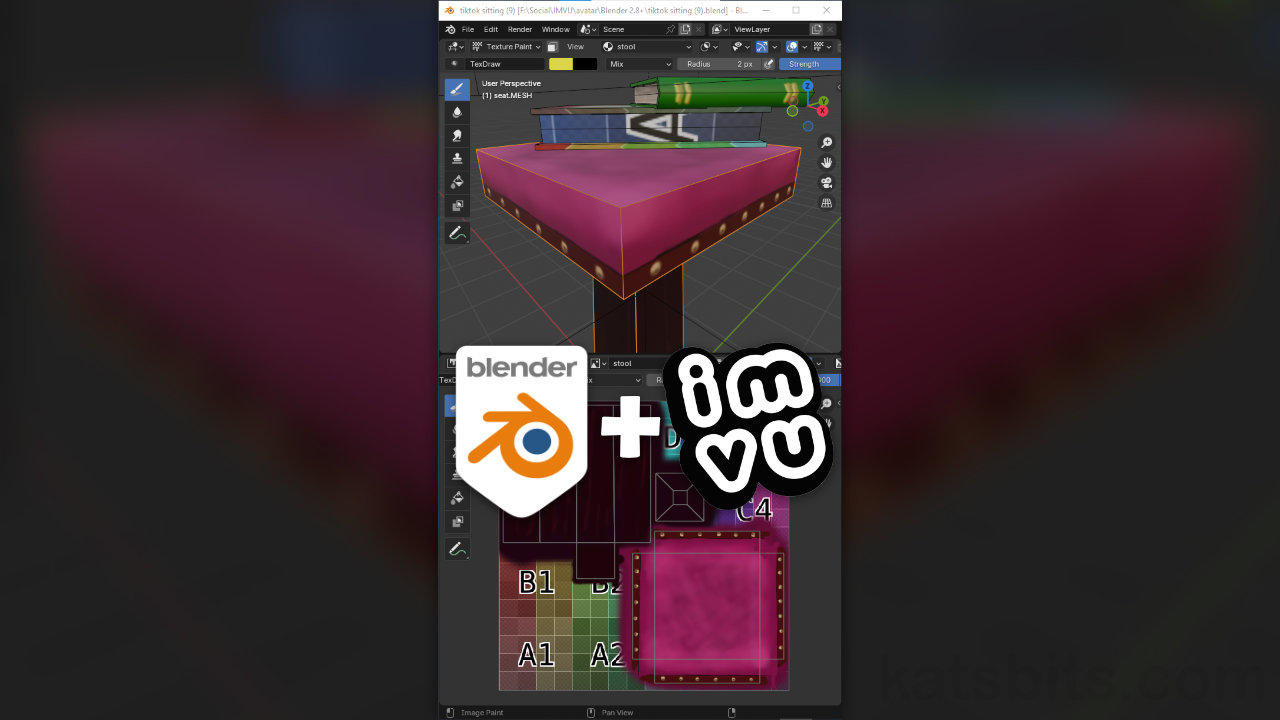
Continuing with the TikTok series exploring content creation for IMVU using the Toolkit for Blender, in this exercise we take a look at using Blenders Texture Paint tools to hand-paint the stool and book meshes for the custom furniture item around which an avatar pose was made. With objects UV unwrapped we can now switch to Texture Paint workspace, select each mesh in-turn and paint in real-time the furniture, before saving the edits for IMVU.
Duration: total c. 1 hr 5mins (01:05:00).
Info: 720p (W: 720 x H: 1280 vertical/portrait).
Suitability: Beginner+.
Source: KatsBits – UV Mapping Furniture (c. 700 KB | *.blend, *.tga, *.png).
Product ID: n/a.
Design note: some additional considerations when using Texture Paint workspace to paint images in Blender;
Texture Selection
Generally speaking when a new object is selected for painting the Image Editor should automatically switch to displaying the corresponding image. If this does not happen the correct image can be manually set using the Browse Image to be linked menu in the Header of either the 3D Viewport or the Image Editor. To change, simply click the Browse Image to be linked [1] button and select the image [2] associated with the mesh from those listed. The Paint Editor will immediately update showing the selected image.
Switching between different mesh objects should automatically swap out the image displayed in the Paint Editor, if not they can be selected using Browse Image to be linked [1] menu, selecting the image [2] from those listed.Wireframe Display
To aid painting, the Paint Editor displays a wireframe overlay atop the image being painted representing the UV map of the mesh. If this is not visible when switching between images it can be enabled or shown by, in the 3D Viewport, select the mesh whose texture is to be painted and toggle in to Edit Mode [3]. Here, select the entire mesh, A, to highlight the objects full UV map. Upon doing this the Paint Editor will be forcibly updated to display the correct wireframe over the corresponding image [4]. Toggle out of Edit Mode and back in to Texture Paint mode to paint, or continue painting, the image.
Aside: objects to be painted should have material assignments, be fully UV unwrapped, and mapped to an image (generated or linked).
The Paint Editor should display a wireframe representing the objects UVs. If this is not shown, toggle the mesh into Edit Mode [3] and select everything to highlight the UVs. This then displays the wire correctly [4] (image above shown painted black for clarity).Floor Fill Colour
Before final export of the painted image be sure to ‘fill’ unpainted or unused areas [5] as this helps reduce files size, and in some instances, maintains colour integrity – avoids issues that might occur as a consequence of compression. Selecting a common colour used throughout to paint the texture, paint the unused areas and then save the image – Image » Save As… » [options].
Aside: the highly variable nature of the generated Color Grid used to temporarily add an ‘image’ to a material, can be costly in terms of file size as that variability is difficult to compress without obvious artefacts appearing in the image.
Shown above, once the areas that need to be painted done, use a common colour to then paint unused areas [5] as a means to mitigate potential issues, especially where asset optimisation is a necessity.


Timestamps
Times are approximate;
– 00:00 : Overview, Setup & Tools
– 05:00 : Painting Stool
– 31:00 : Save Image
– 35:00 : Painting A Book
– 45:00 : Painting Text
– 53:00 : Mesh Smoothing
