Paint Minecraft Sand Texture in Blender
Table of Contents
Description
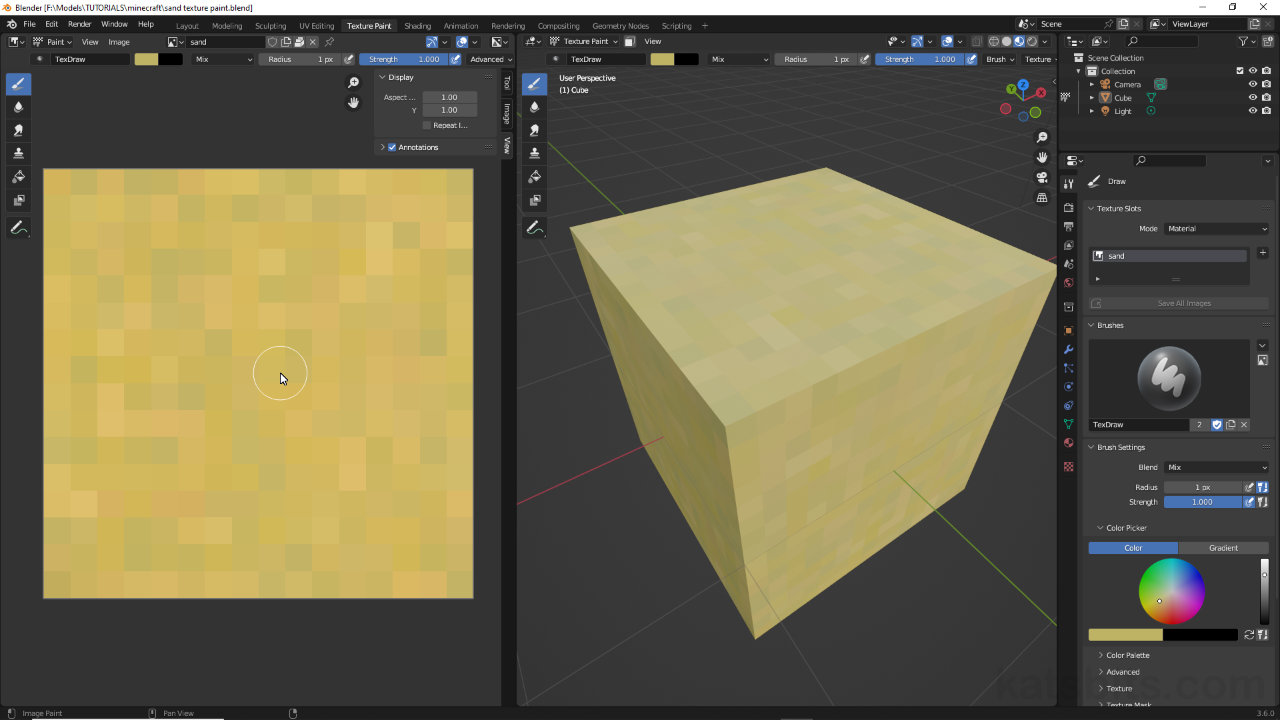
In this exercise we take a look at painting a Minecraft style sand texture using Blenders Texture Paint tools. As always when doing something related to Minecraft, we start by adding/editing a material that’s finished off with a 16 x 16 pixel image assignment. Once that’s in place, switching to Texture Paint workspace, painting can be done, setting Brush size and selecting the colour palette, before saving the image for further editing if needed.
Duration: total c. 10 mins (00:10:00).
Info: 1080p.
Suitability: Beginner+.
Source: KatsBits – Minecraft Sand Texture (c. 1 MB, *.blend, *.png).
Product ID: n/a.
Design note: Blenders Texture Paint tools are not as sophisticated as dedicated image editors but can, nonetheless, be used to create useable images.
Save Uncompressed
Once painted ensure images are saved without compression, so reduce PNG Compression to 0, or use a lossless image format such as Targa RAW, BMP (Bitmap) or Tiff that can be opened without issue into GIMP, Photoshop, Affinity Photo etc., for further editing.
Texture painted in Blender open in GIMP for further editing once saved to a suitable format (*.tga).Texture Tiling
Minecraft textures generally need to tile, which can be tricky to monitor painting just the image. To spot tiling artefacts, that is patterns or colours that might make it obvious the image is tiled, in the Texture Paint editor Sidebar – View » Sidebar (N), in the View tab [1] enable Repeat Image [2]. The texture being painted will tile or repeat across the work area making it easier to see how well the image will tile.
Monitoring how painted textures tile is aided by enabling Repeat Image [2] in the editors Sidebar. This tiles the image infinitely making it easier to spot pattern repetition.


Timestamps
Times are approximate;
– 00:00 : Start & Material Set up.
– 02:30 : UV Editing.
– 03:30 : Texture Paint(ing).
– 09:00 : Image Save.
