
MacOS, Blender 4 & IMVU Toolkit – Animated Furniture
Table of Contents
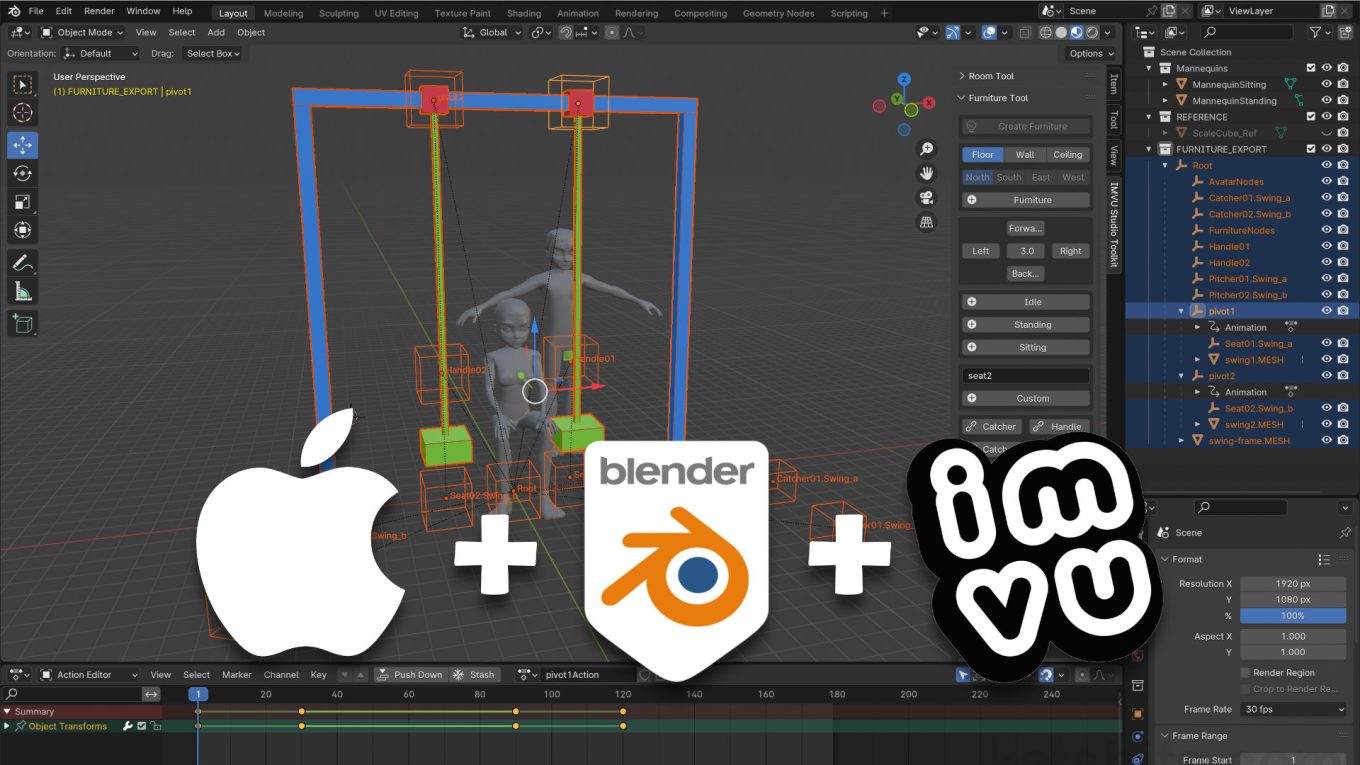
Description
In this exercise we take a look at using the IMVU Toolkit for Blender to make an animated furniture item using Animation Tool. Using a simple ‘swing-set’ as an example item to animated, it is first prepped by making sure objects and Origins are positioned where they need to be. Once readied, a skeleton can is built using Nodes rather than an Armature. Here, a skeletal hierarchy must be created from Nodes (Empty’s) and meshes that are linked together, the former being used to articulate the latter. Once everything is prepped, while remaining in the Furniture Tool, the project is animated in the Action Editor before export to FBX and assembly in IMVU Studio.
Duration: total c. 1 hr (01:00:00).
Info: 1080p.
Suitability: Beginner+.
Source: KatsBits – Toolkit Cloth Sim (c. 500 KB, *.blend, *.fbx, *.png).
Product ID: Example Swing – PID: 67553100.
Design note: working with Nodes, instead of an Armature and bones, to animate furniture for IMVU requires a different approach, so keep the following in mind;
Multiple Objects
While Nodes can be used to create functional ‘skeletons’ for IMVU, as they have limited functionality when used as proxies for bones, the resulting structure is not quite the same as an Armature. To ensure correct skeletal set-up and maintain proper animation control, each part of a product that animates will need to be, or remain, an independently selectable object – meshes should not be joined [1] (Join – Alt + J | Command + J) together, otherwise forming a single unified mesh as might ordinarily be done when using an Armature, because Nodes need direct influence over any objects they control.
Important: Nodes are Objects in the same way Armatures are Objects. When parented with a mesh an Object-level only relationship is formed, i.e. that X Node/Armature controls Y mesh (this Node/Armature controls that mesh). The component that actually influences or articulates linked meshes is Vertex Groups (see “Vertex Groups” below), which are a sub-element of the Armature. As these don’t work on Nodes, the only way to properly animate using them is for meshes to remain independent from other parts so they can be specifically targeted or parented by/to a Node.
Using Nodes, if meshes are joined together to form a single unit and that then parented to an animation control, that Node will manipulate the entire mesh [1] rather than just the part it’s supposed to move – the whole swing set moves instead of just one swing. Meshes should be kept separate.Vertex Groups
In using Nodes to build a skeletal structure for animation, Vertex Groups won’t work the same way they might when using an Armature. In other words, in this context, mesh control, the Parent » Child relationship creates the link between control (Node) and controlled (Mesh) objects, not necessarily any Vertex Group assignments that might be applied. Where Vertex Groups are being assigned, preference should be to assign one group per mesh object [2] because Nodes (Empty entity objects), cannot be targeted by Vertex Groups – Empty objects are simple coordinate reference objects, there is nothing ‘real’ in the scene that can otherwise be linked through Vertex Group assignments as would be done for an Armature.
Aside: assigning Vertex Groups in this context ensures the export/import process between Blender and IMVU assigns the correct Vertex Group label to the correct mesh object, which should happen automatically as a consequence of converting/interpreting the Parent » Child relationship – the Child mesh object will be assigned a group named after the Parent control Node.
Using Nodes, Vertex Groups are somewhat optional but can still be assigned [2] to ensure the export/import process sets up the correct relationships between mesh and control Nodes.Custom Seat Names
The Toolkit provides one-click button options to add Idle, Standing, Sitting and Custom seat node sets that are correctly organised and ready for use as is. Each set includes four preconfigured nodes;
• Seat
• Catcher
• Pitcher
• HandleEach node set is identified with a incremental numerical append (“[n]“) per set;
• Seat01
• Catcher01
• Pitcher01
• Handle01Each individual node within a the set identifies and triggers a type of avatar action;
• Seat = avatars default location.
• Catcher = co-op position for the User.
• Pitcher = co-op position for a friend.
• Handle = interaction visual aid.The type of avatar animation that’s triggered is further identified by the label appended to the node;
• *.Idle
• *.Sitting
• *.Standing
• *.CustomThis means;
• *.Idle = auto-plays/overrides seat type.
• *.Sitting = seated or sitting avatar animations.
• *.Standing = standing avatar animations.
• *.Custom = defaults to standing avatar animations.To add seating, click the appropriate button in the Toolkit and position the set relative to how the avatar should appear, noting that the Seat node should be aligned with the avatars feet on the ground plain. For custom seat spots, clicking the Custom button [3], a set of nodes with appear that are appended whatever is typed into the ‘Custom’ input field, for example if “Custompose_a” is used, a set of nodes will appear appended “*.Custompose_a“, e.g.;
• Seat[n].Custompose_a
• Catcher[n].Custompose_a
• Pitcher[n].Custompose_a
• Handle[n]Or fully as;
• Seat01.Custompose_a
• Catcher01.Custompose_a
• Pitcher01.Custompose_a
• Handle01If at a later point the names, labels or appends need to be changed, this can be done in the Outliner [4] click-typing each entry, or in Object Properties with each object selected in turn.
Important: to avoid issues importing and assembling a furniture item from an FBX file ensure;
- the append that identifies a set of custom seat nodes does not contain the word “seat“, e.g. Seat[n].Seatspot is invalid, “Seat[n].Posespot” is valid.
- avoid using numbers in the append, use letters instead, i.e. “Seat[n].Posespot1” might cause issues whereas “Seat[n].Posespot_a” won’t (underscore “_” or hyphen “-” can be used for clarity/to distinguish iterations).
- ensure Handle nodes only have a numerical append that corresponds to the Seat node, i.e. Handle01 and not Handle01.Custompose or similar.
In both instances where seat nodes are incorrectly labelled, when imported into Studio they will be automatically, but incorrectly, converted into a seat nodes – the importer picks up on the presence of “seat” or “[number]” in the name – which in turn breaks functionality for all nodes in the skeleton.
Additionally, node names are CaSE SenSiTiVE; “seat[n].posespot_a” is not the same as “Seat[n].Posespot_a“.
Clicking the Custom button [3] in the Toolkit to add a set of seat nodes that can be used to accommodate custom furniture animations and custom seat poses. If labels need to be changed later this can be done in the Outliner [4].Action Triggers
As furniture doesn’t have a mode of behaviour, animations will only play when triggered. There are basically two ways this can be done; 1) using a generic auto-trigger, or 2) using a seat-specific trigger. The first, auto-trigger, essentially automatically activates and plays an Action as soon as a furniture item loads into a room. The second, seat-specific trigger, only plays an Action when the User clicks on a seat node or corresponding Handle to use that spot. In practice, create a new Action [5], then if a furniture item should play a sequence as soon as it loads, set the Name/Trigger for the Action in Studio to;
stance.IdleThis overrides any seat specific triggers or seat types and forcibly activates associated Actions and Ensembles based on how they are set up. Alternatively, to activate a furniture animation when the User clicks a seat-spot or Handle [6], similarly create a new Action then use;
stance.[Append]-seat[n]Continuing the theme from above this would be;
stance.Posespot_a–seat01Important: the separator between the append label and seat identifier MUST be a hyphen, “-“, not a period “.”. Further more, using hyphens as general separators between words, letters etc., may cause additional issues.This would then trigger any linked Action/s specific to the activated seat node, playing associated furniture animations and/or any custom seat poses or an animated avatar seat poses based on the Actions setting.
Aside: because seat nodes are identified numerically in sequence, it is possible to attribute the same append, i.e. “*.Posespot”, to several spots, relying instead on the sequential identifiers to make each seat set unique, e.g. seat05.Posespot, seat65.Posespot, seat81.Posespot and so on – Catch, Pitcher and Handle nodes also maintain this sequential numbering.
Depending on how the furniture animation is to be activated, In Studio, Actions will need to use a Trigger of stance.Idle [5] to auto-play, or stance.[Append]-seat[n] [6] to start when the User clicks a seat node or Handle.


Timestamps
Times are approximate;
– 00:00 : Mesh Prep
– 07:30 : Rigging
– 29:30 : Animation
– 42:00 : Export & Assembly
