MacOS, Blender 4 & IMVU Toolkit – Simple Accessory
Table of Contents
Description
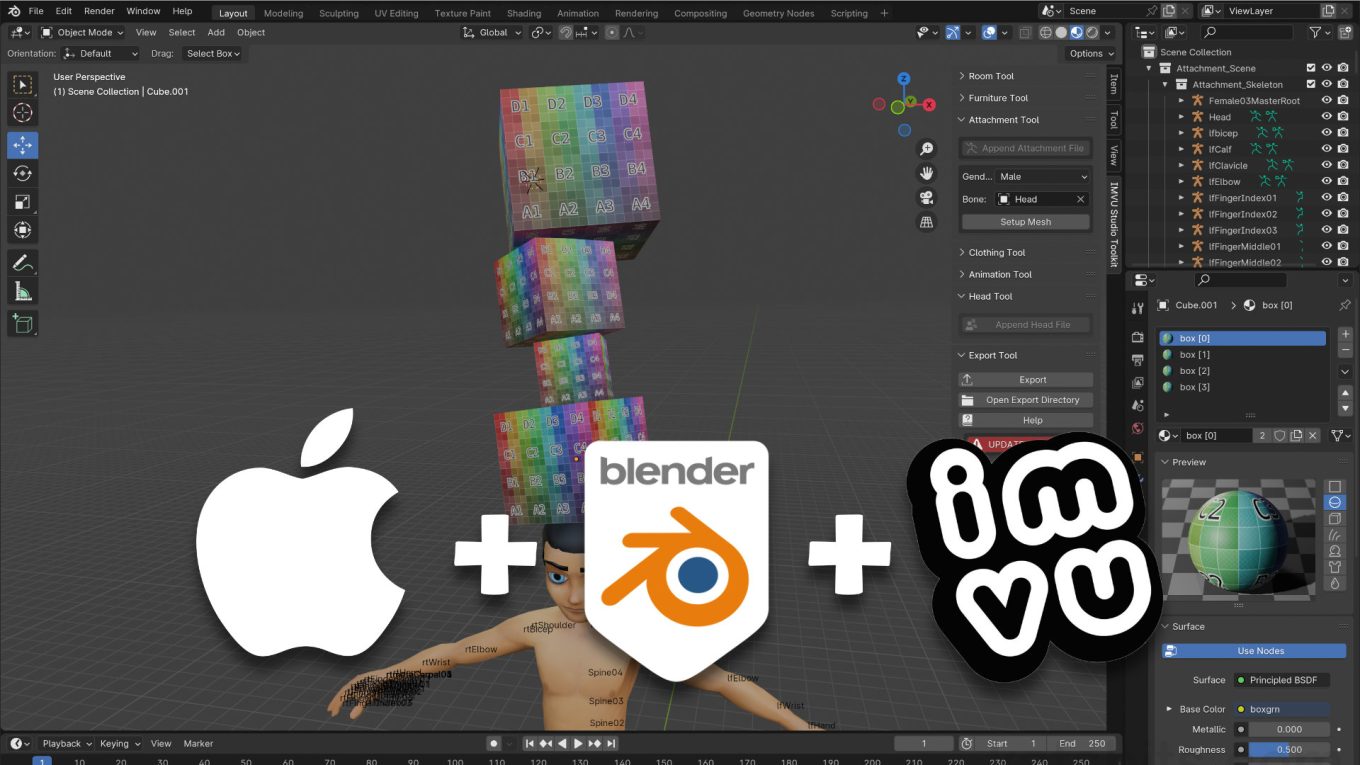
In this exercise we take a look at making a simple Accessory (Attachment) item in Blender using the IMVU Studio Toolkit on MacOS (MacBook Pro). The first step is to load an Attachment Tool instance and set the accessory’s target ‘Bone‘, the ‘attachment’ point, e.g. Head. Once this is done the avatar can then be selected and initial mesh added and positioned, in this case a Cube (Add » Mesh » Cube) placed atop the avatars head. This is then UV unwrapped to display the same image on each side, and once done, duplicated and stacked, the duplicated material then being made unique for each box so different images can be assigned in IMVU Studio. The project is finally exported using the Toolkit and auto-assembled in IMVU Studio.
Duration: total c. 30 mins (00:30:00).
Info: 1080p.
Suitability: Beginner+.
Source: KatsBits – Toolkit MacOS Accessory (c. 1.5 MB | *.blend, *.fbx, *.png).
Product ID: Mac Attachments (68866641).
Design note: some additional information to keep in mind when making accessory items for IMVU on MacOS using Blender;
Attachment Tool
After clicking the Append Attachment File button, the Toolkit will initially display a ‘skeleton’ that represents the avatar. Each ‘bone’ is a separate Armature [1] (skeleton) that represents and ensures the final project is correctly configured for IMVU – for simple items this set up is sufficient for non-animated accessory items (see “IMVU Studio Toolkit – Animated Hair Basics (Accessory)” for animated accessories), in other words (additional) bones do not need to be added, edited or manipulated.
The Attachment ‘skeleton’ is a collection of individual Armatures [1], themselves skeletons, that each represent a corresponding bone of the avatar. One needs to be set for accessory production.Material Names
Depending on how customisable an item is to be in IMVU for derivation purposes, in Blender only the materials name or label attribute needs to be unique. In other words, when duplicating the original box, the material assigned to it, “box [0]“, will also be copied to the new instance resulting in there being several distinct mesh objects referencing the same material. In Studio this ordinarily means, updating the image for one material instance changes all. To avoid this each copy can be made unique by clicking the Users [2] button under the original and renaming the new material – the label isn’t important so much that it is unique, for example if the original material was;
- box [0]
Duplicates can use the same name/label [3];
- box [1]
- box [2]
- box [3]
Or different ones;
- alpha [1]
- soup [2]
- oranges [3]
For IMVU, the numerical attribute contained in the square brackets, “[” and “]”, is the part that’s important for distinguishing materials as being separate from each other/instances.
Aside: the original material instance, “box [0]”, will be appended a numerical identifier making subsequent duplicates ‘unique, for example “box [0].001“, “box [0].002” and so on. These can be changed to suit, and subject to the above, can each reference the same image, “box(.jpg/png)“.Important: when using Blender 4.2 LTS or newer version, be aware that the material set up for transparency differs. For more see “Eevee, Transparency & Blender 4.2+“
Each time the original cube is duplicated is adds another ‘User‘ [2], or reference, to the original material. To assign different images to each box in Studio the number of Users needs to be reduced, each being ‘Single‘ or unique.
Assembled in IMVU Studio the accessory items material set up allows for individual image assignments [3] to the mesh – for Studio the numerical append identifies the material instance not necessary the name/label used.
Timestamps
Times are approximate;
– 00:00 : Overview & Setup
– 02:30 : Mesh & Material
– 08:00 : UV Editing
– 12:00 : Stack Duplication
– 19:00 : Export & Assembly


