Creating a ‘Nanomesh’ in Blender
Table of Contents
In Second Life, IMVU and other virtual games, a “nanomesh” is a way to facilitate use of tiny, or ‘nano’, meshes such that they bypass what may otherwise be nominal object size/scale limitations. In principle nanomeshes work by modifying an objects bounds or bounding box [1] to be larger than the mesh represented [2], when loaded into game and down-scaled, the visible mesh then appears smaller than it might otherwise because its size is wholly relative to the now, larger, modified bounds.
Important: nanomeshes can cause significant performance issues because they ‘trick’ game engines into rendering content that would otherwise be culled.
Download: KatsBits – nanomesh (zip c. 200 KB – *.dae, *.blend, *.png).
Design note: typically not visible or rendered, bounding boxes essentially describe the total area occupied by a mesh, useful for defining object dimensions and position in game; Bounds simply represent an occupied volume, they are not an independently editable element of a mesh.

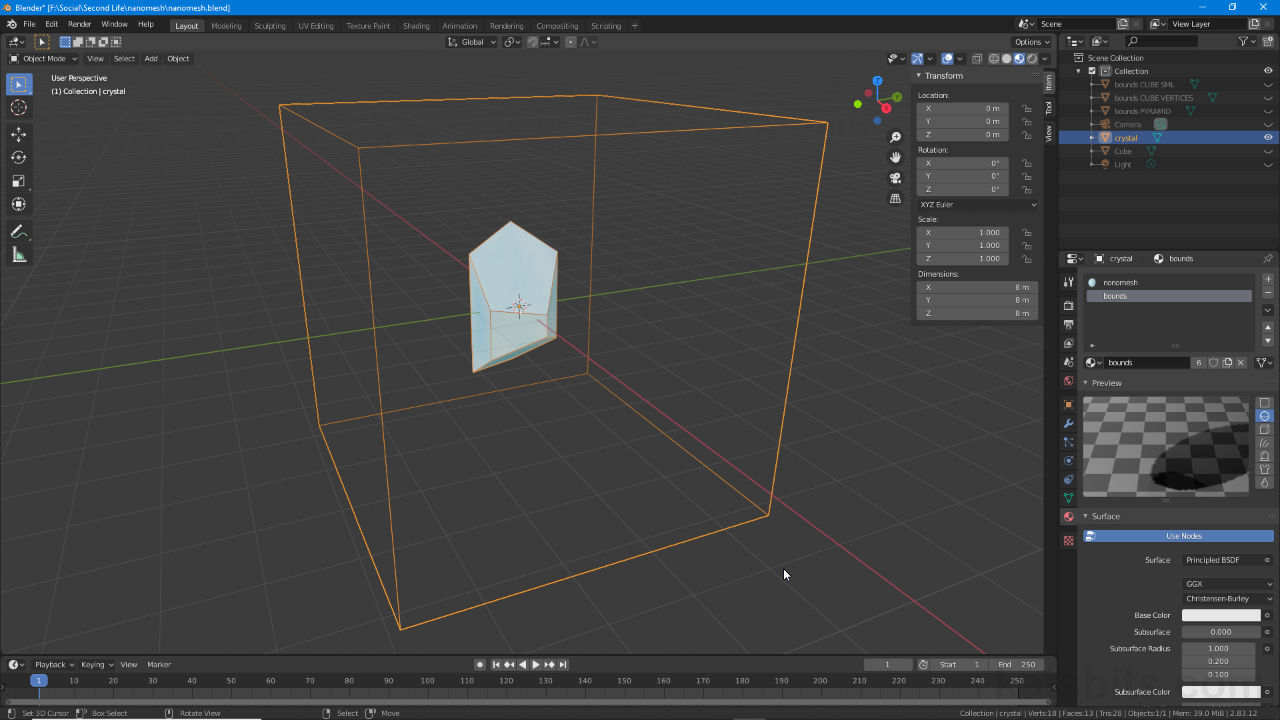
Bounding Boxes or Bounds relate specifically to the total area occupied by an object and are not an editable element of a mesh. To change the area represented the underlying mesh [1] has to be altered appropriately to increase its size (volume) [2].
Nanomesh Prep
In terms of size and scale, for Blender a nanomesh does not require any particular preparation except ensuring the objects Origin is correctly or optimally located, in this context that might be based on the initial bounds of the object. To do this select the object and from the Object menu select Set Origin then Origin to Geometry from the list of options – Object » Set Origin » Origin to Geometry. In the Set Origin overlay that appears bottom-left select Bounds Center from the drop-down.
Design note: resetting the Origin typically means the mesh is then offset from grid-centre. To address this use Location properties in the Sidebar (N) or Object Properties to reposition the object based on the new origin – select the object and in Location adjust the X, Y and Z coordinates to read 0 (zero) respectively.

To make sure ‘nanomeshes’ work as expected ensure the Origin is set for the game mesh properly [3] before making changed to modify its Bounds – select the object and from the Object menu [4] click Set Origin » Origin to Geometry [5]…

… in the Set Origin overlay chose Bounds Center [6] to adjust the Origins location to better represent the mesh [7]. The object can then be reposition grid-centre, 0,0,0.
Modifying Bounds
Given that the Bounds represent the volume of an object the easiest and most efficient way to modify it is to associate the volume with a larger object within which the nanomesh sits, this way the overall object remains ‘valid’ and serves its purpose to accommodate nanomesh down-scaling.
Important: while there are exceptions to the rule, decals for example, for meshes to be ‘valid‘ they generally need to be ‘closed’ and/or include nothing but contiguous surfaces, neither missing faces or openings. In this content extending Bounds by strategically positioning isolated, free-standing or detached vertices, edges or faces results in a ‘invalid’ structure because they then contain non-relational, start/terminal points that, computationally, can only be accessed directly rather than as a natural consequence of object defining/finding edge-flow.
While there are exceptions, meshes generally need to be ‘closed’ or ‘solid’, that is have no wholes or gaps for easier object/surface rendering…
… similarly meshes should be contiguous, all elements describing a shape should be reachable from another element, else these form termination points that have to be calculated directly and specifically, such as postioning isolated vertices around a core object…
Detached surfaces can also be an issue when used extensively within the same object.


The two simplest shapes to use for this are a cube and pyramid. From the Add menu then, click Mesh [8] then Cube [9] – Add » Mesh » Cube – or to add a pyramid select a Cone – Add » Mesh » Cone – and in the Add Cone overlay [10] set the Vertices count to 3 [11].
Design note: when using Cones or other objects whose shapes are described by a low number of vertices, the result may not fully encapsulate the game-object; for Bounding Boxes this is generally not an issue because their purpose is to define the boundary rather than have any discernible affect on the game mesh itself.

Adding a Cube to modify the bounds of a game mesh – from the Add menu select Cube from the Mesh menu.

To add a pyramid use the Cone option [10] and reduce the number of Vertices down to 3 [11]. This places an object into the scene that then defines the same bounding box volume as a cube, but using fewer faces.
Setting Bounds
With the additional object in place it can be scaled relative to the original before the two are combined using Join – select both then press Ctrl + J, creating the nanomesh framework that accommodates much smaller scaling that otherwise possible, for example if the game mesh is to be twice as small as its default state in Blender, the bounds object should be twice as large and so on. With this in mind, leaving the game mesh untouched, scale the bounding box object relative to the game mesh holding Ctrl to snap to increments using the Scale tool (S), or in the Sidebar or Object Properties, use the X, Y and Z values under Transform (Scale).
Design note: once the bounds has been scaled relative to the game mesh applying rotation and scale may be necessary to ensure objects are actual size when used, it ensures subsequent in-game down-scaling is properly proportional. To do this, from the Object menu select Apply then Rotation & Scale to fix the objects dimensions – Object » Apply » Rotation & Scale.
Once objects have been resized their proportional Scale values change [12] so Apply needs to be used to reset Rotation & Scale – this essentially fixes the object at its current size so scale reads as ‘1.000’ on all axes.


Scaling the boundary box object relative to the game mesh before joining the two together, J, into a larger object that can be downscaled in-game to create a ‘nanomesh’.
Relative position
Generally speaking when setting up a nanomesh it should be positioned at bounding box centre-of-mass to ensure uniform scaling along the X, Y and Z axes – being off-set to one side or a corner may cause uneven scaling depending on the objects point of origin. If in-turn the Origin is offset that typically results in positional issues. As part of the initial set-up then, it’s relatively important to place the Origin in Blender as described above before adding the bounding box object to minimise rotation, scale and positional issues.


Positioning the nanomesh effectively so that it can be scaled and positioned reliably, the game mesh positioned at centre-of-mass rather than being offset to one side or the other.
Materials & UV’s
Although not strictly necessary for Second Life, the bounding box object should have a separate Material assignment from the game object it surrounds in Blender [16]; once the object is exported (to Collada/DAE for Second Life), what is then a detached sub-object can be selected and surfaces made fully transparent to ‘cull’ it from being rendered. Similarly, while the game object may need to be UV unwrapped and mapped depending on whether a custom image is being used, the bounding box may not because its to be made fully transparent.
Design note: when exporting, the bounding box and game objects can be joined together to form a single mesh with material-defined sub-objects (select both and from the Object menu select Join – Object » Join – or use Ctrl + J), or they can be exported without joining to form an object defined sub-object mesh – the former is preferable as it loads one mesh into game rather than two.

To ensure the nanomesh is properly editable in-game the bounding box object should have a separate material assignment [16] to the game object (not strictly necessary for Second Life as ‘surfaces’, as detached sub-objects, can be selected and edited).
Collada Export & Second Life
Depending on the objects purpose, to export Join all objects together to form a single unified object with separate materials as described above. Select the the mesh then from the File menu click Export then Collada (Default) (.dae) – File » Export » Collada (Default) (.dae). In the File View the opens enable Selection Only under Main if the scene or project includes unwanted content, and optionally Apply Modifiers and Triangulate under Geometry [17]. Once imported the object size can be tested [18] and Bounding Box made transparent [19].
Design note: objects animated with Shape Keys will break if Apply Modifiers is enabled at export. In addition if animation is not to be included disabled Armature Options (Arm) and Include Animations (Anim), this ensure the *.dae file is clear of extraneous data.

Most settings are optional for Second Life but Selection Only and Triangulate (set in Geometry) [17] should be a minimum to prevent extraneous objects being included in the file, and that the eventual mesh is properly broken down into triangles – additionally disable all animation settings if objects are not animated.

Once imported into Second Life as a *.dae file, edit (right-click the item in the Inventory and select Edit) and assign to an attachment point to check the items scaling using the X, Y and Z coordinate in Size (Object options) [18].

To hide the Bounding box make the corresponding material fully transparent using Transparency in the item editor (in Texture options) [19].
