
Toolkit – Posed (static) Accessory Items
Table of Contents
Description
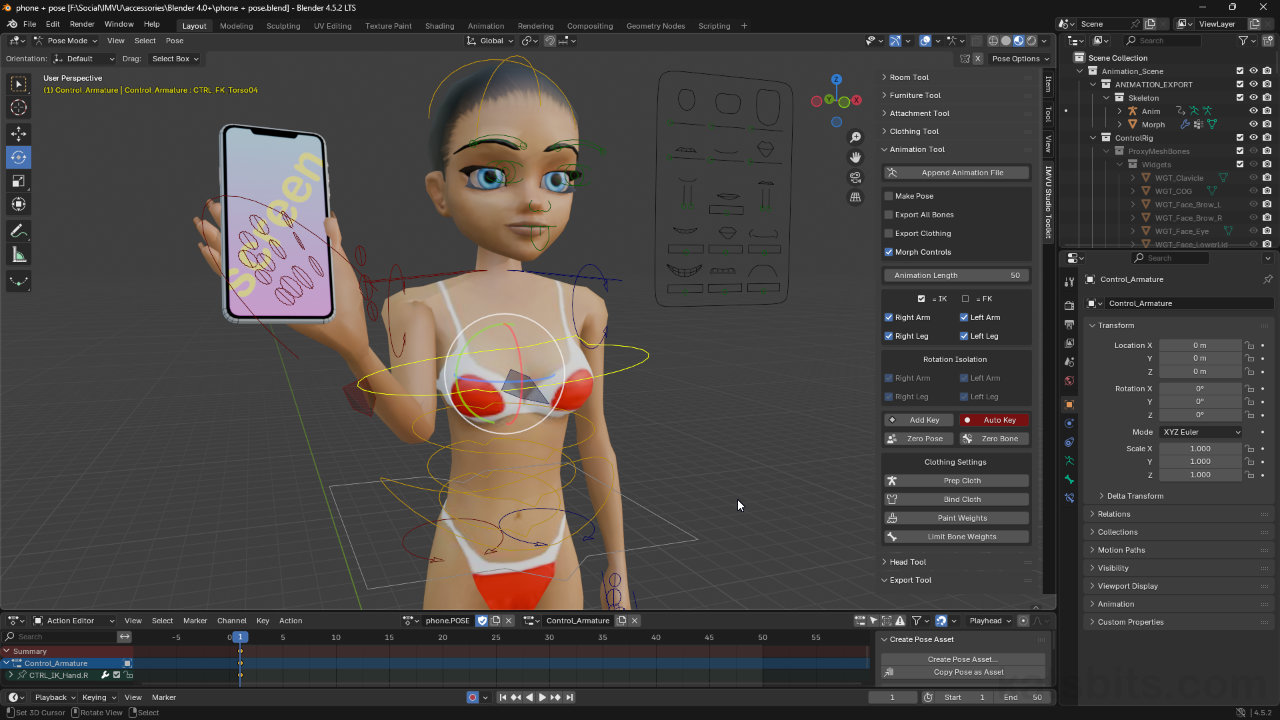
Accessory items, or Attachments as they’re called in the Toolkit, use a completely different skeletal set up than other items that allows for them to be used on their own without interfering with other items. This does mean however, they are pose-less by default, they are just the mesh/object. When wanting to include a pose, rather than using the Attachment Tool, two other tools need to be used instead; the Clothing Tool and the Animation Tool. Using these it’s possible to position the object using the Clothing Tool and then add a pose using the Animation Tool.
Duration: total c. 15 mins (00:15:00).
Info: 1080p.
Suitability: Beginner+.
Source: n/a.
Product ID: n/a.
Download: IMVU Toolkit for Blender.
Design note: additional considerations when making posed accessory items using the Toolkit;
Which Tool
Where items need to include a pose, the Attachment Tool can’t be used because accessory items are set up to utilise their own dedicated skeleton that allows ‘attachment’ to, or the individual targeting, of bones within the avatar skeleton. As a result, the avatars skeletal structure isn’t being used to make accessory’s directly so there’s nothing to pose – the ‘skeleton’ visible in the Toolkit is a proxy, it replicates the avatars skeletal structure for the purposes of constructing and positioning meshes.
The Accessory/Attachment skeleton is a proxy that replicates the avatar. Its not poseable.Copy/Paste
Being able to use Copy/Paste ([Win] Ctrl + C/Ctrl + V | [Mac] Cmd + C/Cmd + V) to copy objects from one project to another makes it easier to work with the two tools; Clothing Tool to make, position and weight (attach) the mesh object to the clothing skeleton, which can then be copied over to a clean Animation Tool project [1] with paste [2] – Append is not strictly necessary.
Important: when copy/pasting data between projects, in this context, needing to use two tools from the Toolkit, be sure to;
– Step 1: load a new project (File » New » General).
– Step 2: load the tool, e.g. click the Append Animation File button.
– Step 3: paste the copied data or objects.
Load in a new/clean tool project before copy/pasting data across to avoid issues.Vertex Group
The crucial aspect of the process to get right is weight painting as this element level link between the mesh structure itself and the bone or bones that will control it. To ensure this works correctly, first, in Edit Mode the entire mesh must be selected (A) – all vertices should highlight [3] – after which, in Object Data Properties, create a new entry in Vertex Groups [4] – click the + button – and rename so its the same as the bone associated with the group, i.e. rtHand, lfFoot etc.
Important: names are cAse SEnsItIve, Rthand is not the same as rtHand.Second, add an Armature Modifier; Switch out of Edit Mode back into Object Mode and in Modifier Properties, click + Add Modifier, Deform, then Armature – + Add Modifier » Deform » Armature. In the panel that appears set Clothing_Avatar_Armature as the Object. Once both the group(s) and Armature are set, moving the avatar skeleton in Pose Mode also moves the mesh.
Vertex Groups [3] are crucial to ensure Posed Accessory items work correctly in IMVU because they ‘tag’ a corresponding bone [4], without this meshes won’t move and/or will appear in the wrong place.Clothing Derivation
Because a Posed Accessory is essentially a clothing item, any non-accessory base derivable can be used, typically any one of the base empty clothing items, i.e. Empty Female Top [5] for female avatar products, or Empty Male Top for male products. The assembly procedure is then exactly the same for any other product type except for the need to load in two FBX files – the order is not critical.
Assembling the posed accessory by deriving from a clothing ’empty’, e.g. Empty Female Top [5].


Timestamps
Times are approximate;
– 00:00 – Overview
– 01:00 – Attachment Setup
– 05:00 – Pose Setup
– 08:00 – Studio Assembly
– 13:00 – Summary
