Upside Down Pose for IMVU
Table of Contents
Description
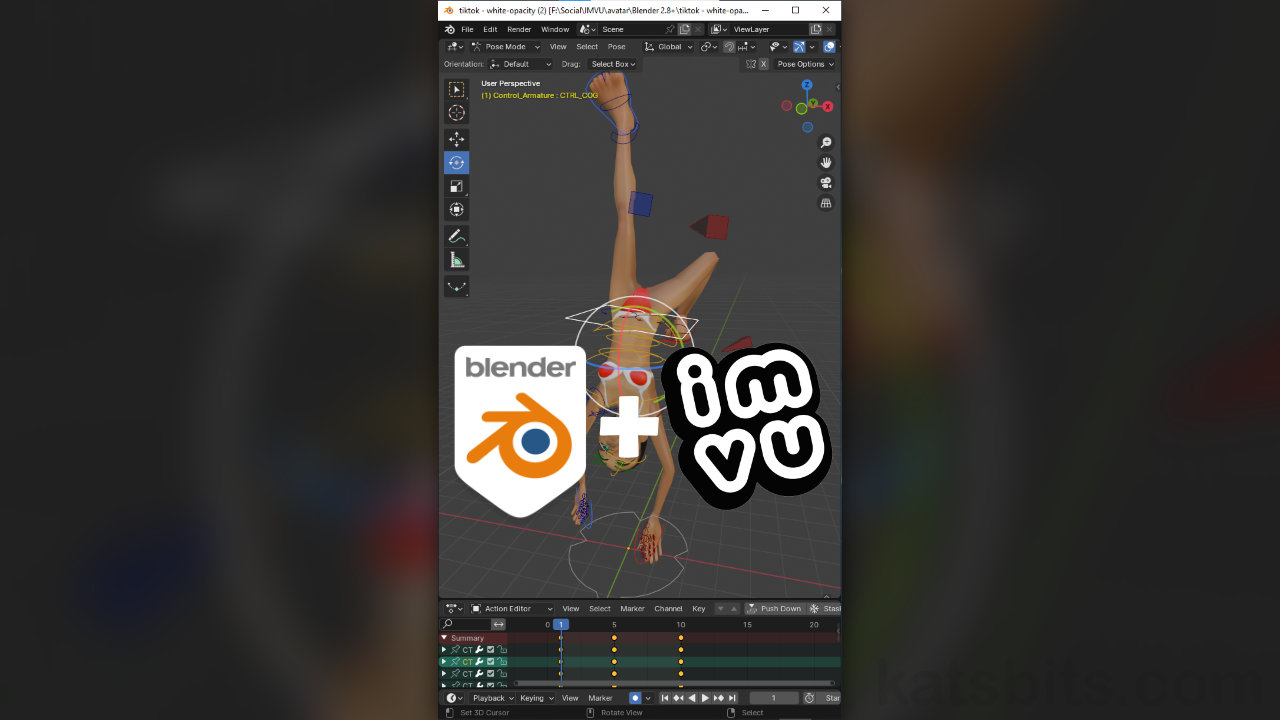
In this exercise we continue our look at using the Toolkit for Blender to make Poses for IMVU, this time how to turn the avatar upside-down. Using the Animation Tool, the avatar rig is dropped into place in a clean project and interaction mode switched to Pose Mode. Making sure the Action Editor timeline scrubber is a frame “1” the avatar is posed by manipulating the rig. Once a pose is created it is exported to FBX using the Export Tool for assembly in IMVU Studio.
Duration: total c. 30 mins (00:30:00).
Info: 720p (720 x 1280 vertical/portrait).
Suitability: Beginner+.
Source: KatsBits – White Opacity (c. 900 KB | *.blend, *.fbx).
Product ID: Opacity Punishment (68094494).
Design note: some additional note to keep in mind when making poses that require the avatar to be off set, or or off centre;
‘Bone’ Selection
When the avatar needs to be moved off-centre or off-set from its origin, the shape representing Female03MasterRoot at the ground plain [1], ensure to select the ‘pelvis‘ (CTRL_COG), ‘hands‘ (CTRL_IK_Hand.R and CTRL_IK_Hand.L) and ‘feet‘ (CTRL_Foot.R and CTRL_Foot.L) controls [2] as a groups so the rig moves as a unit – this isn’t absolutely necessary but avoids having to correct for the avatar twisting out of shape before posing.
The origin [1] shouldn’t be moved. Instead select the ‘pelvis’, ‘hands’ and ‘feet’ [2] controls to move the avatar as a unit.Other Orientations
This principle, of rotating ‘pelvis’, is also used to create custom poses where the avatar lies on its back, front, or sides, pelvis, hands and feet, being selected and rotated to the desired angle or orientation of the avatar. When doing this, the avatar will likely be offset relative to its origin, Female03MAsterRoot, so ‘pelvis’ may need to be readjusted to realign directly above to ensure correct positioning in IMVU.
Using ‘pelvis’ control, the avatar can be (re)orientated to any angle, laying on its back, front or sides.


Timestamps
Times are approximate;
– 00:00 : Intro & Scene Setup
– 02:30 : Pose Tool
– 14:00 : Action Editor & Auto Key
– 16:00 : Prep & Export
– 20:00 : Studio Assembly
– 26:00 : Product Info & Submission
