GIMP – Paint A Hair Texture
Table of Contents
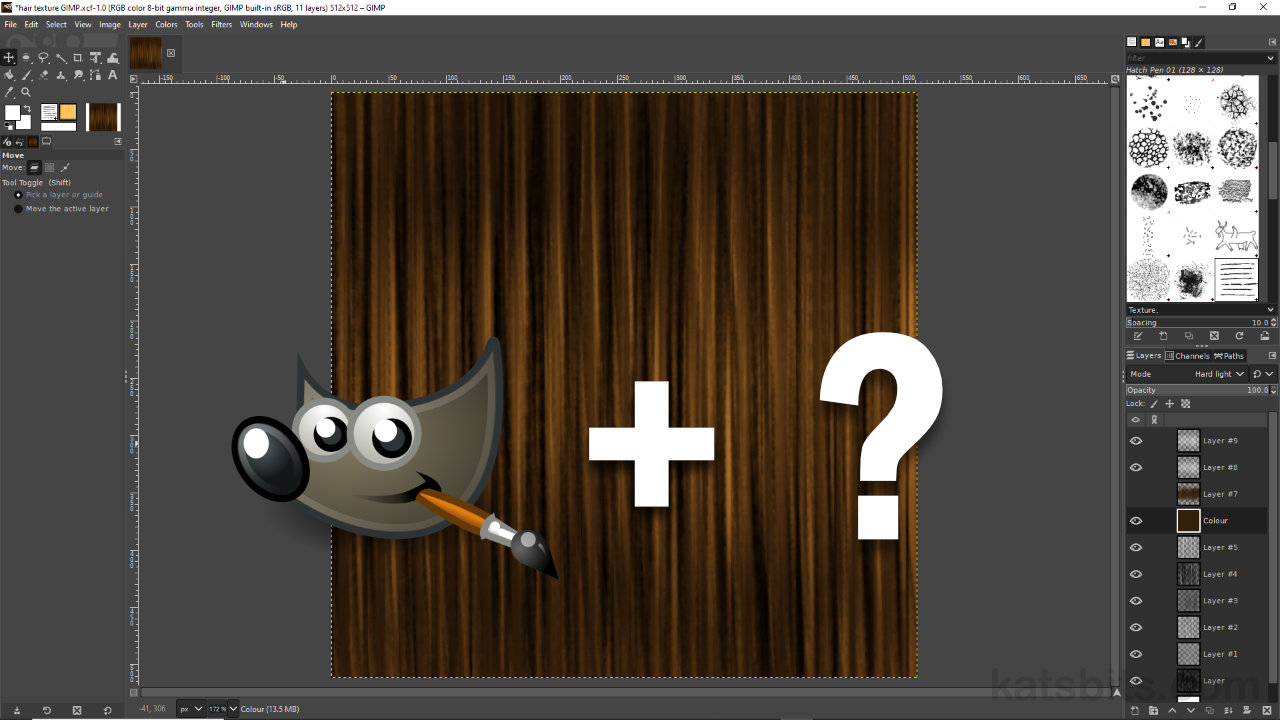
Description
In this exercise we take a look at painting a simple custom hair texture asset using GIMP image editor. For this, all that’s needed is a brush that can paint lines or a linear pattern that in-turn can be colour or tonally tinted. For greater flexibility the texture can be painted in grey-scale and/or different aspects of it painted to their own layer to accommodate subtle adjustments without having the repaint or paint over existing areas.
Duration: total c. 25 mins (00:25:00).
Info: 1080p.
Suitability: Beginner+.
Source: KatsBits – Hair Texture GIMP (c. 2 MB | *.xcf, *.png).
Product ID: n/a.
Design note: some additional considerations to keep in mind painting hair textures using GIMP;
Seamless Texture Tiling
Typically hair textures do not need to tile or repeat, especially as they often have strategically placed highlights that might look odd or appear incorrectly or inappropriately positioned on the mesh. With this said however, if a texture does need to tile, GIMP provides a tool specifically for this purpose, Tile Seamless.
To use, select a specific image Layer [1], Merge or Flatten the image. Then from the main Filters menu click Map then select Tile Seamless… [2] from the available options – Filters » Map » Tile Seamless…. The Tile Seamless dialogue will appear [3]. Change any settings as needed then click OK to complete the process.
Aside: the seamless tiling filter can be applied to the entire image once flattened – Image » Flatten Image, or merged – Image » Merge Visible Layers… (or Ctrl + M), or to individual layers.
Applied to flatten images or individual layers [1], GIMPs Tile Seamless [2] filter [3] can be used to tile an image so it repeats cleanly.Offset Layer/Image
If textures need to be tiled this can be tested in GIMP using Offset. Here, various values can be used, defined as pixels (px) or percentages (%) of an image, for example a 512 x 512 pixel image can be shifted 50% on the X and/or Y axes by typing “256” if ‘px‘ is being used, or by typing “50” if ‘%‘.
To use Image Offset, select the individual layer or merged/flattened image, then from the main Layer menu click Transform, select Offset… [4] from the available options – Layer » Transform » Offset…. In the Offset Layer [5] dialogue that appears, set the amount of Offset on the X and/or Y axes required depending unit type, i.e. “256” for px, “50” for %. Once done, click OK to complete the process.
Using Offset Layer [4], texture tiling can be tested by shifting an image or layer by a fixed amount [5] to see if any tiling artefacts or issues appear in the image.Image Layers
Wherever possible when texture painting in GIMP, preference should be to paint different tones or colours to/on their own layer [6] that can then be modified independently of other layers, for example, painted to separate layers, darker tones can be adjusted to reduce overall contrast without then need to alter brushes, settings that have to be remember should subsequent editing be required.
When painting textures preference should be given to using layers [6] so each tone or colour can be adjusted without affecting others.


Timestamps
Times are approximate;
– 00:00 : Overview & Setup
– 01:30 : Painting & Layers
– 07:00 : Colour & Blend Mode
– 08:30 : Highlights
– 12:30 : Seamless Tiling
– 15:00 : Offset Image
– 19:00 : Layers & Export
