Render Object Wireframe/Outline in Blender [VIDEO]
Rendering objects as ‘Wire’ (or ‘wireframe’) in Blender is relatively straightforward. As this is a ‘render’ and not a screen-grab of the 3DView, it means the scene and objects therein need to be properly lit and materials correctly set up (see below for written details).
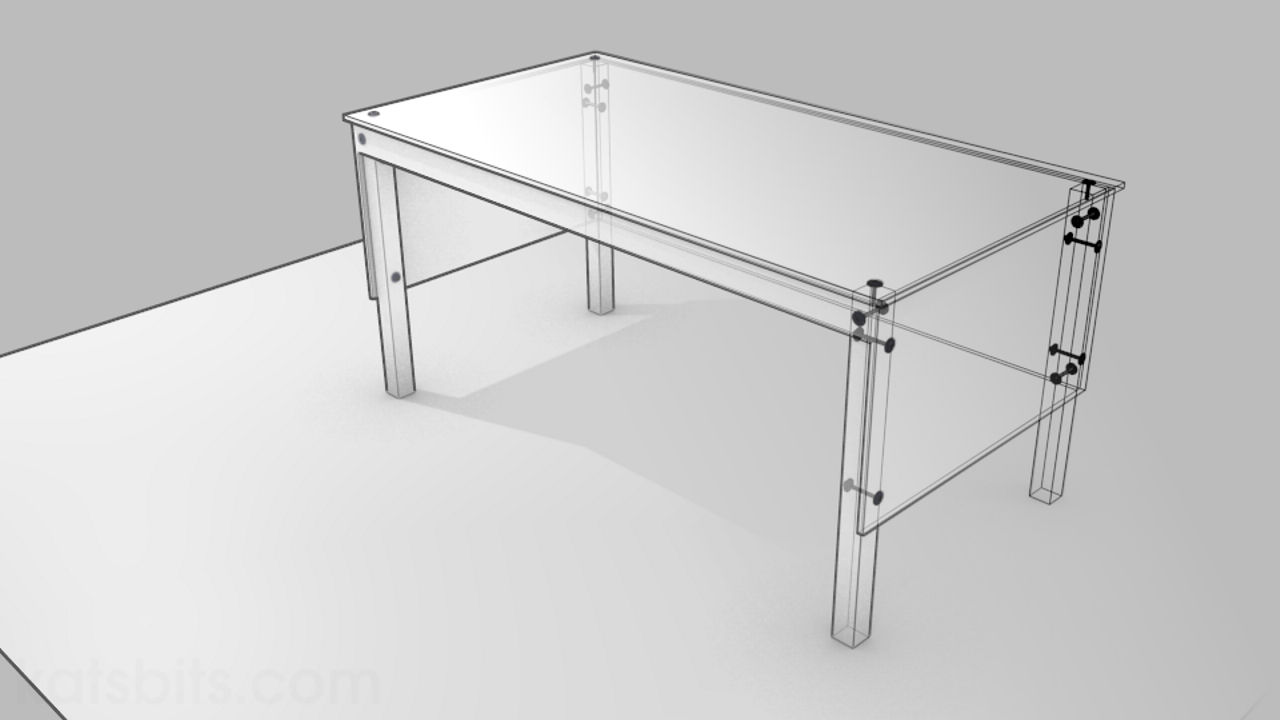
Download: Katsbits Wireframe/Outline Example (c. 100 KB | *.blend, *.tga).
Scene Lighting & Material Setup
First make sure any objects to be rendered are properly lit; usually this will be through the use of a "3-point light" set-up where three lamps are placed into the scene in such a way as to evenly illuminate the objects within (for best results it’s recommended that lamps are either placed unevenly around the scene – both in terms of the distance and height differential from objects, or either/or/both their "Energy:" and/or "Distance:" values are changed in the lamps "Object Data" properties to prevent washing or whiting out the scene with lamps of equal strength).
Next. The colour of the rendered ‘wireframe’ itself is based on the "Diffuse" material property so, in the respective Objects "Material" properties, change the "Diffuse" colour to whatever colour the ‘wire frame’ render is to be (‘black’ in this instance, but any colour and/or combination thereof can be used).
Finally. Per each material being used, click the "Wire" button directly under the material list (the default being "Surface"), this instructs Blender to render Objects as wire-frames and not solid-lit ‘surfaces’.
Finally, use "F12" to render the scene.
Misc. Scene Information
It’s important to keep in mind that rendering wire-frames does mean there is no ‘occlusion’ of objects, a scene which might contain dozens of items could potentially be a confusing mass of lines, meaning some re- organisation may be necessary prior to rendering to minimise this problem.

