Make IMVU Rooms Using Blender 3D
The following tutorial, "Making IMVU furniture rooms in Blender" is meant to instruct on the general process of making rooms for IMVU using the IMVU room template file for Blender to make non-animated rooms capable of holding additional in-game furniture items. It does not cover the finer points of using Blender or making content for IMVU. What it does provide is the basic information needed to use the room template file and its contains to make and properly export meshes from Blender to IMVU’s various XML files – .xmf (mesh), .xrf (material), .xaf (animation) and .xsf (skeleton).
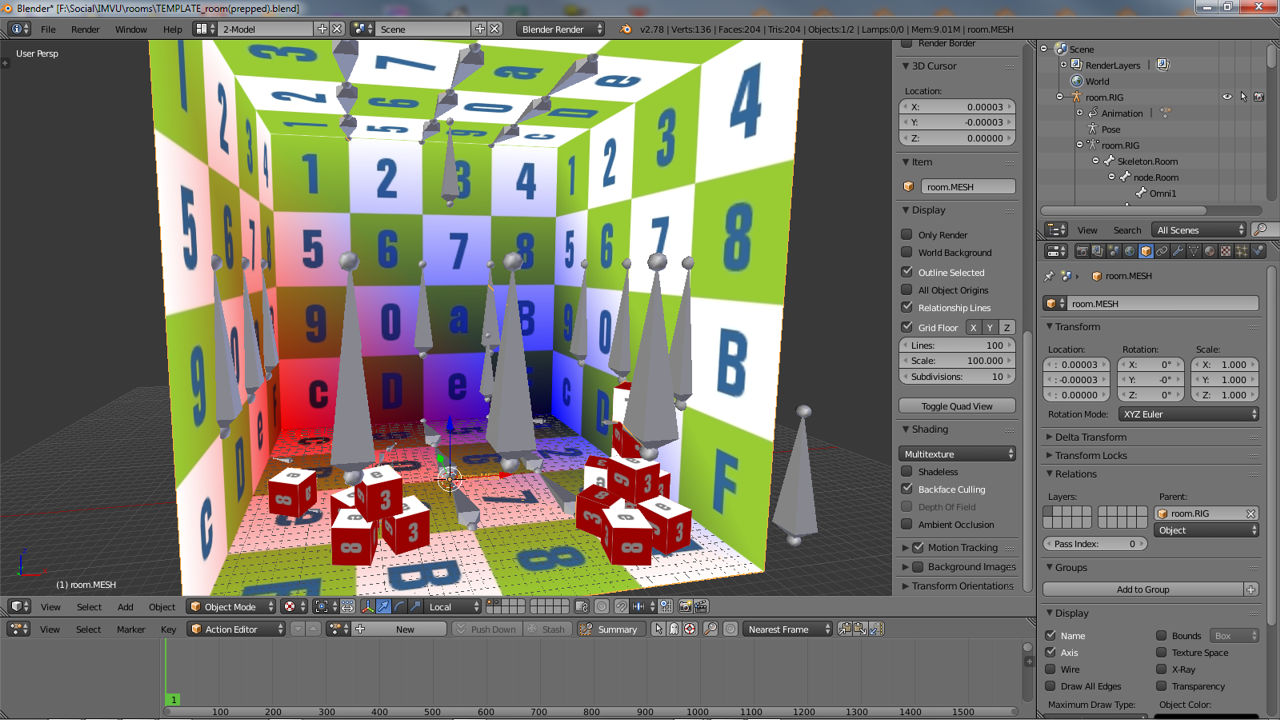
Download: Katsbits IMVU Room Template (c. 1.5 MB | *.blend, *.xsf, *.xmf, *.xrf, *.jpg).
A basic understanding of Blender is necessary to properly understand and use the following guide as the it does not explain how to use Blender to any great depth or detail, this can be found by reading the "Learn to make a simple chair in Blender" tutorial.
Important: please do be aware that making content for IMVU isn’t for the faint of heart. Be prepared to spend a lot of time reading, researching and trying to understand the processes being explained; it’s not generally possible to make custom rooms for IMVU in a few minutes of trying being new to 3D and IMVU creating.
Which Version of Blender?
There are a number of different versions of Blender that can be used to make content for IMVU; Blender 2.45, 2.49 and any version above 2.63a. If not already downloaded, or the reader is new to being an IMVU Creator, t is suggest the latest version of Blender be used which can be downloaded from Blender.org. Else please read the "Getting started with Blender" guide, in particular "Should I use 2.45, 2.49 2.64+ or newer?".
Download The Blender Room Template File For IMVU
The following uses a *.blend template file containing everything needed to make non-animated rooms with furniture nodes for IMVU. Included are three *.blend files; "TEMPLATE_room.blend" and "TEMPLATE_room(prepped).blend" for Blender 2.45/2.49 and "TEMPLATE_room(updated).blend" for Blender 2.63a or above. To download the file click the link below.


The furniture template file open in the latest version of Blender (top) and 2.49 (bottom), showing the basic differences between Blender versions – there are no difference in the file when opened in one or the other
Contents Of The IMVU Room Template File
Making an IMVU room using Blender involves the same basic principles required for any other type of product. There are differences of course, so although a ‘room’ and a ‘pet’ are not outwardly the same, they do however have similar internal structures, essentially that of a textured mesh linked to a skeleton that has a single frame animation sequence associated with it. Much of the actual process is really about using Blender to model the room, to move, manipulate and edit the mesh to create the desired shapes and forms. This is then textured (Materials are assigned) and then linked to an Armature containing a number of bones, each performing a different function within IMVU; furniture nodes used as locators for the items users load into a room, camera nodes which position the view when the room is first loaded, seating nodes for positioning avatars, and so on. Once construction and preparation of the mesh is done it’s then exported from Blender to Cal3D, and assembled in Create Mode before being uploaded and published to the catalogue.
Important: IMVUs default scale, the size objects appear to be in the 3D View, is approximately 100x LARGER than Blenders. Always start a project by opening the appropriate template for the product type being made to ensure everything is the correct size relative to IMVU, else scene "Scale" and "Clip" values will need to be increased to properly view view content (press "N" to access "View" properties, adjust "Scale:" under "Display", and "Start:" and "End:" under "Clipping").
The Mesh (.MESH)
Meshes are the actual objects people see in an IMVU chat. It’s simply a collection of coordinates, points in space shaped to represent an object three dimensionally regardless as to whether that’s a room, chair or necklace. Once the object is made, it needs at least one "Material" (which contains a "Texture") and to be "UVW unwrapped" – to which an "Image" is assigned. It then needs to be "Parented" to the rooms ‘skeleton’ (an "Armature" object) and a "Vertex Group" assigned – this lets IMVU know how the mesh is supposed to behave relative to more complex products; each area of a mesh can be ‘paired’ (linked) to a specific element of the skeleton and controlled independently of other sub components
Design note: meshes should ideally be appended with "*.MESH" to help distinguish the data-type within a given project. A project called "boxroom" for example, with a mesh called "box", would be appended like so, "box.MESH". This is not critical to functionality of the room in IMVU. For convenience meshes provided in the template file already have a full material assigned containing a texture which is properly assigned to a UVW map. For more details on these procedures please read the Blender Basics tutorials as it’s not within the scope of this tutorial to cover this aspect of Creating in any detail – "Learn to make a basic Chair in Blender 2.49", "Learn to make a simple chair" (for newer versions of Blender), "Learn to make a simple Sword" and "Learn to make a Simple Character".


Rooms and the meshes they are composed from can be any shape or size, or contain objects and features of any kind. Shown above in Blender (latest – top, 2.49 – bottom) is the template room, a simple cube, with some blocks for seating
The Skeleton (.RIG)
The skeleton of a room is in fact an "Armature" Object in Blender. It differs from furniture items in that it’s typically much more complex and allows for increased functionality within IMVU. To facilitate this it will generally contain all if not two or three of the following components; a ‘root‘ section, a set of ‘furniture‘ nodes, a set of ‘seat‘ nodes, a ‘lighting‘ element and a ‘camera‘. The ‘root’ section is the most important because it’s what everything is either joined or parented to. It’s also typically centred on Blenders grid so the ‘origin’ point of the Armature resides at "0,0,0" grid axis of the Scene. This latter point is important later on as it ensures the objects used to make rooms are not inadvertently repositioned or relocated when subsequently exported (more on that here).
Design note: as discussed in this section although the template file contains a number of separate Armature objects for expediency and convenience, the RIG’s critical components are actually "Bones" and their relationships to each other in an overall hierarchy, not the Armature itself (note additionally the hierarchy display may differ in Blender from final output but this won’t affect functionality in IMVU). An Armatures name is typically appended "*.RIG" to help distinguish it from other types of object as per the above for meshes – this is just a nomenclature, not a file format designation.


Basic components of a rooms Armature structure in the latest version of Blender (top), and 2.49 (bottom). Shown full-screen ("Ctrl+UP") are the wall, floor, and ceiling nodes for furniture, camera nodes, light and root nodes to which everything connects
Furniture Nodes
There are two types of room in IMVU, "locked" and "furniture". Although they can still be found locked rooms are relatively rare because they generally proved limited functionality in IMVU, everything is ‘fixed’ in the room meaning users cannot change or alter the rooms appearance to suite their own tastes. On the other hand furniture rooms are far more popular because they do; users can customise their appearance by adding or removing items to suit. This difference between the two types of room requires their respective Armatures be set-up relative to their eventual function – locked rooms don’t contain furniture nodes for example.


Basic furniture nodes as they appear in Blender (latest – top image, 2.49 – bottom image), there are three different sets but they all function the same way, ‘ground’ based nodes; ‘ceiling’ nodes, and ‘wall’ nodes. For each the "Z" axis should always point ‘up’ (ground), ‘down’ (ceiling) or ‘in’ (walls) to a room
Seating Nodes
Avatars interact with the scene and each other using a set of bones collectively referred to as a "seat node" or "pose spot". By default there are two types of ‘node’, 1) a "standing" and 2) a "sitting". As the names suggest they provide ‘standing’ and ‘sitting’ (seated) positions for the avatars in IMVU. Because of their relative importance ‘seats’ are discussed in more detail below.


A seat node in Blender is comprised of four bone (see below for details) and will be of either ‘standing’ or ‘sitting’, that is the avatar will either ‘sit’ or ‘stand’ when placed on one
Lighting Nodes
As briefly mentioned above, lights are one of the main sub-component of a rooms Armature. They are not actual ‘lights’ (or ‘Lamp’) entities in Blender but rather bones specifically identified for the purpose of illuminating a room and its contents in IMVU – although ‘Lamps’ can be placed to provide a general feel and sense of direction (a low horizon Sunset, or high noon Sun) to a rooms eventual illumination in IMVU, they would need to be ‘converted’ (exchanged) to bones. They are generally ‘global’ in nature in that they tend to illuminate a scene in a relatively uniform manner – only one or two are ever needed. Bones used for lights in IMVU are called "Omni[n]" – where [n] equates to the number of lights present, e.g. "Omni01", "Omni02" etc. Light should generally be limited to no more than three per scene.
Design note: IMVU does support three different types of ‘light’, however, "Omni" (omni-directional) are the most common due to their ease of use. When ‘converting’ a Lamp into a bone, either place a new Armature object into the scene and then join that to the main room armature, or ‘extrude’ a new bone from another. Armatures or bones used for lights can be added to the 3DView in front, side or top view. Light numbers are limited due to performance restrictions of the Pixomatic Render Engine used by IMVU.


Lighting is part of the Armature (shown in the latest version of Blender – top, 2.49 bottom image), usually a bone named "Omni" – rooms should typically contain at least one light bone positioned relative to a primary light source
Camera Nodes
As with lights discussed above, cameras are another sub-component of a room Armature, and similarly rather than being an actual camera entity, they are instead a pair of bones which provide the necessary ‘source’ and ‘target’ mechanism IMVU needs as a scenes focal point (the point around which the scene is viewed an manipulated). Again this means in practice, although ‘Camera’ objects can be used for positional purposes in Blender, they will need to be replaced with specifically named bones.
Design note: replace Blender camera objects with a bones naming the camera "camera.01.01.root" and its target (what it points at) "camera.01.01.root.Target". Camera armature/bones should be added in side view.
Important: whilst rooms can be made using Blenders own camera and light objects they will need to be swapped for bones before export to IMVU – this MUST be done (if not done by the Cal3D export script).


Bones used for the ‘camera’ component of a furniture room containing a ‘root’ (the ‘camera’ element) and the ‘target’ at which it points; the direction the camera actually points is controlled by it’s "Roll" angle despite the target. Camera node bones shown in Blender 2.49 bottom image, latest version top image
[1: Room Basics | 2: Room Skeleton | 3: Room Export | 4: Extras & Issues]

