Dynamic Lighting Principles (idTech4)
Doom 3 (idtech4) and dynamic lighting principles introduces the basic knowledge involved in using the new dynamic lighting system idtech 4 brings to play for the level designer to toy with when building their custom levels or mods based on the technology.
How Lights Work, Brightness
Lights in Doom 3 work in a slightly different way from a Doom3Radiant editing point of view. In previous id games lights were brightened, their ‘wattage’ if you will, by adding a numerical value to the entity; the higher the number the brighter the light or watts power. Quite an easy method to get to grips with. In game this meant an area covered was relative to that ‘wattage’ value; covering larger areas meant using higher light values. Doom 3 still uses that same principle but it’s implementation is different; the ‘brightness’ of a light is given by the volume or the amount of space that volume lights up or illuminates, which if you think about it, is what the various watt values do; they light up more and more area / space depending on their relative power (40 ‘watt’ for a desk lamp, 60 for a room, 100 for a larger room and so on..).
Lights & Colour Values
On top of this is the colour value. In Quake 3, editing the colour (hex) values only effected the colour of light entity itself; the colour or tone of the light emitted from the entity onto surrounding geometry. In Doom 3 however, the colour value not only changes the entities colour but also effects the ‘wattage’ brightness value; maximum wattage being white, minimum (nothing) being black. It acts as a fine tuning value in many respects, where the vertical slider in the entity editor panel can be used to alter how much colour and light (relative to the colour chosen) is being emitting.
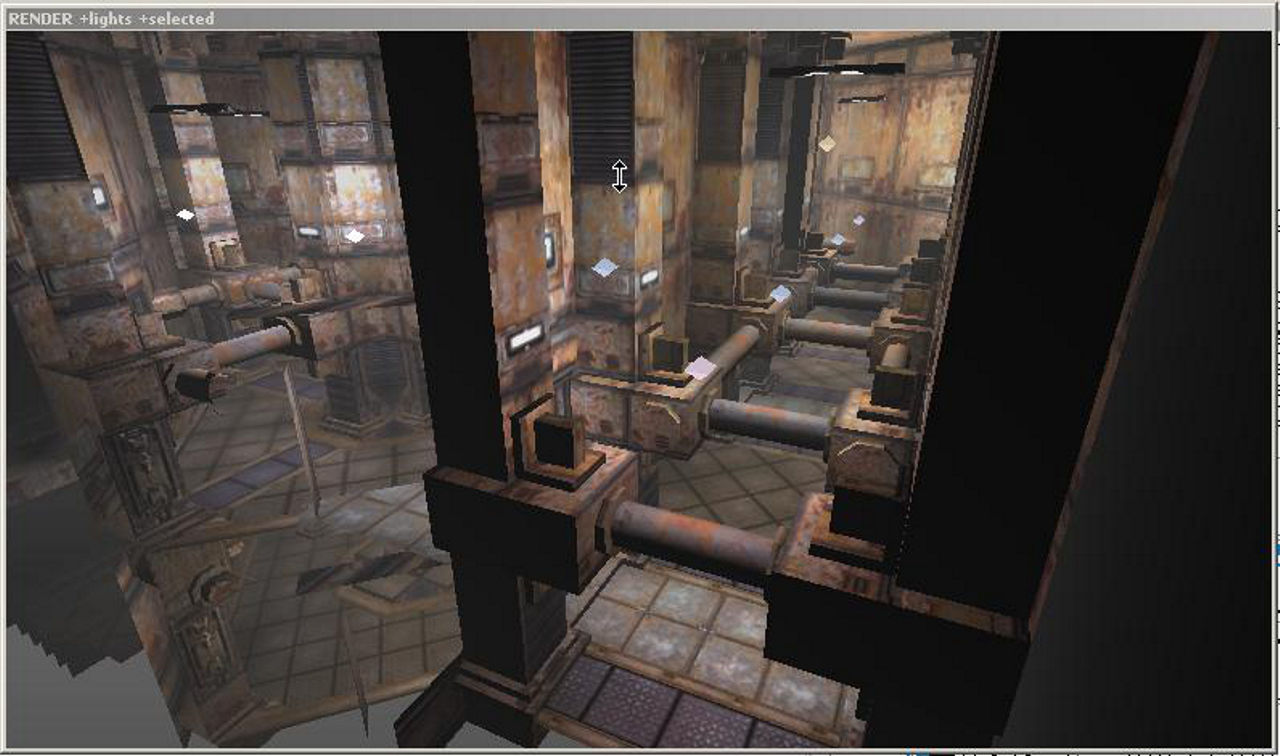
Lights Are Now Light Volumes
So, ‘light volumes’ are what we’re dealing with inside Doom 3 Radiant. What does this mean? It means gone are the days of editing light key/value pairs in the entity properties editor (light/500), of changing the ‘wattage’, and enter the future of volumes, a given amount of space effected by a light.
Imagine a cardboard box with a point of light at it’s centre, the (boundaries) sides of the box set the limiting distance and overall volume of space that particular light can influence; anything contained in that box will receive light from the entity at the centre, the closer the brighter. This means that in Doom 3 Radiant we’re effectively placing light entity ‘containers’, anything inside of which is effected by a given light ‘volume’ (the space ‘inside’ the container), so uniformly lighting an area means careful and considered placement of these ‘containers’ so the volumes interact efficiently rather than the ‘spamming’ (overuse) method that could be done with lights in previous (light map based) games. Basically we’ve now got more control over how lights work, how they are placed and what they have an influence over.
Now this new method does introduce an interesting facet to mapping that is important to bear in mind as you work; overlapping light volumes. Essentially, what you physically see in game is now directly linked to the lights as the Doom 3 engine renders the contents of each volume. This means that where an overlap occurs the engine basically renders the area multiple times, once for each light. Obviously this then mean the more areas of overlap you have the more renders that are going on and the more CPU and GPU power/time that’s being used up. Working with Doom 3 lighting means paying particular attention to this because, although in theory you could light a map in the same way that was done with Quake 3 powered games, the power needed to actually play through something like that is beyond what the average gamer has available at the moment.
Design note: It has to be said here that the number of lights you can have in a map or given area right now is not limited by the engine itself but by the current speed and performance level of the hardware in our computers; obviously the more lights you have the more CPU and GPU power you need to render what’s onscreen at any given moment.
Working With Dynamic Light Volumes?
Well, it doesn’t change too much really from the processes used to build maps based on the Quake 3 engine, so long as you keep in mind the light volumes principle. Placing lights relative to light emitting objects is still the same, the ‘architectural objectives’ of building and item placement itself, but now you have to watch the volume overlaps. Outlined below are some of the common processes used to light maps using the new volumes that Doom 3 has, and as outlined above, the more lights (and generally the brighter the area in question) the more power is needed to render the scene.
Ambient Light
At least one light source used to create the overall light level value. ‘Ambient’ in this instance means ‘background light’ rather than the ‘ambient light shader’ that can be applied to a light entity (from the light properties inspector [keyboard ‘J’]).

Ambient Light only
The default light settings generally give low but consistent light (brightness) levels to a room. Highest in game FPS. Also take note that the light volume itself slightly overlaps the boarders of the room so as to get a consistent level of light present on as many surfaces as possible – the walls for instance. There is a side effect to this that needs to be kept in mind – light volume ‘leaks‘. This basically means that if a light volume (the bounding box) ‘leaks’ (can be seen) into other areas of the map (an adjoining room for instance) the surfaces that it touches will receive a light surface ‘hitcount’. Remember the box analogy above? Well if you were to place the box into a given room and it’s sides could be seen in another totally separate room then Doom 3 renders that light volume as part of the two rooms creating another surface ‘hitcount’ per surface, per room – in a manner of speaking, it’s generating ‘waste’ (unnecessary) rendering. You want to avoid this type of scenario as much as possible.
The upshot of this means designing maps with greater distances between each area, using thicker walls and structures so you can terminate volumes well within these blocks and boundaries, or reducing the detailing on areas that have many volume overlaps so the Doom 3 engine doesn’t have to work quite so hard at rendering everything it sees.
Ambient, Plus Local Highlights
‘ambient’ background light accentuated with the use of local ‘highlight’ volumes. These create localised ‘hotspots’ indicating the proximity of the light source to objects around and / or near it. As above this generally gives low but consistent light (brightness) levels to a room with local areas of brightness. High in game FPS.

Ambient + local highlights
Local Light, Plus Local Highlight
‘ambient’ light is replaced by larger localised light volumes. In theory this allows slightly brighter lighting that’s relative to the light sources of an area. Light volumes need to be (or ideally should be) overlapped to ‘blend’ or ‘blur’ the edges often visible if light volume placement is left ‘as is’ and simply butted up to each other (edge to edge placement). Medium in game FPS.

Local area lights + local highlights
Ambient, Plus Local Light, Plus Local Highlights
ambient light ‘plus’. Ambient lighting is ‘doubled up’ by the use of ‘localised’ ambient lighting (yellow) and ‘global’ ambient (blue). This method tends to create a lighting system with the greatest ‘wattage’ (brightness) potential but at the harder FPS hit – the more lights you add the brighter the area, but the more surfaces that get hit and the harder that effects the FPS. Lowest in game FPS.

Ambient + local area lights + local highlights
General Tips
Because of the way light volumes effect surfaces it generally mean that brushwork now has to be cut into smaller sections to avoid long or large surfaces as much as possible. The reason? Brushes left in their original and rather lengthy or large state are more often than not being ‘hit’ by several light volumes which increase the overall surface hit count on that particular brush. The more of these you have in a given area the more the game engine has to work in terms of ‘over rendering’ the scene because of the light interaction. Cutting brushes into smaller ‘chunk’ makes the light volumes more manageable to render for the game.
Related to the point above is the need to ‘alternate’ textures or features. The compiler that comes with Doom 3 (dmap) is incredibly efficient at optimising and removing ‘dead’ surfaces, simply splitting a brush in half means that dmap will join those back together as a way of ‘optimising’ those surfaces (two triangles instead of four). This in turn means you need to place ‘trims’ or architectural features where the split or division is needed, this way the compiler is forced to keep brushes separated. Incidentally there is another method that can be used where the texture alignment of a surface is ‘offset’ slightly relative to adjoining surfaces which then forces the rendering of each separate surface as dmap can’t then merge them back together.

