Adding Smooth Groups to UT3 Models in Blender
NOTE : This tutorial has become slightly obsolete as a result of the release of an Unreal Engine ASE export script that keeps and correctly exports ‘smoothing’ as outlined below. So whilst the principle for creating the actual smooth group on a model itself remain the same, they are not subject to the same caveats present when using the standard ASE exporter available for Blender.
Important: For more information on smoothing models for Unreal editing, read the updated tutorial here.
(Tutorial updated Dec 09) Forced smoothing (forced smooth groups). If you’re familiar with creating 3D content for games using Blender 3D then you may already know that generally the only way to guaranty smooth grouping on a mesh is to do something called face or vertex ‘splitting‘, whereby manually selected faces on a 3D model are ‘split’ away from their parent to form isolated polygon islands that have their own distinct edge and edge vertices (see images below).
Alternatively the "split edge modifier" can be applied to a mesh so that it automatically creates ‘groups’ based on the placement of ‘hard/soft’ edges which can then be ‘set’ to split vertexes apart as a quicker way to do the above. Again the result would be something similar to the image shown below whereby the selected faces have ‘hard’ edges relative to their neighbours. Normally when this is exported the smoothing ‘data’ is kept because split faces stay separate due to the presence of the various coincidental vertices attached to each grouping.

Results of face splitting; hard edges and ‘smooth groups’.
However, 3D models created with the intention of being used within the Unreal Engine editing environment have problems with this process of edge/face splitting because the import process is looking for 3DS Max specific smooth group information – which is stored in ‘face’ data; if the Generic Browser can’t find any appropriate smoothing information it will simply ‘re-weld’ the vertexes back together to form a single contiguous mesh which ‘breaks’ any smoothing the mesh had on export.
So for non 3DS Max users, opening a custom model into Unreal Editor after going through the import process using the Generic Browser usually results in models appearing ‘mushy’ and undefined because of the re-weld and the now single smooth group applied over the entire model. UVW map islands don’t work either.
So how can smooth groups be ‘forced’ on custom models for UT3 then? Well, there are two options that work to varying degrees, depending on what the mesh needs;
- Modified vertex/face splitting
- Extra edgeloops (bevels)
‘Super’ Forced Smoothing
For want of a better way to describe this I’ve simply called it ‘super forced‘ because it makes use the method mentioned above – ‘forced smoothing’; faces are detached from the parent mesh – with a slight but essential modification (as shown/explained below).
Keyboard shortcuts: "RMB" to select faces, keyboard "Y" to split them ("P" will separate them into independent mesh objects).
Design note: although it’s usual for polygons split like this to remain an element of the parent mesh, they can be separated into independent objects that are ‘merged’ together on export (format support dependant).
Basically the principle is to stop the UT3 game engine (assets creation process) from re-welding vertices back together when it finds them separated but in the same place; the only way to do this is the make sure that face vertices do not occupying the same ‘XYZ’ co-ordinates in 3D space, if they are, UnrealEd’s Generic Browser import process will reconnect (re-weld) them.
To stop this from happening the vertices that form the boundaries of a forced group need to be ‘nudged’ apart so they don’t then occupy the same co-ordinates as their neighbours; this is simply a matter of either expanding, reducing, offsetting or moving the polygons/vertices in question a sufficient enough distance for the game to ‘read’ them as being separate. Polygons only need to be moved tiny fractions for this to work.
Potential Issues and Problems
The downside to this method is that it’s very fiddly and time consuming to set up, and on complex mesh objects can seem almost impossible to organise correctly in such a way that you don’t end up with gaps and holes where they shouldn’t be.
It’s also possibly to introduce ‘artifacts’ depending on where micro-moved edges are; moving the edges of a box inwards runs the risk of a rendered ‘line’ artifact error appearing on the outward face of a block (a little bit like shown in the image below – although that’s a screen grab from Blender 3D, the black outline visible against the split face shows where there would potentially be a problem in game if that face was the one that represented the ‘front’ visible side of the object).

Over exaggerated expanded polygon showing the principle behind ‘super forcing’ smoothing in UT3; vertices need to be separated in order for the game to read them as such otherwise it’ll reconnect them.
Beveled Smoothing (Beveled Smooth Groups)
It might seen odd at first to think that adding extra polygons to an object would help in any way with regards to smoothing and smooth groups until you realise that game engines deal with smooth groups by splitting vertices regardless as to which method and/or which 3D application is used. In other words, telling a game engine to smooth group something will result in the GPU on your graphics cards creating a series of split vertexes anyway, and what that means is you effectively create ‘extra’ vertexes that could have potentially been used to create additional faces.
Now why would you want to create extra faces? Well, if we remind ourselves that smoothing is all about the distribution of shading (light) over an object, and our current problem is to do with that directly, then it makes sense that adding more faces means that shading over an object becomes more evenly distributed, especially over, on or around the edges of an object.
Using the simple cube test object, when looking back at the forced smoothing method above, in splitting a face the way we did it created an extra set of vertices that are associated with that split face; there are now "8" vertices. However, if, instead of splitting the face, an ‘edgeloop’ is added, we still have 8 vertices but also now an additional 4 faces (8 triangles) which cause the object shading to behave closer to what is expected; the tighter or closer the edgeloop is to an edge, the ‘sharper’ the appearance of the ‘faked’ smooth group (see images below).
Keyboard shortcuts: "Tab" to enter EDIT mode. "Ctrl+R" to active the edgeloop
cutter, "LMB" to position and move the cutting guideline (hold "Ctrl" to lock movement to the grid/increments, "Shift" to slow movement), "RMB" to set and cut.

Adding an edgelooped ‘bevel’ to one side of an object where a smooth group is required
The resulting smoothing when using bevels
Potential Issues & Problems
The only real problem with this method is that it can get very complicated in terms of knowing where to place cuts on anything that’s more shapely than a box; this does present quite a challenge because it’s more than likely that a few ‘dead’ faces will be created and knowing whether to leave or remove them will depend on how they effect the smoothing you were adding in the first place!.
You’ll also most likely end up having to re UVW map your models (or at least do quite a bit of amending) because adding extra faces after the fact (after you’re UVW mapped an object) can often corrupt any UVW layout you may have previously had in place.
Set Smooth/Set Solid Combinations
The following procedure takes advantage of the fact that Unreal Engine 3 applies a single global smoothing to an entire mesh regardless as to whether there is or is not any smoothing present on a mesh by default. (Special thanks to Diego1203 for confirming independently that it now works. Ed.).
In edit mode, selections of faces (‘groups’) are given one of either "Set Solid" or "Set Smooth" smoothing based on the ‘grouping’ required. It results in an object that has both ‘smoothed’ and ‘solid’ (‘faceted’) faces which approximate the way smooth groups work in Max. This works best on models with a relatively high poly count (see potential problems below).

Setting a selection of faces to ‘solid’

Faceted faces set to ‘Solid’ next to neighbouring faces set to ‘Smooth’

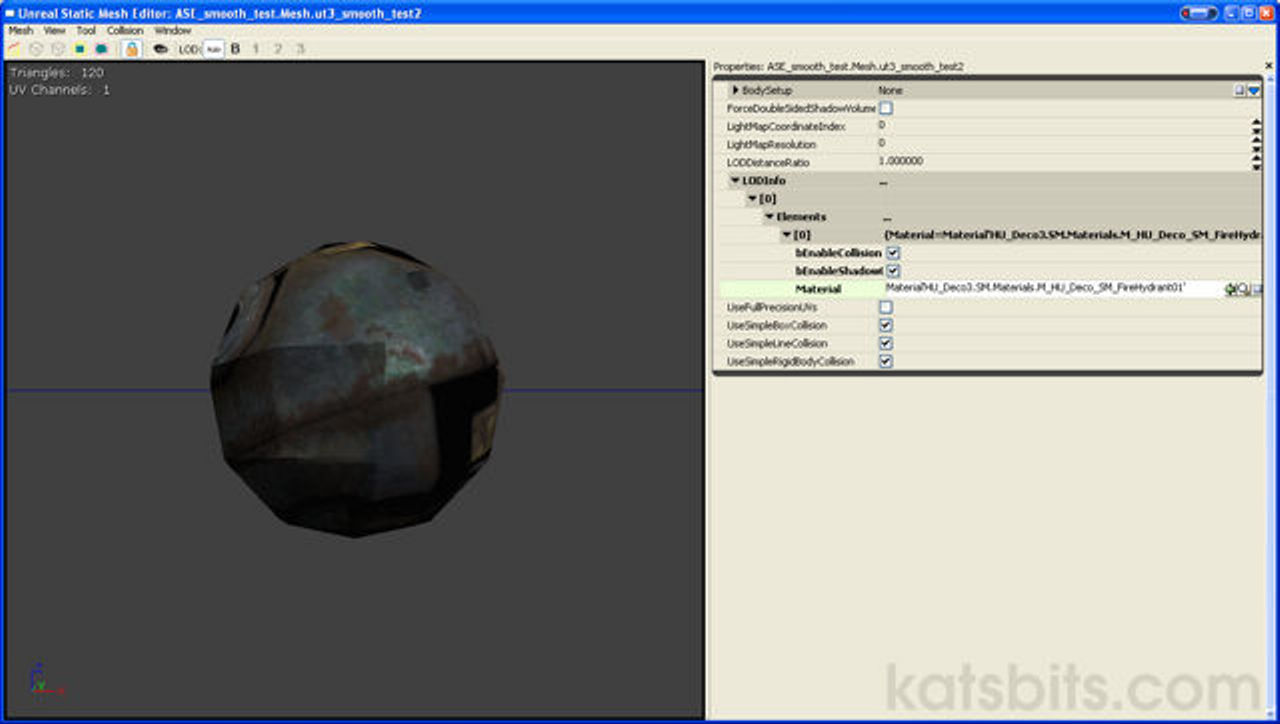
A hard edge visible on the model in UT3’s Generic Browser. Because objects default to ‘smooth’ in game, all ‘faceted’ (solid) faces are forced by the engine to smooth, resulting in ‘groups’.
Potential Problems & Issues
Because of the way smoothing is either ‘on’ or ‘off’, one of the drawbacks with this process is ‘bleaching’ – this is where you can’t properly separate selections into individual groups, as a result smoothing ‘leaks’ or ‘bleaches’ into other groupings.
For example, if you select and applied ‘smooth’ – turn them ‘on‘ – to the row of faces that wrap around the middle of the object, in order for those to be a separate ‘clean’ grouping the row of faces above and below it would need to be set ‘solid’ – turned ‘off‘. Now if you then wanted to amend the smoothed faces by adding in another grouping, that new grouping would need to be ‘solid’ (because you’ve already used ‘smooth’ to define to initial group).
However, in doing that, you’ve now matched the ‘solid’ settings applied to the row of faces on either side of the smoothed row and effectively ‘joined’ all of them into one larger smooth group instead of three smaller one (because the smoothing will ‘leak’ in game); without adding extra faces or editing to the mesh in some way you can’t now separate the groups.
Conclusions
Although Blender does have a ‘proper’ method to smooth group an object using the Split Edge tool from the modifier stack, the results aren’t yet exportable because of they way they work on a mesh in relation to ASE files in particular – hard/soft edges currently (as of 2.45) present the ASE exporter a problem when trying to create fully compatible 3DS Max style ASE files because of the way Max works with smooth groups (smooth group data is stored in face data not vertex data); it doesn’t use edges but face groups which means ‘translating’ edges into that kind of information can be tricky.
So, whilst the three methods above can awkward and fiddly in some regards, they are and can be useful generally. Right now however, they are the only way to control smoothing on meshes that are to be used in UT3.

