Make a Leaf Alpha Mask From A Photograph
Trying to create a tree leaf sprite from a photo is often quite tricky and time consuming. It need not be because in using the following information it’s possible to get good results relatively quickly.
The following tutorial explains a few simply steps that can be used to make transparent alpha masks from photographs of trees.
The Photo Source
The following (3 step) technique works best when a trees leaf mass is clearly defined so no other trees or objects get in the way of the main source needed for a sprite. In other words, when taking photographs try and compose the shot so the main mass of leaves/tree is backed by something ‘flat’, preferably the sky.
Design note: As with most photographs used for gaming it’s best to try and take a source shot on a ‘flat lit’ day so the objects is as evenly lit as possible, without any strong highlights and darks or a stark difference between the two. Any ‘flat’ surface will do, it just needs to be relatively even in both tone and texture to make this process as straightforward as possible.

Source photograph taken against a flat ‘overcast’ sky.
De-Saturate The Image
Once the photograph is open in your photo editing application it’s needs to be de-saturated to a gray scale (black and white) image; removing colour from the photograph makes it easier to work with because you’re then just dealing with a single set of tonal values rather than values associated with using a full RGB colour image.
Design note: trying to work with tonal colour can can make processing the image to get the mask harder and more time consuming as there is more going on when colour is involved.
You could at this point try and use this as a mask but it won’t give you the clean silhouette that’s needed for the actual mask, so the image needs another step.
 image")
De-saturating the image to convert it into a tonal gray scale (black and white) image.
Contrast Enhancement
Editing this next step needs will depend on the photo editing application you use; the image is manipulated so the results are similar to a ‘stencil’ – a ‘black/white’ image. How this is done will vary but generally speaking altering the contrast and brightness of the image should be enough to at least create flat areas and hard shapes. The result is the actual image that will be used as a mask over the photograph.

Contrast enhancement – editing the gray scale image resulting in an a black and white image.
Adding The Mask Over The Photograph
Once you’ve got something approximate to the above ‘mask’ it then needs to be added as an mask layer to the original photograph. Again how this is done will vary dependant on the photo editing software being used but generally speaking you have two options; open the original photograph and then do one of the following;
- Load the image as a mask
The results of the previous steps needs to be flattened and saved to a separate file – it should have no layers – and then ‘loaded‘ into the images specifically as an alpha mask (this should automatically create an alpha channel) - Copy/paste the image into an alpha channel
Copy the mask image, then in the original photo image add a new alpha channel (there should be options to view and add/delete the channels contained in an image), select it and then simply ‘paste’ the copied mask into the newly create alpha channel
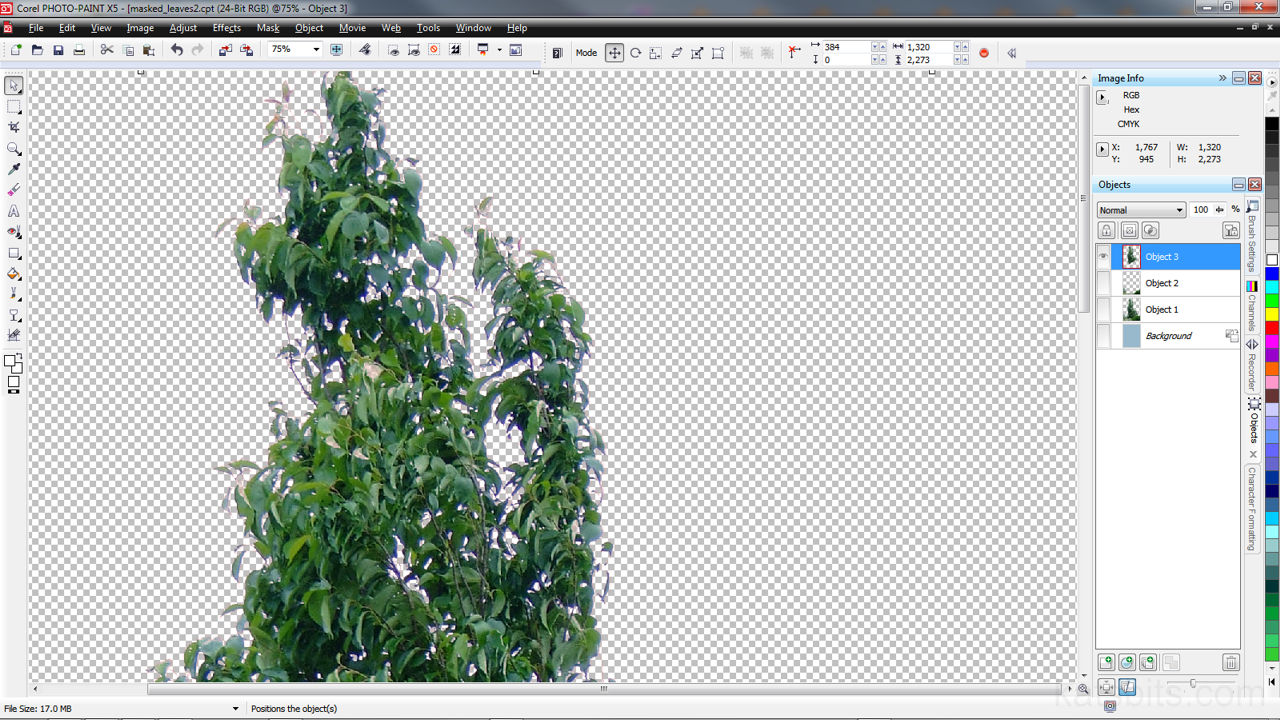
This then means you have a clean mask in a few simple steps that will allow you to extract (copy/paste into a new document) and edit the leaf mass to create a much better tree sprite.

Mask image added to the original photo
Conclusion
Needless to say, and as mentioned throughout the tutorial, the exact actions required to use the above process will depend on the availability of specific tools and features in your photo/image editing software – it’s more often the case that "X" is named "Y" or "Z" depending on what you’re using. So "contrast enhancement" may be called "light and dark" or "adjust filter" and so on. The point is to find the filter that does the ‘action’ of what’s described above rather than the specific function (because not all ‘functions’ are called the same thing), i.e. in wanting to to produce a high contrast image from which to make the mask, you may need to go through a couple of steps using a couple of filters to get the exact stark contrast needed for this simple technique to work.

