Snowman – Texture Baking (#5)
Once the basic modelling and texturing has been done, there are a number of addition tools available that help to graphically enhance the artwork assigned to the character. One tool in particular, “Ambient Occlusion“, is extremely useful as an enhancement because it can help improve the final appearance of the model by adding shading that wouldn’t otherwise be present. This is done using Blenders “Texture Bake” system.
Download: KatsBits – Snowman Character Source (c. 40 MB | *.blend, *.tga, *.psd, *.xcf). Zip file includes each stage of the process as indicated throughout.
What is Ambient Occlusion
In a nutshell, Ambient Occlusion is essentially a form of indirect (non-directional) top-down global illumination. In practice it gives the impression that meshes are lit by a soft, diffuse (indistinct) hemispherical light source that approximates the way ambient ‘background’ light tends to bounce around a scene, affecting objects and surfaces based on their proximity and orientation to each other (and the light source) – the closer an object or surface is to its neighbours, the more background illumination it blocks, and vice-versa. This interaction produces surface ‘shading‘ rather than the directional ‘shadows‘ typical of standard lighting (like a spot light for example). From the point of view of a character (or any type of model in fact) this adds shading enhancements to areas where, in general, this type of background illumination is ‘occluded’, armpits, under the brim of hats, under the chin and so on, which in turn lends a certain degree of visual depth to an object.
Texture Bake settings
As briefly mentioned in the introduction, Blender’s “Texture Bake” system is used to ‘render’ the objects ambient occlusion shading into a usable form, an image or ‘map‘, which can then used as a texture enhancement. Although this may sound complicated, it’s not, either in the production or use of the resulting image. First enable texture baking. In the “Properties” panel to the right click the “Render” button (small ‘camera’ icon) to access the associated settings. Scroll down to the “Bake” subsection (by default at the very bottom of Render Properties) and click the triangle to the left of the sub-heading expanding the available options. With the properties now accessible click the “Bake Mode:” drop-down menu and select “Ambient Occlusion” from the list (the default displayed as “Full Render“). A new set of parameters will appear. Select “Normalized” and then leave the remaining settings as they are (ensure “Clear” is active, however).
Design note: to make sure the baked ambient occlusion map is rendered as a grey-scale image, “Normalized” needs to be active – left inactive (deselected) a Materials “Diffuse” colour will tint the result bake; a ‘blue‘ coloured diffuse setting for example, would similarly tint the ambient occlusion render ‘blue‘.

To bake Ambient Occlusion, first select it from the “Bake Mode:” options available in “Render” properties [blend85]

In the options that appear, except for “Normalized“, leave the settings as they are once Ambient Occlusion has been enabled – so make sure “Normalized“[1] and “Clear“[3] are activated, and that “Margin:” is set to at least “2“[4]
Once the properties have been set up, simply click the large “Bake” button at the top of the sub-section to render the image. Blender will then go through the process of analysing the mesh to calculate its ambient occlusion, the data generated being written or “baked” as an image, whilst simultaneously being used to update the UV/Image Editor in real time as progress is made. Once done the resulting ‘bake’ will display in the UV/Image Editor and on the mesh in the main 3DView (assuming the 3DView is set to “Texture” shading, “Alt+Z“), ready to be saved.
Design note: how progress is displayed to the user will depend in whether the action is being carried out whilst in ‘Object‘ or ‘Edit‘ mode – in ‘Object’ mode progress is typically shown only in the UV/Image Editor, the resulting image displayed on the mesh once done. In ‘Edit’ mode the image is generally progressively shown in the 3DView on the mesh itself and in the UV/Image Editor. The time taken to render depends largely on the complexity of the mesh and the size of the image being baked.

Click the “Bake” button to render the characters Ambient Occlusion…

… this can be done in both “Edit” and “Object” mode, there is no difference between the two except that a rendering overlay may appear in the 3DView when in Edit mode
Saving Ambient Occlusion maps
Baking textures is a ‘generative’ process, meaning the data that’s created is simply a reference held in memory for that session – if the application were to be closed, the data generated would be lost. Once the bake process is done then, the resulting data needs to be saved and ‘made real’ (written to tangible form). To do this, in the “UV/Image Editor” click “Image*” and select “Save As Image” from the menu list. In the ‘File Browse‘ view that opens, name the file[1], select a location to save[2], select a ‘loss-less’ image format[3] (TGA, TIF, etc.), select “Relative Path” if required[4], and then click the “Save As Image” button top-right[5]. Blender will return to the previous view as a means to confirm the action.
Design note: the ‘Image’ menu normally displays absent the “*”, it’s appearance means something has changed in the UV/Image Editor, in this instance the baked ambient occlusion image, which either needs to be saved or discarded. Additionally when saving, and depending on how a project is set up, using “Relative Paths” always ensures assets are referenced based on their relationship to the project itself rather than a folders hard-drive location, this has an advantage when sending assets to third parties; so long as a projects folder structure remains intact, it can be placed anywhere and assets contained therein will load and display correctly.

Once Ambient Occlusion has been baked, save the image from the UV/Image Editor by selecting “Save Image As”

As with saving images previously, select the format (uncompressed) and location then click “Save As Image” – browse to a folder location[1]; select a format[2], preferably ‘loss-less’ , tga, bmp etc.; select “Relative Path” (optional); rename the file[4], be sure to make it distinct from any previous so as not to over-ride; click “Save As Image”[5]
Using the baked and saved images
With the Ambient Occlusion map baked and saved, the simplest way to use it is as an overlay blended with an underlying image. Using the previously saved placeholder texture as a base, and the UVW wire map as a guide, once the texture is painted it is then reassigned to the model, replacing the current asset, in this instance the baked ambient occlusion map.
Design note: when blocking out shapes it’s important to ‘over-paint’ or allow a ‘bleed margin’ around the selected element, this compensates for any aliasing issues when lower resolution images are used. Note also this is why the UVW itself needs a reasonable margin around each Island.
To create the Snowman texture first create an underlying ‘snow’ layer – a quick way to do this is add some random colour noise to a layer and give it a low blur value to soften and ‘bleed’ the colours slightly. Then play with the levels and/or contrast if necessary, shifting the overall tone towards ‘white’. Create a new layer and, using the UVW wire map as a guide, block-out or paint a series of flat colours or pattern fill corresponding to the ‘scarf’ and ‘hat’ areas of the mesh. Finally place the ambient occlusion map over the top of everything and use a ‘Merge‘ or ‘Blend‘ mode to overlay and blend the ambient occlusion map with the underlying layers – “Soft Light” being a typical filter to use. Once done ‘flatten’ the file (merge the layers together) and save the file as a “*.tga“, “*.bmp” or other appropriate format Blender is able to read/display.
Design note: when the ambient occlusion map is being baked it’s important to keep in mind that “Margin:” size may need to be adjusted depending on the textures requirements (size, UV distribution) – margin creates an additional amount of bleed around the edges of the UVW islands as a way to compensate for the same aliasing issue mentioned in the Design note above.

Using the UVW ‘wire’ as a guide in a photo-editor (Corel Photo-Paint in this instance, but GIMP, Photoshop or other editor works just as well) to help with the placement and position of the characters features – ‘hat‘[1], ‘head‘[3], ‘scarf‘[2], ‘body‘[4] and ‘base‘[5]

The flat colours and general texture used to create the Snowman’s overall ‘look’

The final texture made by combining the previous stages with the ambient occlusion map, blended using a “Merge” mode – in this instance “Soft Light” and “Hard Light” for two different layers of overlay
Reassigning an Image
Once the texture is complete is can either be saved using the same name as the image currently assigned to the mesh, doing this automatically updates the scene. Or in instances where it needs to be manually replaced, RMB select the Object to make the necessary Material active for editing, go back into “Texture” properties and down the the “Image” options. From here in the “Source:” sub-section, either manually type into the “Image/Movie File Name” input field the name of the asset that needs to be loaded, or click the ‘file’ icon to the right, and in the then opened “File Browse” view, select the image to replace the current and click the “Accept” button. Blender will return to the previous view with the new asset in place on both the mesh and within the Material (shown below). At this point the mesh is complete and ready for animation.

The saved Ambient Occlusion map will remain assigned to the mesh until it’s replaced by selecting a new image by changing the “Source:“[3] reference by clicking “Open file browser” button[2] in “Texture” properties (also shown, “Input” field[4] showing previously saved ambient occlusion map and “Browse Image to be linked“[1] [blend88]

In the “Browse” view, select the painted texture[4], replacing the previously baked Ambient Occlusion map and click “Accept”[5]. Also shown, hard-drive location[1], folder location[2], “Relative Path”[3] (optional),

The new painted diffuse image, into which the ambient occlusion map was included, assigned to the mesh [blend89b]
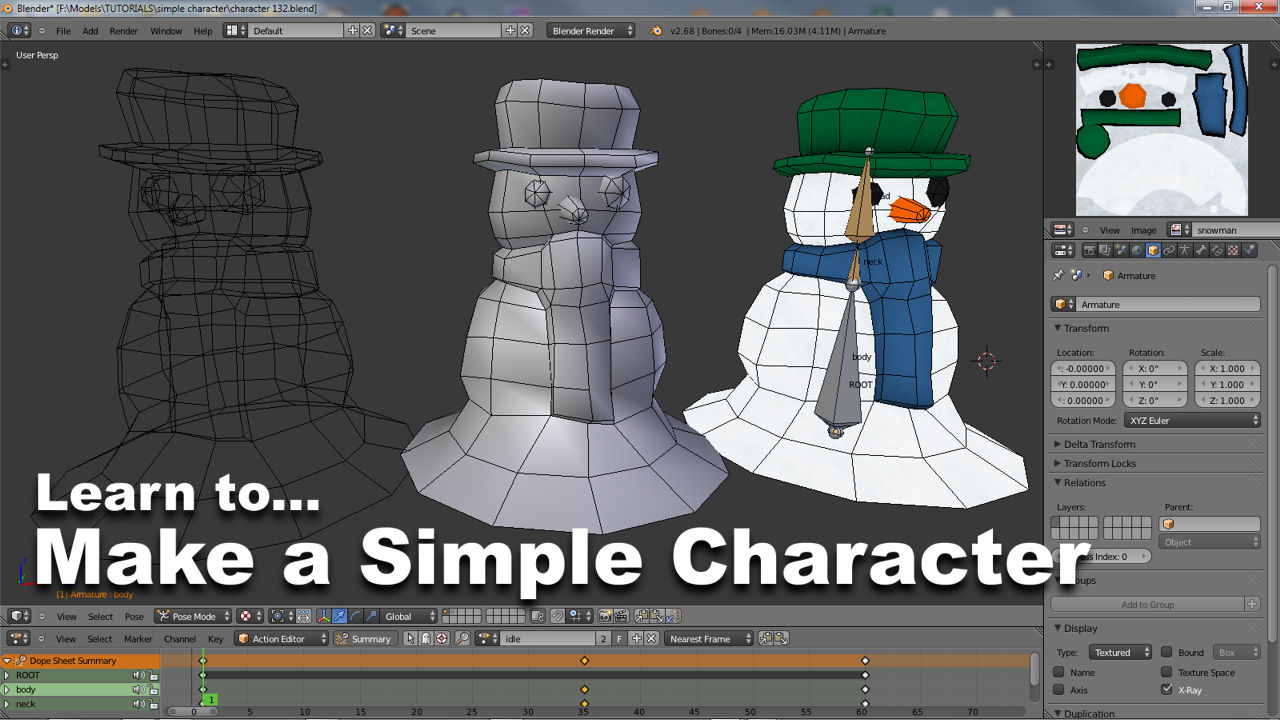
[1: concept | 2: model | 3: material | 4: UV maps | 5: bake | 6: rig | 7: animate]

