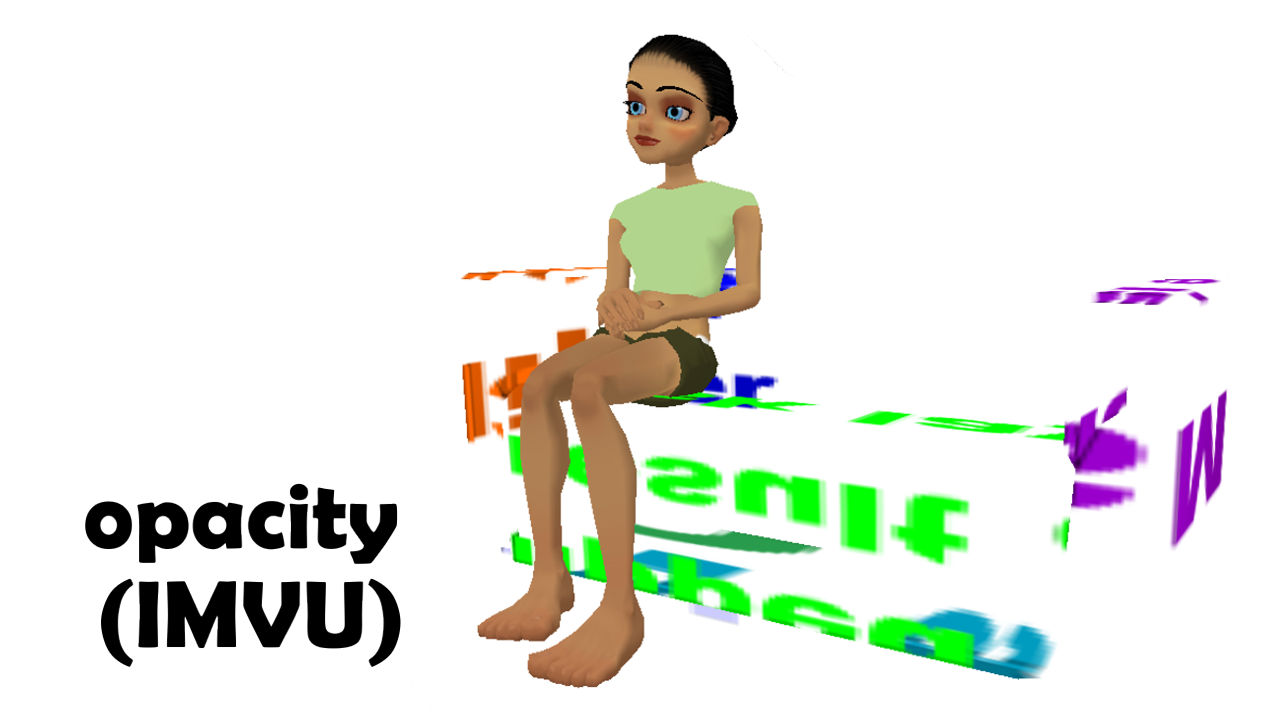
Opacity & Transparency in IMVU
Transparency, or more correctly for IMVU, "opacity", is relatively straightforward to set up because it relies on a simple technique that creates transparent materials in IMVU through use of two separate images.
Important: the following is an update of what is now an obsolete system that had Creators manually edit IMVU’s XRF material files.
How Does Transparency Work In IMVU?
Because IMVU makes heavy use of JPG formatted images, transparency has to be handled in a way that it can essentially be ‘added’ to an already existing image. This approach is useful as it allows for third, fourth, fifth etc. parties the ability to alter the appearance of a material well after-the-fact, and in way the items author might not have thought. To facilitate this IMVU uses TWO images; one visible to the User, and another to create the transparency. IMVU refers to theses as "Texture" and "Opacity Map".

The two ‘slots’ IMVU uses to create transparent material in the Client, "Texture" is visible to the User, "Opacity Map" is not, except for the effect it has on the underlying image. This approach make it easy for inexperienced Creators to make items appear fully or partially transparent
Opacity Maps & Setting Up Opacity
In IMVU the "Opacity Map" controls the degree to which a image appears fully or partially transparent. To create a ‘uniform’ transparency across an entire material the "Opacity Map" needs to be of a single grey-scale value. White is 100% opaque (NOT transparent). Black is 0% opaque (or 100% transparent). Using a mid-grey for example produces a semi-transparent material that will likely be 50% transparent. On the other hand, to create a ‘clip mask’ or ‘stencil’ like effect the "Opacity Map" should contain ostensibly black and white tones only – anything ‘black’ is made fully transparent and effectively invisible leaving only the white areas.
Design note: for best results the bitmap image used for the Opacity Map should be a PNG rather than JPG, although both can be compressed, JPG’s tend to cause artifacts in the final material because of the aggressive compression used to reduce file size. The image can be 24bit RGB but should contain no ‘colour’, i.e. should only contain ‘grey-scale’ tones between black and white (if available use a ‘desaturation’ filter before saving).
To create the transparent material load the item on Create Mode and select the material to be changed from the "Materials" list (dark grey section to the immediate right of the main window containing the avatar and product). On the right under "Texture Assets" click the "Add" button. In the window that appears, browse to and select the grey-scale image to be used as the Opacity Map, then click "Open". The image will load into the available slot. Click the yellow "Apply Changes" button to apply and check before saving/uploading as needed.

For uniform transparency use an image with a consistent tone, mid-grey will product a semi-transparent material…

On the other hand, for ‘clip mask’ opacity, stick to using black or white, white is fully opaque (visible), black fully transparent (invisible).

