Chair – Materials (#4)
In the first part of Learning Blender the core interface was explained. In part two, navigation, the basic mouse controls and shortcut keys to use when moving around a scene. In part three a simple chair model was made so as to learn Blender ‘hands on’.
In this section, part four, materials and texture will be discussed and how those are made and applied to a mesh; although only one material is needed for this tutorial, the application of two materials will be discussed in a separate section to show the principles involved of ‘selective addition’, that is, placing materials on in specific selected faces.
Before proceeding, you need to make sure you have some images available for use, have unpacked the sample file to a location on your computer for use and/or know the location of either/or before doing the following.
Download: KatsBits – Chair Source (c. 7 MB | *.blend, *.tga).
What are Blender ‘Materials’
Materials in Blender can be referred to in one or two contexts. One is in a ‘global’ sense of an overall ‘property’ applied to a model. Or in a ‘local’ (or ‘objective’) sense of a specific ‘stage’ or ‘element’ of the overall property. The Material in the global sense is a visual metaphor of an objects surface types, what the object represents and would be made of if it were real – a ‘chair’ made of ‘wood’, ‘concrete’, ‘metal’ and so on. Generally speaking a game ready material is composed of three basic elements;
- A “Material” stage.
- A “Texture” stage.
- An “Image” stage.
A model can have more than one material, dozens in fact depending on the complexity of the object, each of those will usually contain the individual “Material“, “Texture” and “Image” stages; although we only need one material on the tutorial chair, the latter part of this tutorial will explain using multiple materials and how those are applied to meshes.
Design note: each ‘stage’ is often also referred to as a material “layer” or “slot“
For now, we’ll concentrate on applying a single material. Below is how the chair currently looks after the initial process of making it using Blenders various mesh editing tools. For the time being its complete and ready for this next step of the process.

Initial editing and construction of the mesh to produce a basic chair done in Edit mode of Blender 2.5 [see *.blend “7”]

Chair shown in Object mode after initial mesh editing and construction done in Blender 2.5 [see *.blend “8”]
Making a Material and its Properties
The cube object used to make the chair is loaded as part of the default scene with a single material already applied to it so there is no real need to create a new one. What we’ll do instead is change the name and colour parameters of the material from the “Properties” editor.
The “Properties” editor, like other ‘views’, has a Header which in this instance displays a series of icons. Eighth from the left is a button with a sphere on it[1], this is the “Material Properties Editor” where all the basic parameters for materials can be made or edited, click the button to switch to these options.
At the top of the now open ‘panel’ is a list of currently available materials applied to the object[2]; at present just a single listing named “Material” is shown. Underneath is a text field[3] with the word “Material” duplicated, this is where the name of the material ‘datablock’ is changed (shown below), go ahead and change the name to “chair” by LMB clicking in the text field.
To complete the basic set up, in the “Diffuse” options click the white sample block[4] to open the colour picker and set a colour for the material by clicking the mouse in the coloured sphere[5]; the chair will change in real-time as this is being done indicating the material is being altered. Once done, the basic properties have been set up. The next step is to add a ‘texture’ slot.

Making or editing a new material. 1) “Material” buttons. 2) Material list showing current active material. 3) Re-name the material datablock. 4) Diffuse material colour

Diffuse colour settings. 2) Material renamed “chair”. 4) Diffuse colour click to open colour picker/mixer panel. 5) Move mouse in colour mixer to select colour

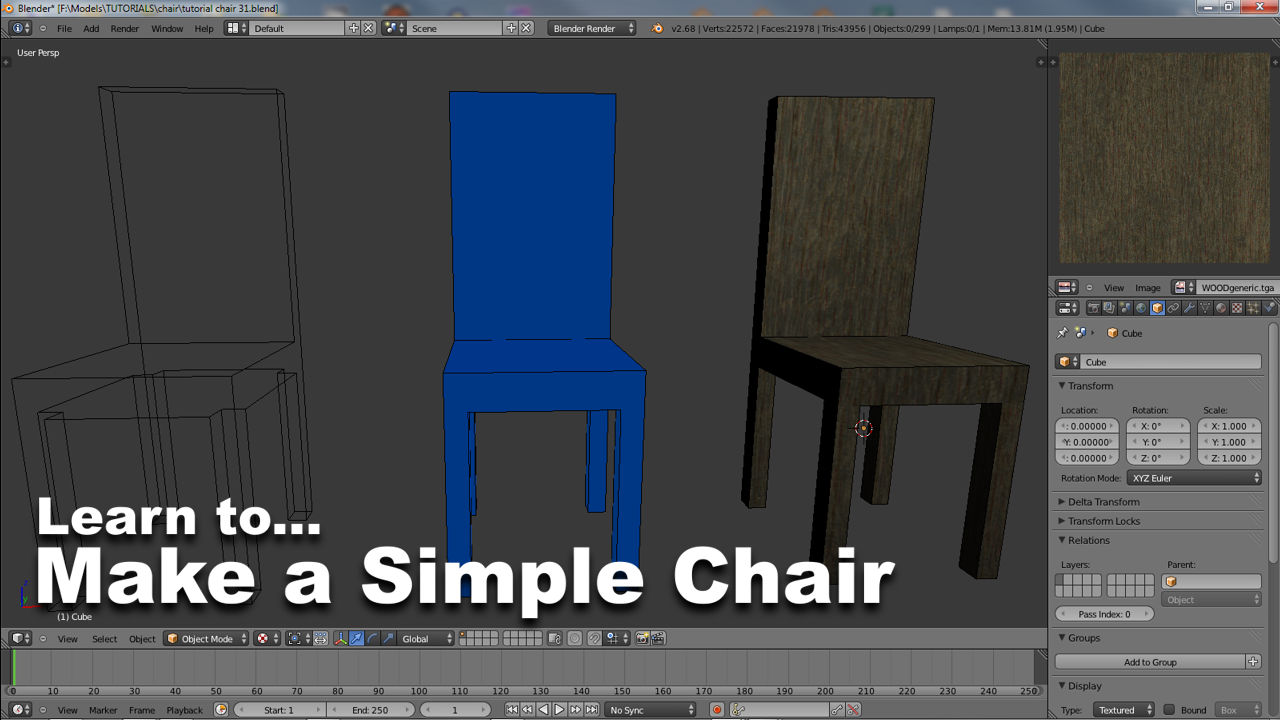
Material tinted blue after changing the diffuse settings [see *.blend “10”]
Adding a Texture stage to a Material
With a “Material” assigned to the chair, it now needs a “Texture“. This element of a material is used as a container that can be changed and altered using a set of parameters without interfering with the type of texture loaded into it, in this instance an bitmap image (more on this below). For this we need to use the “Texture” properties panel. As above, the default cube used to make the chair has a default texture already assigned to the overall material, but the type of texture is blank, that needs to be completed.
To do this click the “Texture” button (the one with the ‘checker’ patterned icon) to select those options from the row of “Properties” buttons[1] (MMB strafe the Header or expand the properties section to the left if the button isn’t visible). Immediately at the top of this section is the texture list showing used and available texture slots. As mentioned above, the default cube used for the chair already has a slot taken with the texture named “Tex“[2]. This can be changed by clicking in the text field below, where “Tex” is duplicated[3] and typing a name of choice – we’ll just leave it as is, “Tex“, for now. Next, the texture stage needs an actual ‘texture’, in this case a bitmap image.

Adding a “Texture” stage to a material in Blender 2.5. 1) “Texture” property button. 2) Available Texture list showing the default “Tex” slot used. 3) Datablock field where the the texture name can be changed. 4) Pop-up menu providing different texture “Type” options. 5) Although not needed at this point in the process “Coordinates” in the “Mapping” section give different options in how a texture is ‘mapped’ or placed on a mesh [see *.blend “11”]
Adding an image to a texture slot
Continuing on from the above texture slot set-up, because materials can have different ‘types’ of textures, images, movies, procedural, etc., Blender needs to be told which one is to be used. This is done by selecting a “Type“, available from a drop down list. Click the list button marked “none” to access available options. From there select “Image or Movie“[6] to set the texture ‘type’; this will change the options available for the rest of the settings associated with using an image in the texture slot, presenting for use a “Preview” window[7] and an “Image” property[8] (shown below).

Adding a texture “Type” to the texture slot in Blender 2.5. 4) Texture Type property section which opens a selection list where “Image or Movie”, 6), can be selected

New texture options available “image” texture types. 4) Texture Type section. 6) ‘Type’ of texture to use, “Image or Movie”. 7) Preview window where sample of image will appear. 8) Image is loaded using “Open” [see *.blend “12”]
To now add an actual image into the texture slot click the “Open” button in “Image” properties[8] section (show above) to open the “File Browser” (shown below). LMB click an image to select it[1], optionally choose whether to load the image using ‘full’ or ‘relative’ files paths[2] and then click the “Open” button[3] to load it; the texture “Preview” will change to show the newly included image. If this is all done correctly on looking back at the “Material” property options, the preview object (the sphere primitive) should now have the texture image applied to it (bottom image below). Once this step is done the materials basic settings are done and we can move on to the next stage of the tutorial.
Design note: On the left hand side of the Browser is a list of letters associated with available system hard drives “c:\“, “f:\” etcetera, clicking any one of these reveals its contents, which can be further ‘drilled-down’ LMB clicking the item; Blender generally uses the same mechanism and metaphor to navigate files in the Browser as you would in Windows Explorer or other Operating System dependant ‘file explorer’.
Textures should be within what’s called “power of two” dimensions, generally speaking sizes of 32, 64, 128, 256, 512, 1024, 2048 (or multiples there-of) pixels in height or width. These are correct “256×512” or “64×512“, these are not “200×341“, “400×922“. For more information on this, click here.

Depending on whether you’re loading in your own texture or the image accompanying the sample file, your view of the File Browse window may vary from shown above. 1) Selecting an image to load into the texture slot. 2) Checking whether to load the file using ‘long’ or ‘short’ file paths. 3) Loading the file using the “Open” button

Image sample now visible in the “Preview” window on loading the texture ‘image’ into the texture slot of Blender 2.5 [see *.blend “12b”]

Global preview of the material in the “Preview” window after each material stage has been correctly made and applied. 2) Re-named “Material” stage from the first step of the overall materials set-up.

Progress so far in making a chair in Blender 2.5 and adding an image and texture to the material applied to the mesh. Next step is to UVW unwrap it to make the textures appear correctly [see *.blend “13”]
Viewing the materials texture image
The next part of the process is to UVW map the mesh so the material displays the actual texture image over it; if we switch to “Textured” view from the “Viewport Shading” options now, the mesh will appear a solid uniform white indicating there’s no UVW map present on the mesh (as shown below). So to fix this, the next step is UVW unwrapping the model.

Switching to “Textured” view reveals a white mesh indicating the object has no UVW map [see *.blend “13b”]
Addendum: Viewport Shading & recent changes
It should be noted that when switching “Viewport Shading” from “Solid” to “Textured” mode, meshes will typically render white and shadeless regardless as to whether there are lights in the Scene or not (remember at this point Blenders Scene defaults are still present – the camera and light – they are simply off to one side just out of shot). This happens because lights interact with textured surfaces rather than Objects, so absent any assignments, meshes simply display ‘blank’ – the behaviour is analogous to a blank canvas being ‘white’.

Depending on the version of Blender being used, when switching “Viewport Shading” to “Textured” mode meshes will display ‘white’ indicating a UVW map/texture association has yet to be made – absent textures there is nothing to illuminate
However, this is not the default behaviour for all versions of Blender as changes to the way Scenes are rendered in the 3DView mean Objects are now shaded regardless as to the presence of UVW maps or textures on a mesh or not. So, when switching to “Texture” mode in later versions (note the change from “Textured” to “Texture” mode), the mesh will likely appeared shaded in varying tones of grey (shown below).

In later versions of Blender this behaviour has changed so that irrespective of textures being assigned or not in “Texture” mode (note the name change – “Textured” to “Texture“), if lights are present in the Scene they will illuminate Objects correctly – rendering in no longer dependant on the presence of textured surfaces
To avoid this, or compensate for the mesh then being relatively dark (in some instances it might be black depending in the size of the object built), one or more of the following can be used; either move lights to a different layer forcing Blender to flat-light the scene, or alternatively, add more lights. To do the former, move the light, RMB select the object and then press “M“. A small panel will appear displaying a series of buttons. LMB click one to select it. Immediately upon doing this the light will disappear from the Scene and the mesh will become flat lit.
Design note: meshes may appear ‘black’ even with lights present depending in the Objects size – this may mean having to adjust a lights “Energy:” or “Distance:” in “Object Data” Properties (once the light is selected).

Removing or moving the Light to another Layer, Blender can be forced to render the Scene and it’s contents flat lit – particularly useful for game art

Once the Light has been moved the Scene and Objects contained within will be flat lit, displaying as white where UVW maps have yet to be assigned (or Pink where the mesh is un-textured)
Alternatively, simply add more Lights to the Scene. To do this press “Shift+A” to access the “Add” menu, selecting “Lamp » Point” from the list to place extra objects as needed. Press “G” or LMB+hold+drag the appropriate 3D widget handles to drag/move the new item, LMB clicking to set in place.
Design note: objects will appear at the 3D Cursors location so this may need to be snapped to another Object to prevent wayward placement – RMB select an object or element then use “Shift+S” to access the “Snap” menu, select “Cursor to Selected” and then add the new item.
Or, RMB select a pre-existing light and use “Shift+D” to “Duplicate“; the light will be ‘active selected’ upon creation (it moves with the mouse) so simply move the mouse in to position and LMB click to set in place.
Design note: the original object being duplicated determines the location at which new objects appear, which naturally changes depending on the object or element selected. If ‘active selection’ is a little awkward to use, immediately after duplication RMB to release the new object and then press “G” or use the widget handles to position the item before setting its new position using LMB.

Adding more lights to the Scene will illuminate any Objects better. This can be done by straightforward duplication or adding a new instances (via “Add”) [see *.blend “13b(266)”]
To re-enable the lights influence over the Scene, in “Object” Properties, find the “Relations” sub-section and then “Shift+LMB” select each “Layers:” button for which the light should have an effect.

Once a light has been moved to another Layer, to ‘re-enable’ its effect on the Scene, using Layer Management this can be done by “Shift+LMB” clicking the respective Layers that need to be activated where the objects are
So, if using a later version of Blender to work through this tutorial, for now, go ahead and either “Delete” the light (RMB select the object and then press “Del” or “Delete” depending on keyboard layout or language), or move it to another Layer as described in the above section. This will then mean the Scenes appearance and Object illumination therein is consistent with the remainder of the tutorial.

