Here's a breakdown of my process:
I decided to make a simple top for my first attempt at a body mesh. Using the base avatar body is a great template, but be weary of the armpits, elbows, and shoulders when it comes to posing and clothing later. These may need to be edited if you demand better flexibility. I learned that the hard way. Also make sure the ends of the mesh meeting the head, hands, and pelvis remain unedited. Otherwise you can get gaps, and mismatching garments when you use your mesh with other products.
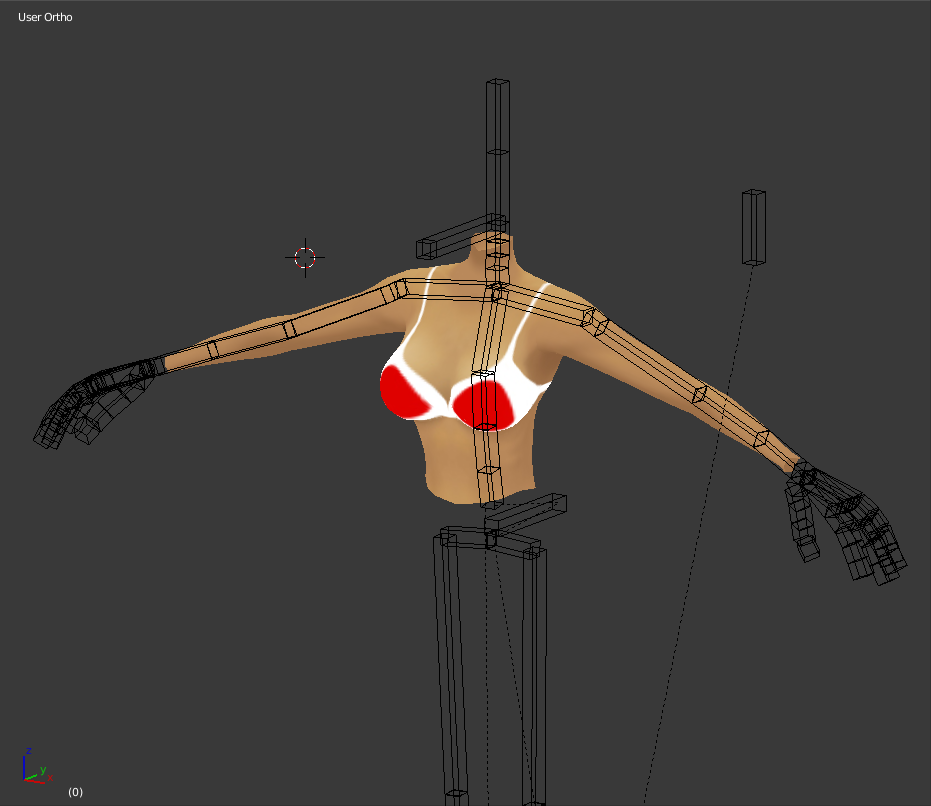
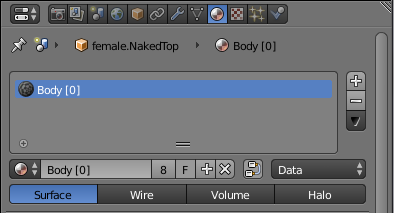
I replaced the skin material on the torso/arms mesh with a body 0 material. This will be what becomes your skin composite later.
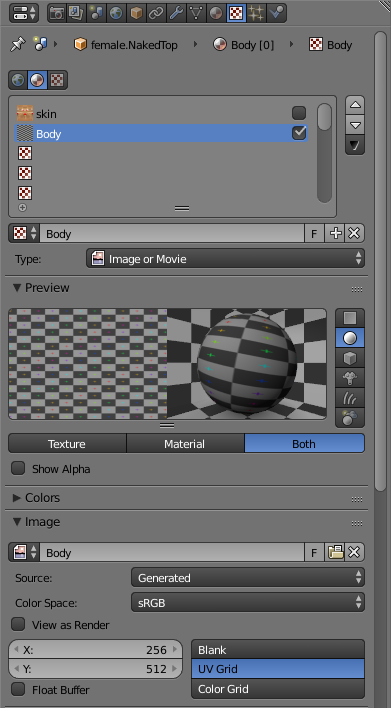
Replace the skin texture with a new one. I simply made an image named Body to help reduce confusion on my part. Just un-check skin. Do not delete! Make sure your Dimensions match the skin's dimensions. (X=256 Y=512)
Double check your UV map. One should already be provided if you are using Kat's Clothing blender file.
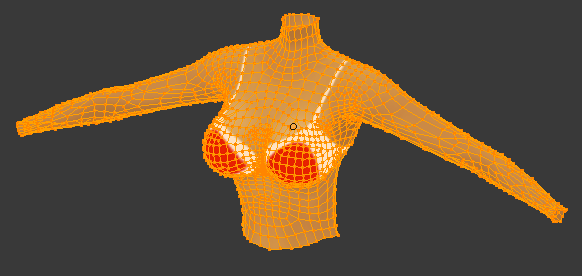
This is an example of what all the pros on the forums mean when they say, "Map your mesh to the skin." (Sorry, but I mixed up the arms. They're actually opposite to what I have typed in this image.)

Once it all checks out and you are happy with your body's shape select the mesh first then hold shift and select the armature rig. Make sure you are in Object mode for both rig and mesh.
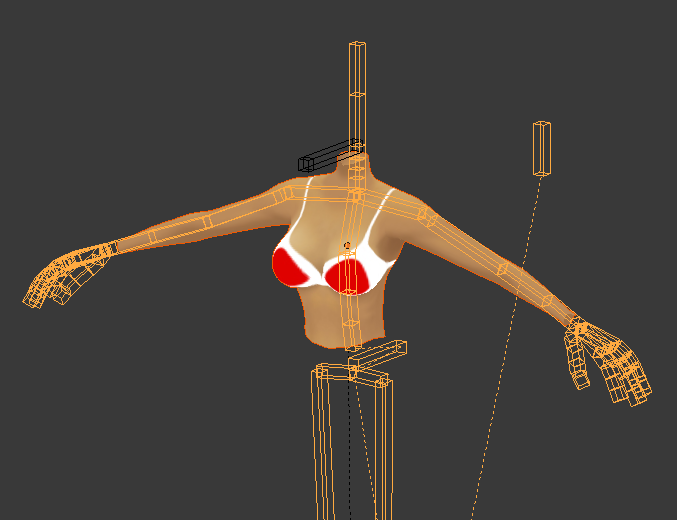
Export as usual. Make sure you check Selected objects under, "Main." Deselect Apply Modifiers under, "Geometries." Deselect Add Leaf Bones under, "Armatures." And, if you don't have any animations you desire just simply un-check the Baked Animation box under, "Animation."
I open IMVU and select Derive new product. I use the top mesh 167. The Yellow Baby Tee.
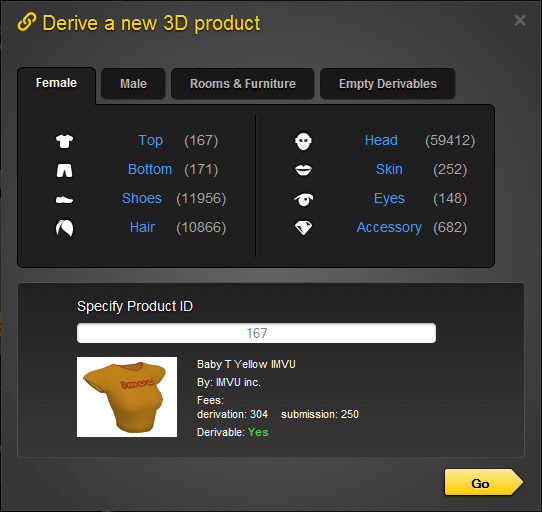
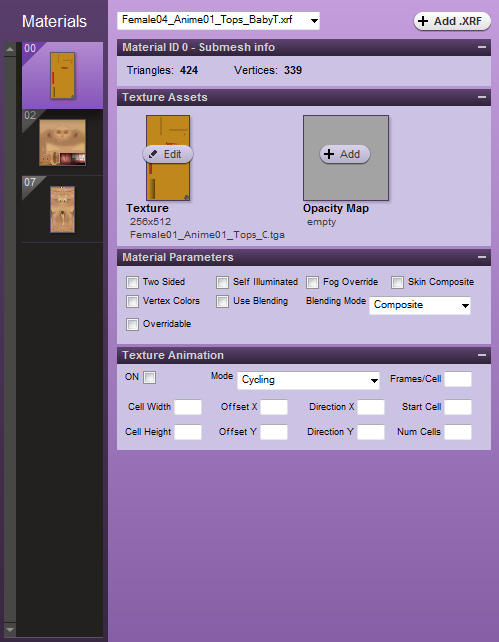
This Derivable Female top provides a skin template under the slot numbered seven which is what IMVU protocol utilizes when you make a skin composite.
Make sure when you import your mesh that you replace the torso of the avatar, "Mesh ID 2," with your own version. Also make sure your, "Apply Scale," setting is set to .01 otherwise you will have some massive proportion issues.
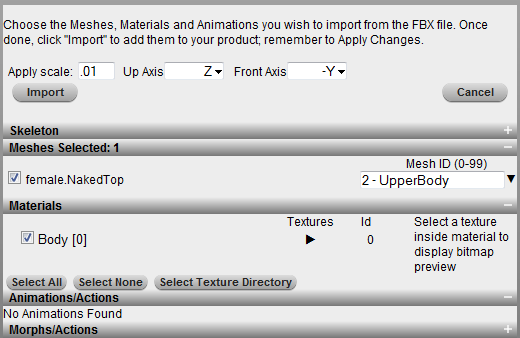
If you are replacing more parts than just the torso make sure to hide them using the configuration menu before you import anything to help reduce on complications during importation.

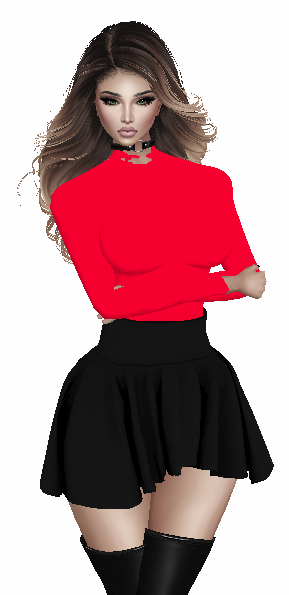
Once your preparations are finished import the mesh. It should look something like this on your avatar. The color matches whatever you had for your diffuse color within Blender for the mesh.
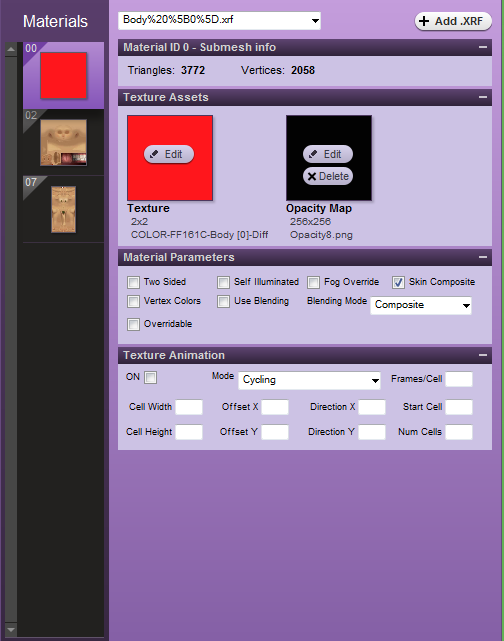
Lastly be sure to check the box for Skin Composite underneath the material tab matching your mesh's material number slot 0. It is extremely important you use the blackest of black opacities you can muster otherwise your diffuse color from blender will have a faint appearance over the skin composite.
If everything imported correctly your end result should look something like this.

This is only one method and I know there are more out there, but this should be a great way to get you started on your journey of Blender meets body meshing. To add clothing you will have to make each piece with a material slot in sequential order starting after 0, but DO NOT replace the skin material slot in 7. Also the Mesh IDs of the clothing when imported can not match any part of the body. (So use any number exceeding 15 or so to be safe.)
